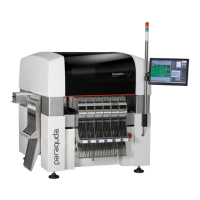
If the bottom camera needs adjustments, the
feeder rack in front of the bottom camera has to
be removed to expose the camera lens
adjustment rings (focus and aperture).
Go to System - Adjustments - Cameras and
press Adjust bottom cam.
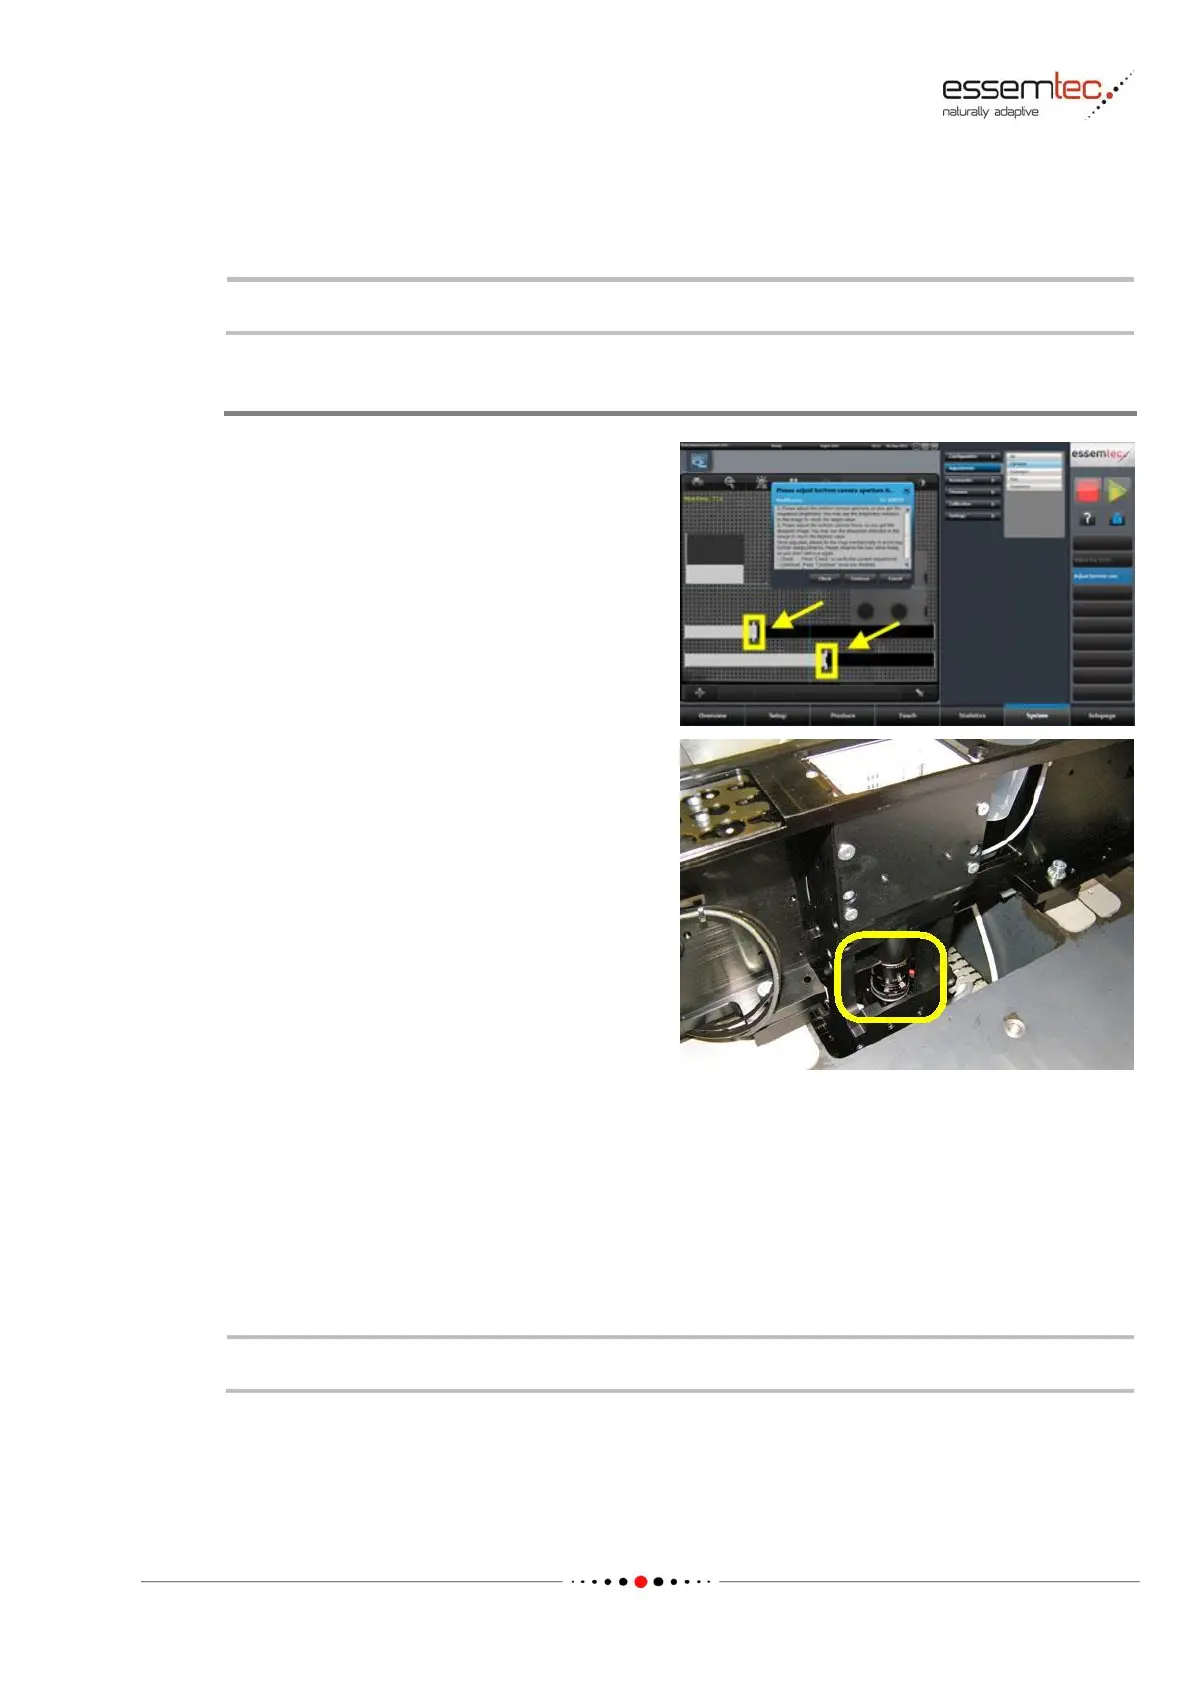
In the graphical section, the camera window opens
and a dialog pops up to attach the appropriate
nozzle on the ZT element. The machine measures
the Z height, takes the calibration plate and moves
automatically over the bottom camera.
By means of the camera rings (1/2), aperture and
focus can be adjusted. Depending on the
camera type, the camera cover has to be
removed.
Pressing Check, the vision system checks focus
and aperture and displays the results as a grey
bar (see picture). The drag indicators follow
always the bars and show the maximum settings
ever achieved since adjustment start. To get the
best focus and the best aperture, these
maximum settings must be found first.
Always adjust the aperture first. To start, loosen the fixing screw on the aperture adjustment ring
and turn the aperture adjustment ring to value 4.
Press Check multiple during turning the aperture adjustment ring clockwise and counterclockwise.
The drag indicator shows now the maximum setting which corresponds to the best aperture.
Turn the aperture adjustment ring until this maximum is reached again. Tighten the fixing screw on
the aperture adjustment ring.
Therewith the aperture adjustment is completed.
Do exact the same procedure also for the focus.
Press Continue to finalize the adjustment.