7
Installation
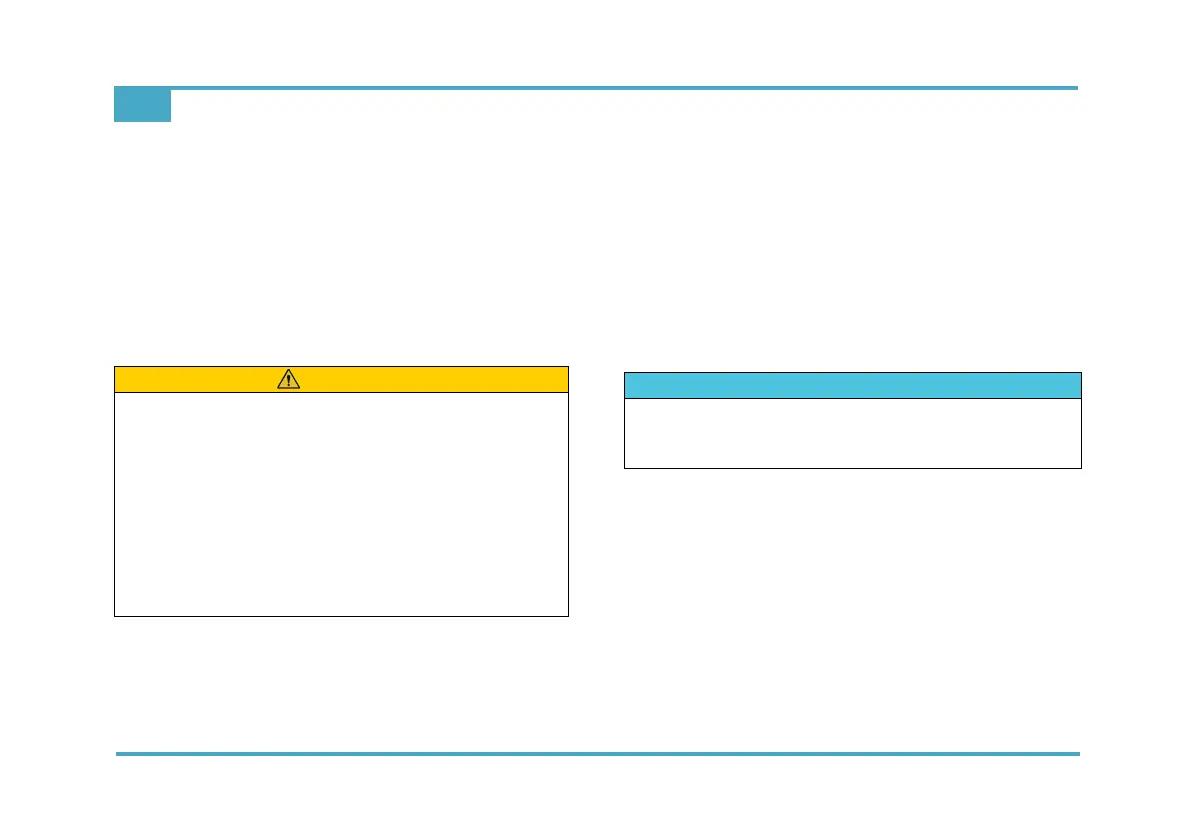
EN Rivo™ I Controller
50
W3T597263 Issue 01-0624 | Evoqua Water Technologies GmbH
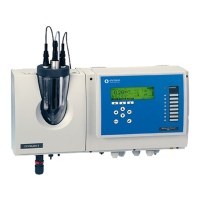
7.2 Installing the electronics module
The electronics module can be installed using a top-hat
rail or tallow-drop screws (wall installation).
Required material and tools:
• top-hat rail (optional)
• screws and dowels (assembly accessories)
•drill
• screwdriver
7.2.1 Installation with top-hat rail
1 Secure the top-hat rail to a vertical, stable and flat
solid wall using the dowels and screws supplied.
2 Hook the electronics module onto the top-hat rail so
that it is flush at the right.
3 Fasten the electronics module to the solid wall at the
bottom by the brackets using dowels and screws.
7.2.2 Installation without top-hat rail (wall installa-
tion)
1 Secure the tallow-drop screws rail to a vertical, stable
and flat solid wall using dowels.
2 Hook the electronics module onto the tallow-drop
screws.
3 Fasten the electronics module to the solid wall at the
bottom by the brackets using dowels and screws.
ATTENTION
Danger caused by incorrect mounting fixtures
Possible consequence: injury or significant material
damage.
• Use the corresponding screws and dowels.
• Dowels and screws/tallow-drop screws for fixing to a
solid wall are included in the scope of delivery.
• If the device is to be installed on a suitable light-
weight wall, the corresponding mounting fixtures
must be used. These mounting fixtures are not
included in the scope of delivery!
NOTICE
The dimensions for the drilling pattern can be found on
the back of the plastic housing. Use the rear housing
panel as a drilling template.