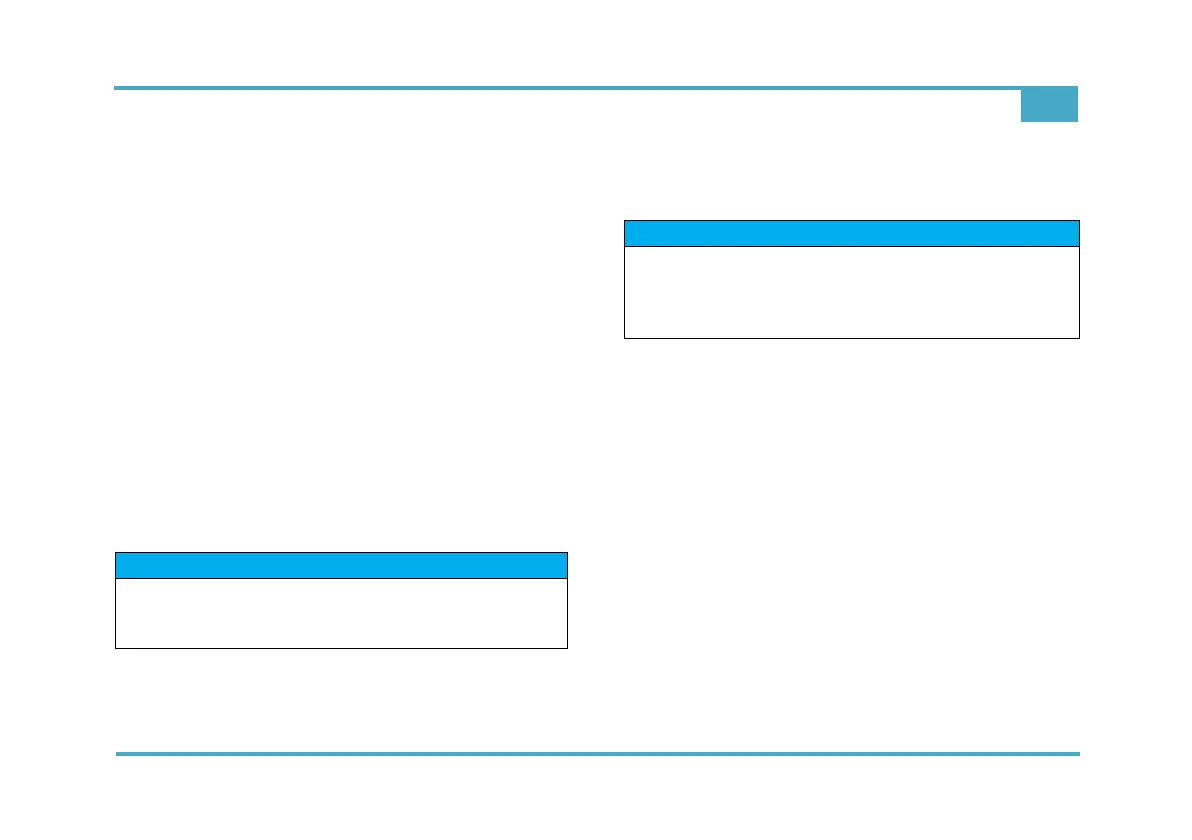
Installation
7
Rivo™ I Controller EN
57
Evoqua Water Technologies GmbH | W3T597263 Issue 01-0624
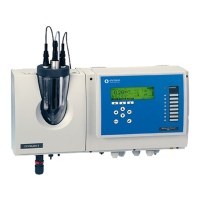
Carry out electrical installation as follows:
1 Remove the housing cover of the Electronics Module.
2 Connect voltage supply in accordance with the wiring
diagram.
3 Install optional Rivo™ Flex Mod Modules.
See chapter Installation “Installation of Rivo™ Flex
Modules”.
4 Connect HMI/Rivo™ Backboard 4 in accordance with
the wiring diagram. Make sure that all cable glands
are installed correctly.
5 Connect optional Rivo™ Flex Modules in accordance
with the wiring diagram in chapter “wiring diagram”.
6 Remove the protective discharge foil from the lithium
button cell on the HMI. See chapter „Remove the
discharge protection film“.
7 Fit housing cover.
8 Then put the Electronics Module into operation.
7.8 Firmware update via USB interface
The firmware can be updated using a USB stick. The
memory size must be at least as large as the firmware file.
Carry out the firmware update as follows:
1 Copy firmware file to the USB stick.
Do not use subdirectories!
2 Plug the USB stick into the USB socket (on the bot-
tom of the device).
3 Open the Service-Center menu and click on the
Update button. Follow the instructions on the display.
The device executes a restart.
4 Firmware update starts. The LED (above the display)
flashes during the firmware update.
NOTICE
If the module configuration is changed, a scan must be
carried out. To do this, open Setup - System settings -
General and press the ‘Scan’ (hardware) button.
NOTICE
The firmware file can be downloaded free of charge from
our homepage.
You can read off the currently installed firmware version
of the CPU in the menu under System Information.