7
Installation
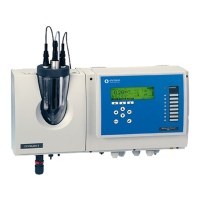
EN Rivo™ I Controller
58
W3T597263 Issue 01-0624 | Evoqua Water Technologies GmbH
5 When the firmware update is complete, the LED
remains static.
6 Remove the USB stick.
7 Following a successful firmware update, check
whether the new firmware version is displayed in the
menu.
8 Check the settings, adjust if necessary.
7.9 RS485 interface (optional)
Install the Rivo™ Com-Board as follows:
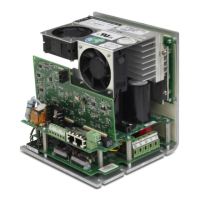
1 Disconnect the Electronics Module from the power
supply and check that it is de-energized.
2 Remove the housing cover of the Electronics Module.
3 Release the four screws on the metal cover of the
HMI (Pos. 1).
NOTICE
For more detailed information, please refer to the sepa-
rate installation manual “Rivo™ communication inter-
faces”. You can request this installation manual from us
or download it from our homepage.