User Manual EDITING February 16, 2010
Xynergi Media Production Centre Page 124
Step 3 Press the fade head button.
This creates a fade from the start of the clip to the cursor position. The shape of the fade can be seen
above (this will be described later), but the Duration is not used. Instead, the duration is set by the
cursor position.
If you are happy with your current fade shape, using
fade head is a fast and simple way to get a lot of
work done.
NOTES:
If you do not want to apply the Smart Panel shape shown above to the Head, turn off the
shape
soft key.
If you ONLY want to apply the shape, and not to change the length of the head fade, turn off
the
length soft key.
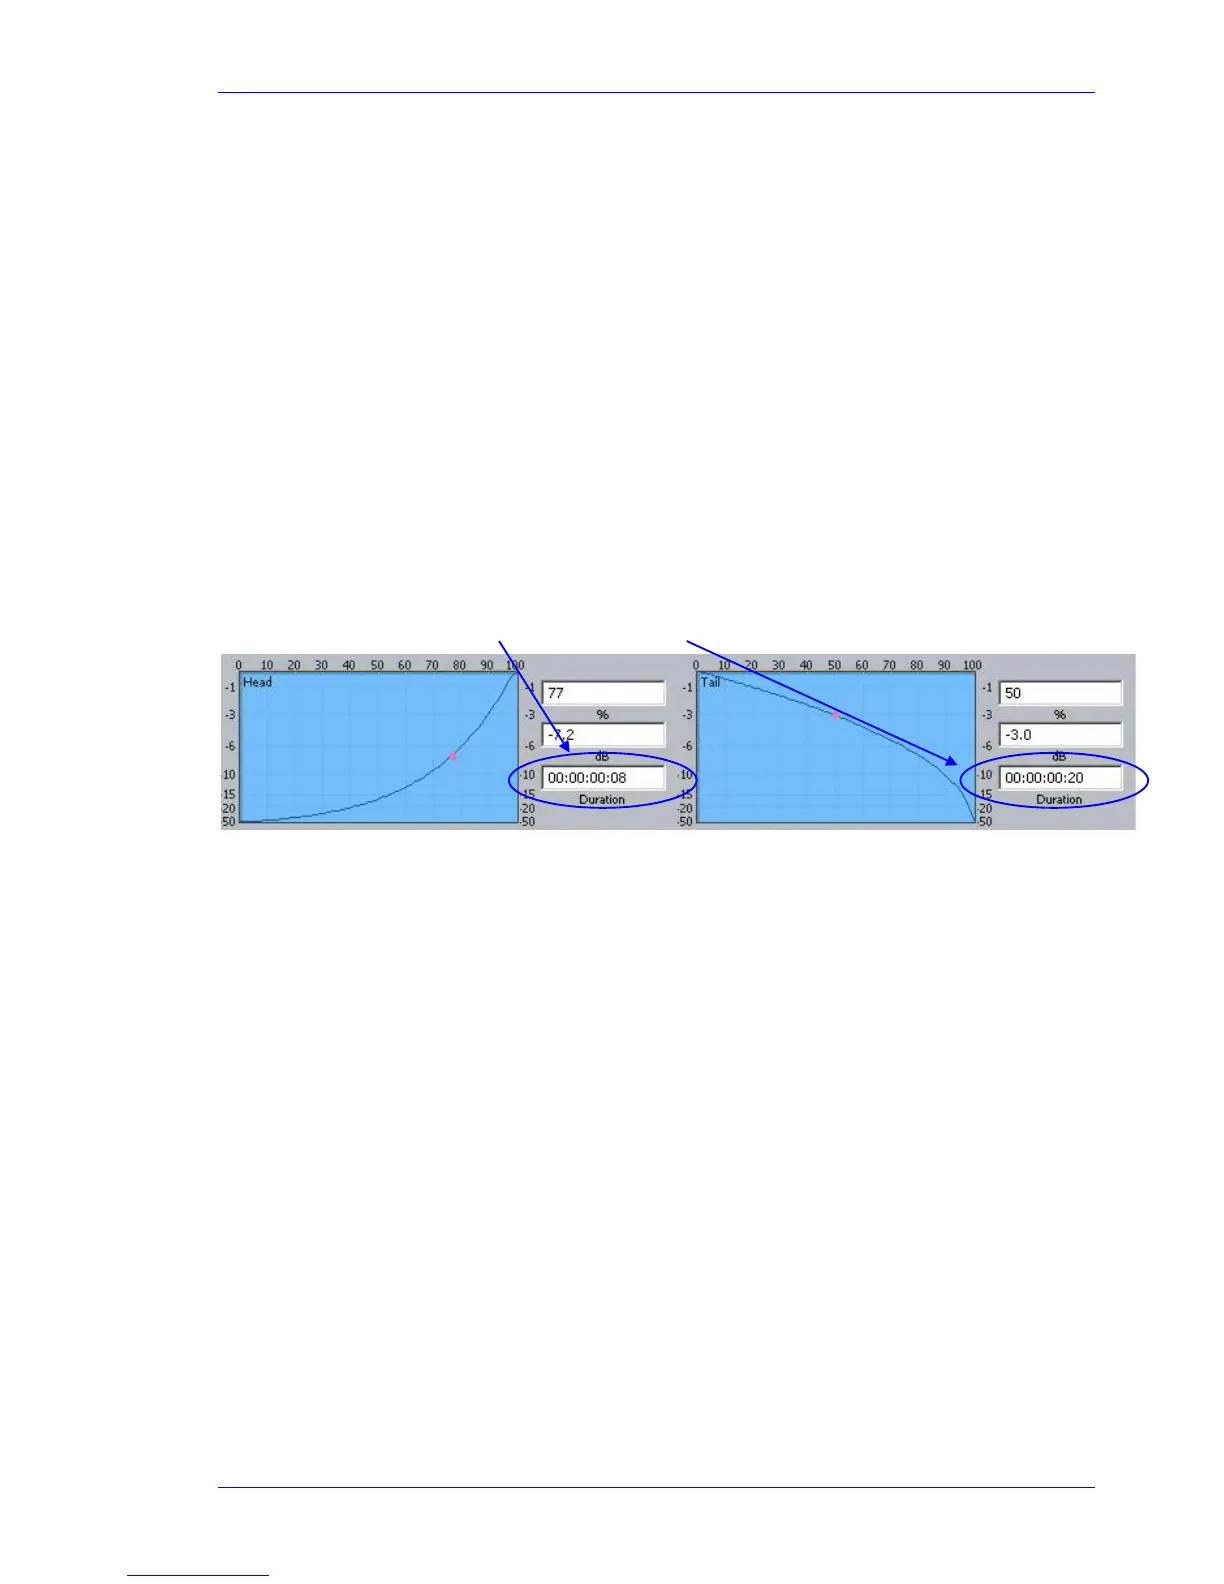
Fade Tail
Same as fade head, but it fades from the cursor to the end of the clip.
Fade Clip
Applies the numbers in the Head Duration and Tail Duration fields, shown in the Smart Pane.
Using Multiple Tracks
If multiple tracks are selected, the simple Fade Head and Fade Tail commands will apply to all clips
touching the cursor on selected tracks.
Using a Range
If a range is present, the fade head command applies the Head Duration field value, and the fade tail
command applies the Tail Duration field value, to all red clips (those wholly inside the range on selected
tracks).
Using Soft Keys
Advanced fade editing can easily be performed using the soft keys.
Setting Fade Duration
Fade duration can be set numerically as follows:
Step 1 Press the
set dur soft key. Turn off the shape soft key if you do not wish to apply the Smart
Panel fade shape to the selected clips.
Step 2 Press the
fade head, fade tail or fade clip key. This determines whether the duration you
set will apply to the head, the tail or both.
Step 3 Set the Duration value using the Jogger Wheel (press Stop if it is jogging the transport), by
typing numbers in the Numeric keypad, or using the QWERTY keyboard.