User Manual IMPORT / EXPORT February 16, 2010
Xynergi Media Production Centre Page 296
Clip Naming
“Standard” derives the names of clips from the omf “Master Clip” within the omf file.
“Sub-Composition” - OMF’s created in AVID often derive clips from either the “Master clip” and the “Sub
Composition”. This option derives the names of clips from the “Sub-Composition”. Use this setting to
give your clips more logical names if they are coming from an AVID and not displaying logical clip
names.
Offset
Entering a timecode offset moves the whole composition forwards on the timeline.
Entering a track offset moves the whole composition down in the track display.
Importing Individual Sound Files
Sound files of various types can be imported directly into your Dream II project. These include the
following: MP2, MP3, WAV, BWAV, AAC and more.
To import one use Windows Explorer (or My Computer) to locate the file, then drag and drop it on to
the Dream II Edit Screen. The file will be placed at the cursor position (or in the range), on the track
where you drag it (
unless you use the options below).
Found at
Setup General Preferences Options:
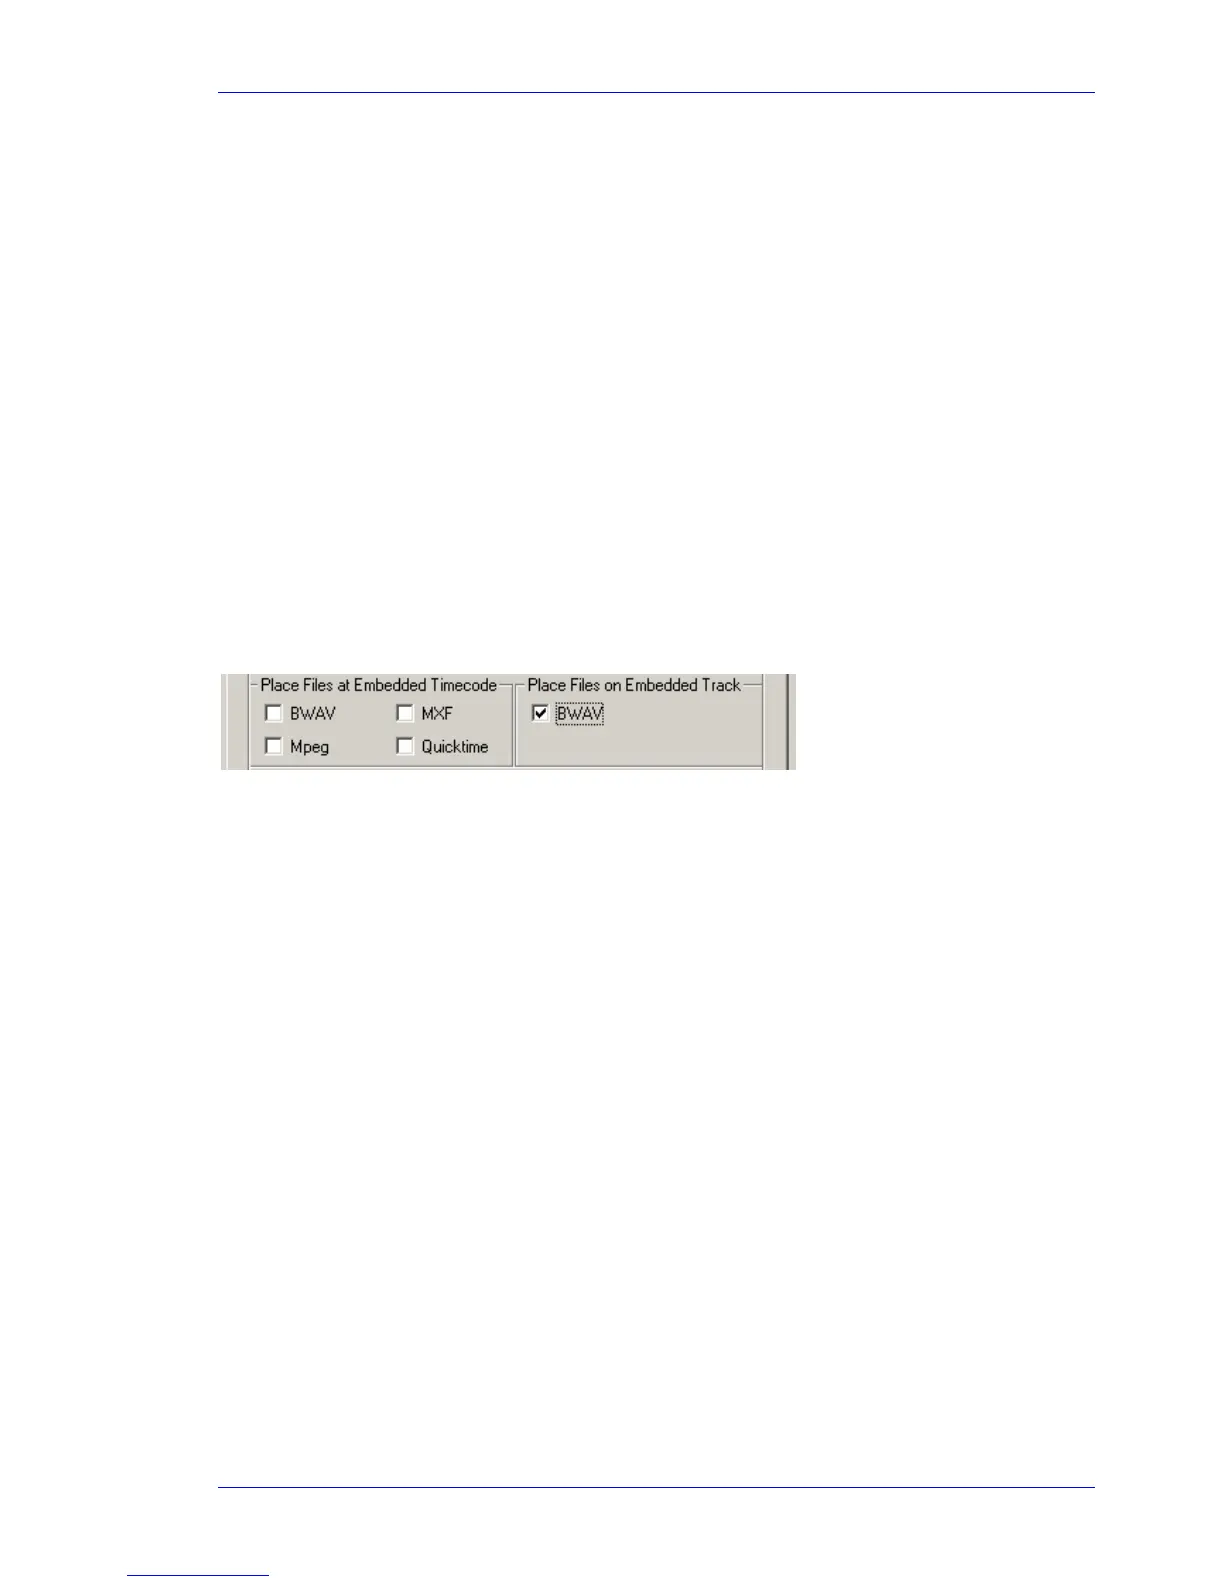
Place Files at Embedded Timecode
Some audio files carry a timecode with them. Checking this option for a particular file type
causes it to be placed at that timecode, no matter where you drag it with the mouse.
Place Files on Embedded Track
Some audio files carry a track number with them. Checking this option for a particular file type
causes it to be placed on that track, no matter where you drag it with the mouse.
Importing Multiple Sound Files
If you select multiple files in the Windows Explorer (or My Computer) dialog, you can drag and drop
them all to the timeline.
By default, the files will be placed head-to-tail along the track where you drag them.
If you hold down the
ctrl key while dragging the files, they will be placed on successive tracks, at the
same timecode point.
Sample Rate Conversion
Sometimes the files you import are at a different sample rate than the project. When this happens,
Dream II automatically turns on real-time sample rate conversion to ensure the audio has the same
pitch and duration as the original.
Clips subject to sample rate conversion are marked with a black
SR label.
The quality of sample rate conversion may be varied using the dialog
Setup General Preferences
General: