User Manual EDITING February 16, 2010
Xynergi Media Production Centre Page 129
To save a custom preset:
Step 1 Set up the fade shapes you want to save.
Step 2 Press the
preset soft key
Step 3 Press
save preset.
Step 4 Type a name for the new custom preset and press the Enter key.
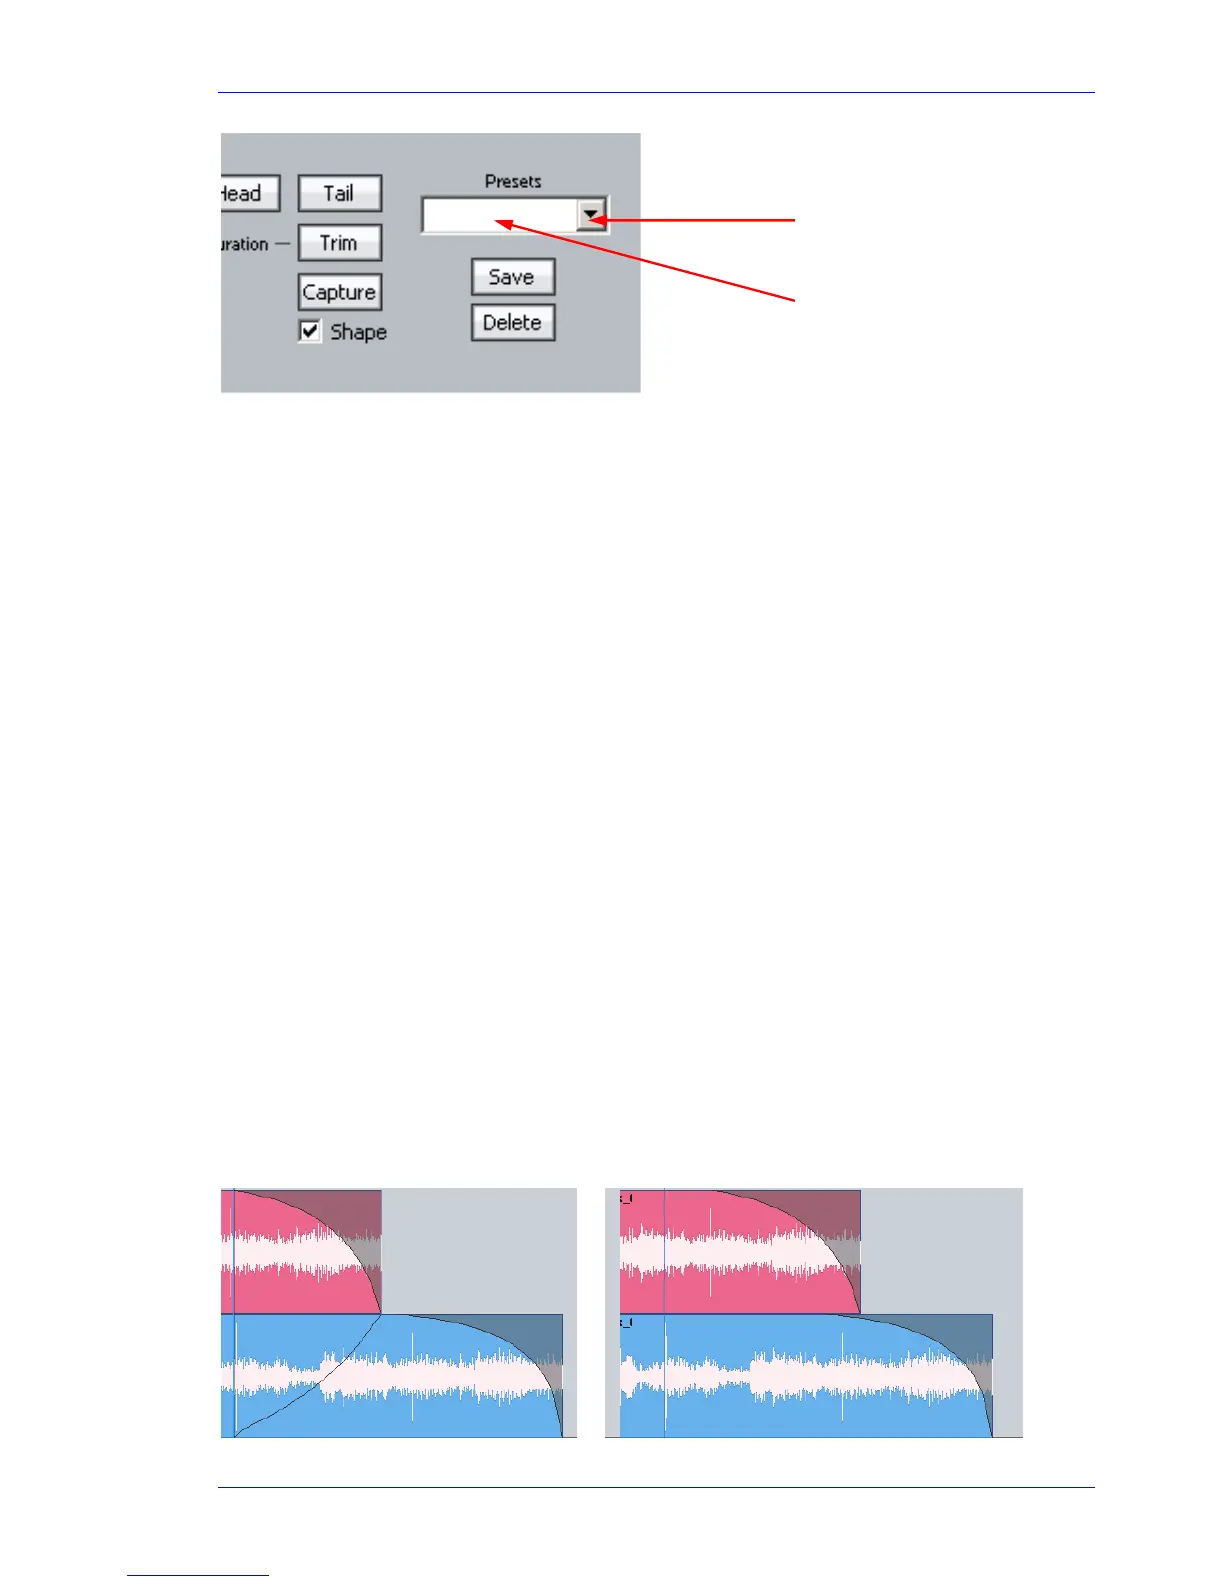
Alternatively use the custom presets pulldown menu in the Fades display, as shown above.
Capturing Shapes
To capture a fade means to extract all of its parameters, making them available to apply to other clips.
Step 1 Click the
capture button. This will cause it to flash.
Step 2 Click the
Clip, Head or Tail button to capture the fade length and shape from the current clip.
The current clip is the one currently touching the play head on the active track.
Having captured those values, you can apply them to any other red clip by clicking the
Clip button.
Untick
shape or length if you don’t want to apply it.
Cross-Fades
If a fade is placed on a clip and there is another clip layered underneath, a cross-fade between the two
will automatically be “induced”. Cross-fade parameters can be modified with the soft key menu
functions.
Induced crossfades are complementary – that is to say, the clip underneath is faded with exactly the
opposite shape to the clip on top.
If the clip underneath already has its own fade, overlapping the time of the upper clip’s crossfade, then
no induced fade occurs. In the following illustration, clip layering has been turned on (double press the
takes button or View Display Layering).
Click to load a custom preset
Click to type a new name for a
custom preset, then click Save