6270A
Service Manual
52
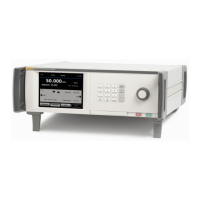
Remove Keypad PCA and Knob from the Front-Panel Assembly
To remove the keypad PCA and knob from the front panel, see Figure 29:
1. Shut off supply pressure and vent the system.
2. Remove all pressure lines and fittings from the manifold.
3. Remove the front-panel assembly as explained in the Remove Front-Panel
Assembly section.
4. Use a T10 Torx to remove the six screws that hold the panel shell to the front
panel.
5. As you separate the display panel shell from the front panel, disconnect the
keyboard cable.
6. Remove the encoder assembly cable from J3 of the keypad PCA.
7. Remove the nine hexalobular keyboard PCA screws with a Torx T10.
8. Remove the keypad PCA from the front panel.
9. Remove the number keypad from the front panel.
10. Remove the power keypad from the front panel.
11. Remove the encoder knob from the encoder assembly .
12. Use a 13 mm deep socket to remove the jam nut and washer from the
encoder assembly. The jam nut and washer are part of the encoder
assembly.
To install the keypad PCA and encoder knob to the front-panel assembly, do this
procedure in reverse. Complete the procedure detailed in the section to attach
the front panel to chassis.