12
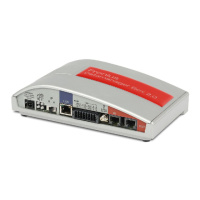
Fronius Datamanager Box 2.0
- 1 x Fronius Datamanager Box 2.0 with wall bracket
- 2 x Fronius Solar Net termination plugs
- 1 x 16-pin plug
- 1 x antenna
- 1 x 3 m RG58 antenna cable
- 1 x mounting bracket
- 1 x double-sided adhesive tape
- 2 x installation anchors + screws
- 1 x "DATCOM Cabling" leaflet
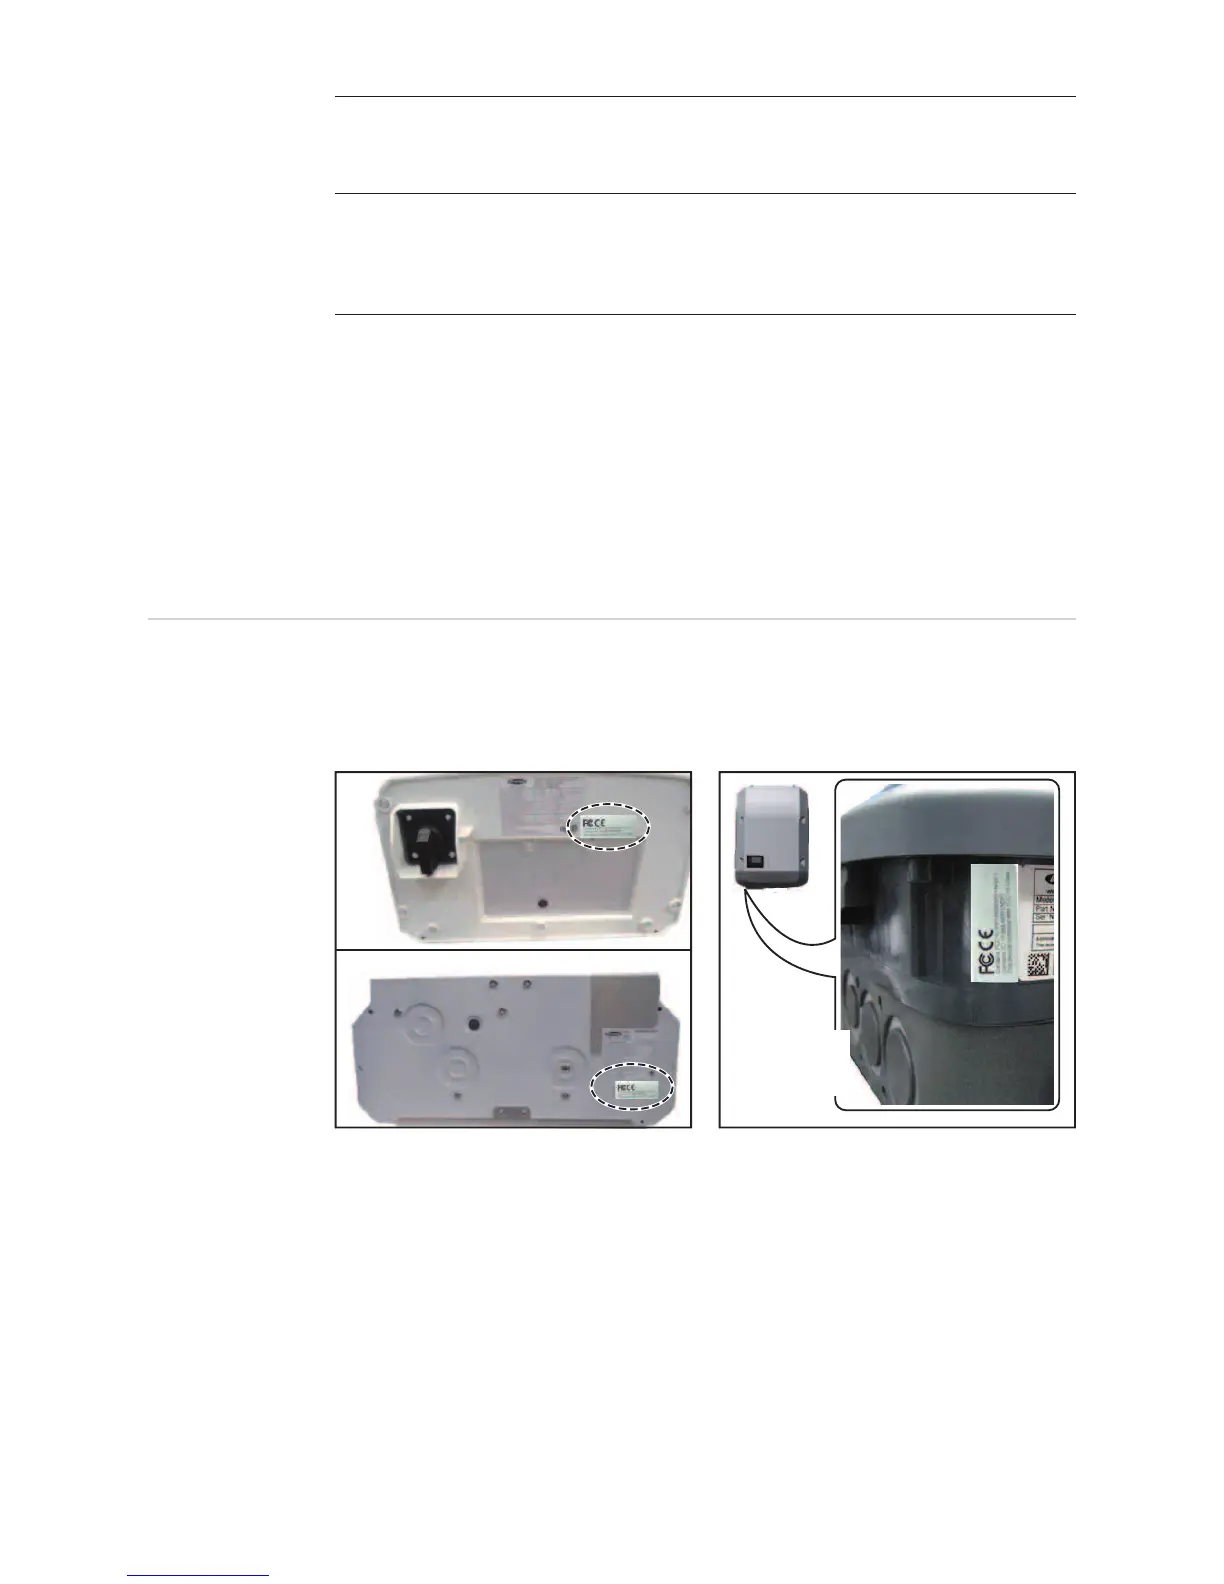
Using the Sticker
Labels
IMPORTANT! If the three-part sticker label included in the scope of supply for Dataman-
ager 2.0 has not already been affixed to the inverter at the factory, this must be done now.
Position of the sticker label on the inverter:
For Fronius Galvo, Fronius Symo, and Fronius Primo inverters, the sticker label informa-
tion is located on the rating plate.
Using the sticker labels:
- 1 x antenna
- 1 x 3 m RG58 antenna cable
- 1 x mounting bracket
- 1 x double-sided adhesive tape
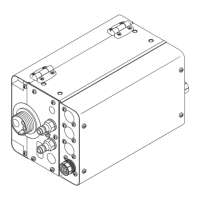
Fronius IG 300 - 500
Fronius CL
Fronius CL - USA
- 1 x antenna
- 1 x 0.4 m RG58 antenna cable
- 1 x 3/4 in. screw joint
- 1 x 3/4 in. hex nut
- 1 x 3/4 in. seal
Fronius IG 2000 - 5100 - USA
Fronius IG Plus - USA
Fronius IG Plus V - USA
Fronius IG
Fronius IG Plus
Fronius IG Plus V
Fronius IG Plus A
Fronius Galvo
Fronius Symo
Fronius Primo