35
Input signal code (Setting range: 0 to 16)
[Description]
• This parameter is used for selecting input signals. Input
signal varies depending on the sensors (2 types below).
Set a code that corresponds to the sensor you use.
Type I : Thermocouples (9 kinds of signals)
Resistance bulbs (1 kind of signal)
Type II : Voltage, current
• Input signals can be selected within the same type. It is
impossible to select input signals of a different type.
• For type II, when changing from the voltage input to the
current input, connect the supplied resistance of 250 Ω
between terminals w and e .
When changing from the current input to the voltage in-
put, remove the resistance of 250 Ω connected to the in-
put terminals.
[Note]
After changing the codes, power off the PXR, and then
power it on again.
Code
1
2
3
4
5
6
7
8
12
13
16
Input signal
Resistance bulb (RTD)
• Pt 100
Thermocouple
• J
• K
• R
• B
• S
• T
• E
• N
• PL-II
1 to 5 V, 4 to 20mA DC
Type
I
II
[Setting example] Changing from thermocouple K to thermocouple T in Type I
• Input signals and codes
q Input signals code table
Press the key once. will be displayed and the thermocouple T will be registered for
. After that, the controller will operate with the kind of input signals being thermocouple T.
Press and hold the key for three seconds.
will be displayed.
Press the or key to flicker and to display .
(Repeat the procedure from 3 to 5 to check the set value.)
Press the key once.
The current setting ( ) will be displayed.
Press the key to display .
SEL
SEL
SEL
1.
4.
If you want to display the operation status, press and hold the key for two seconds.
The SV will be displayed on the display area.
If unoperated state continues, the PV will be displayed.
6.
2.
3.
SEL
5.
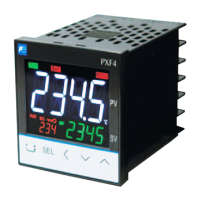
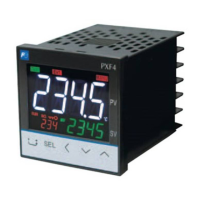
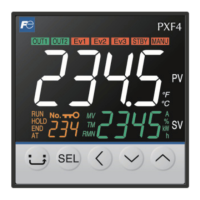
Display Operating procedure
PV indication
PV indication
SV indication

 Loading...