42
[Description]
• These parameters are used for selecting the operation types
of Alarms 1 and 2.
•
Alarm1 is activated in the same way as Alarm2
except for codes
12 to 15. (Codes 12 to 15 cannot be selected for
Alarm1
.)
• When any code of 12 to 15 is selected for Alarm 2, Alarm 2
is activated and Alarm 1 is cancelled. "Alarm hysteresis",
"Delay time", and "Alarm latch" can be selected in Alarm 2
settings.
• The display of the parameter in which the alarm value is set
varies depending on the alarm operation types.
,
Alarm types (Setting range: 0 to 34) (Option)
Related parameters:
,
(page 53)
,
(page 54)
,
(page 18)
,
(page 51)
[Note]
•
Since the alarm set value may change after changing the
alarm operation types, be sure to set the alarm set value
again.
•
After changing the alarm operation types, power the PXR
off, and then on.
•
Setting code 0 indicates "No alarm".
[Note] Alarm set value and alarm operations
Alarm set value (AL)
Upper
limit
Lower
limit
Lower
limit
Upper
limit
Absolute
value
Deviation
value
AL
Plus setting Minus setting
Disabled
Disabled
AL
AL
AL
0
0
SV
SV
SV
SV
AL
AL
[Setting example] Changing the alarm type of Alarm 2 from upper-limit deviation to the upper-limit deviation with hold
Press the key once. will be displayed and will be registered for . After that,
the controller will operate with Alarm 2 of upper limit deviation with hold.
Press and hold the key for three seconds.
will be displayed.
Press the keys to flicker and to display .
(Repeat the procedure from 3 to 5 to check the set value.)
Press the key once.
The current setting ( ) will be desplayed.
Press the key to display .
SEL
SEL
SEL
1.
4.
If you want to display the operation status, press and hold the key for two seconds.
The SV will be displayed on the display area.
If unoperated state continues, the PV will be displayed.
6.
2.
3.
SEL
5.
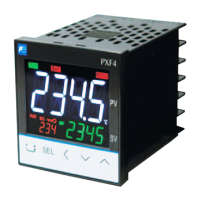
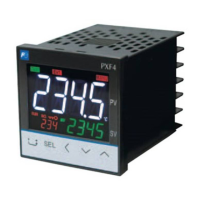
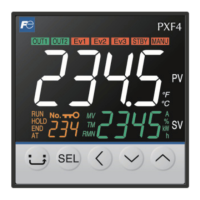
Display Operating procedure
PV indication
PV indication
SV indication

 Loading...