414 A Appendix
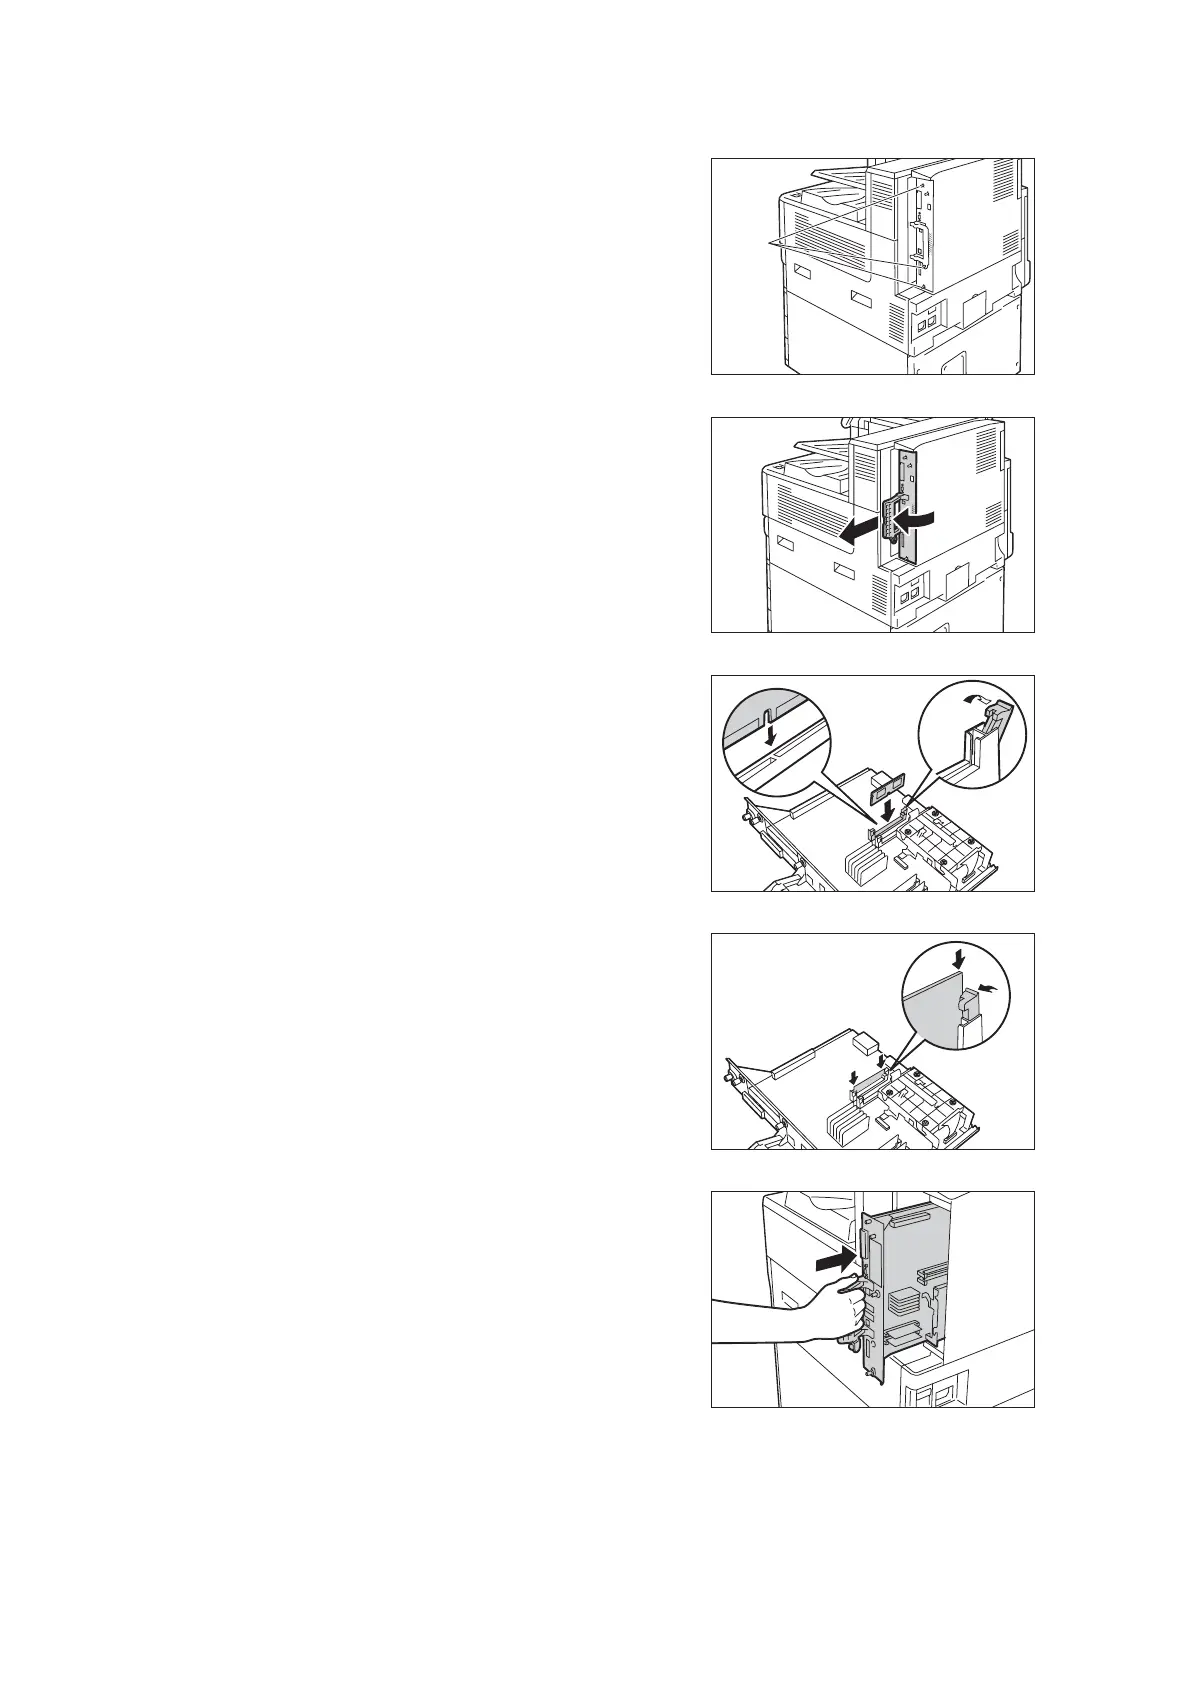
5. Loosen the three screws on the control
board of the printer.
6. Pull out the handle on the control board and
then carefully pull the control board out of
the printer. Place the control board on a
table top or some other flat surface.
Important
• When pulling out the control board, hold it with both
hands so you do not drop it.
7. Widely open the tabs on each side of the
R2 slot as shown in the right figure, and
then insert the Feature Enhance Kit ROM
straight into the R2 slot with aligning the
notch in the ROM with the concavity of the
R2 slot.
Important
• The slot R1 is for other optional kit. Do not insert the
Feature Enhance Kit into the slot R1.
Press the ROM card down firmly into the
slot.
Note
• Make sure the ROM card is inserted securely as far as
it can go.
• When the ROM card is installed correctly, the retaining
clips on both ends stand up.
8. Reinsert the control board back into the
printer. Holding its handle, slide the control
board back into the printer.
Important
• Be sure to hold the handle when inserting the control
board. The control board may be damaged if you
insert it with the handle being folded.
screw
㪩㪉
㪩㪈
㪩㪈

 Loading...


