190
Chapter 8 Hardware Configuration/Utilities
8.1 Jumper Pin Settings
This section explains the jumper pins.
8.1.1 Jumper Pin Setup Procedure
1 Turn off the power and remove the top cover.
"7.2 Removing and Attaching the Top Cover" (pg.164)
2 Touch a metal part of the server to discharge static electricity.
3 Remove the card locking frame.
"7.4 Installing Expansion Cards" (pg.170)
4 Change the jumper pin settings.
"8.1.2 Jumper Pins" (pg.190)
5 Attach the top cover.
"7.2 Removing and Attaching the Top Cover" (pg.164)
8.1.2 Jumper Pins
The following explains how to set the jumper pins ("q" in "1.3.4 Baseboard" (pg.26)) on the
baseboard.
•JP1 ("q" in "1.3.4 Baseboard" (pg.26))
Sets whether or not to clear the CMOS.
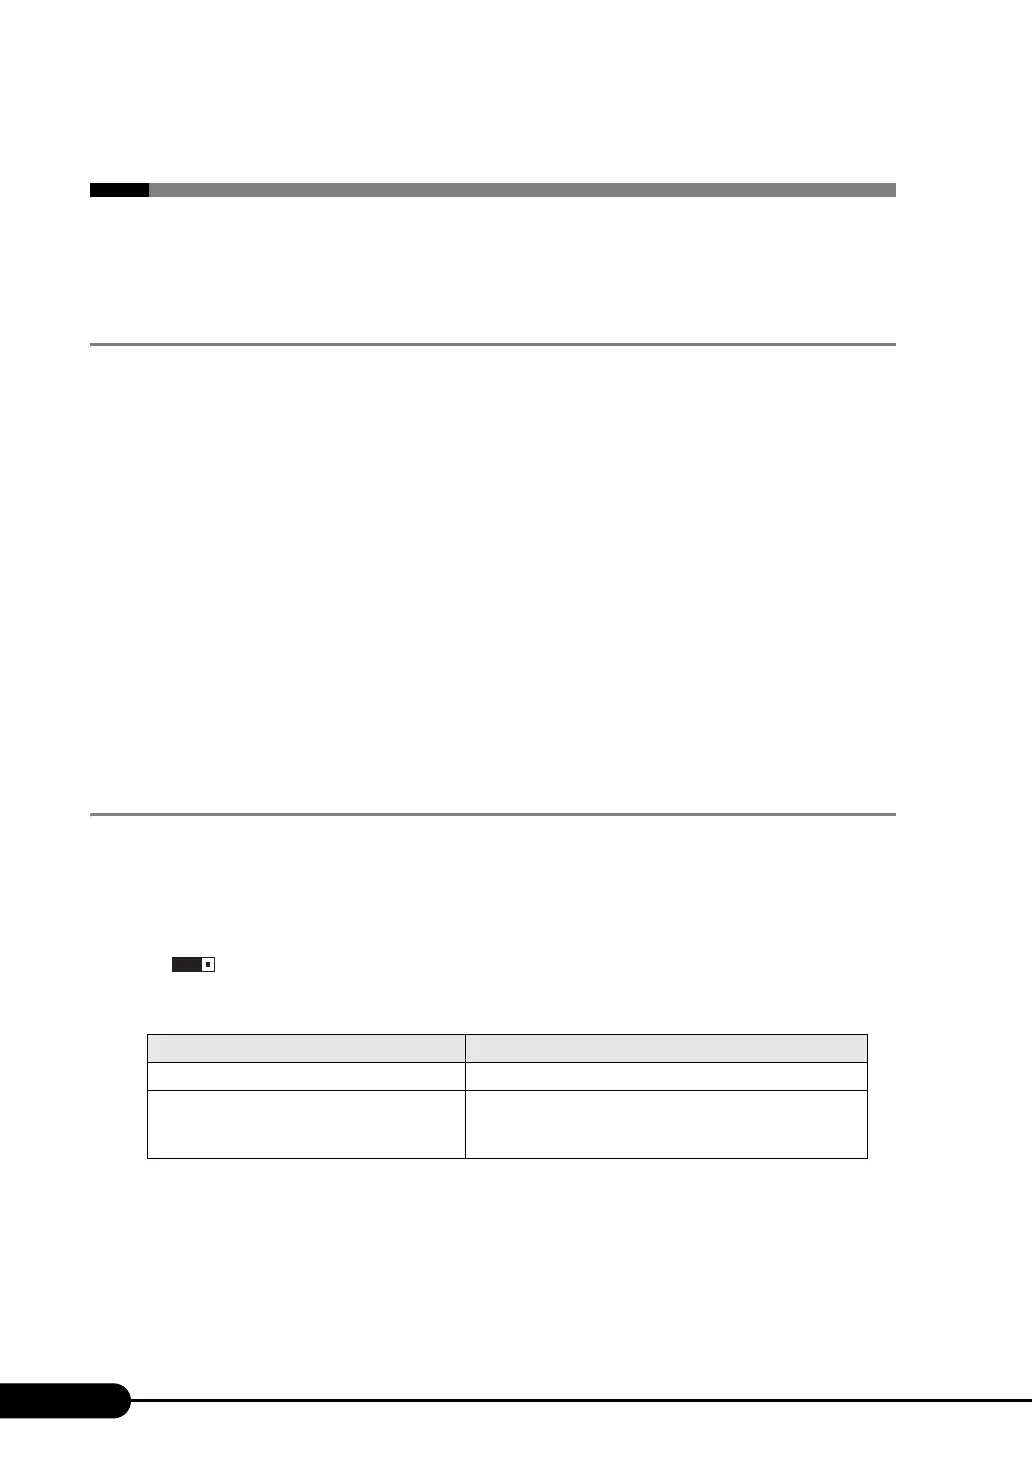
table: Jumper Settings
The jumper settings (short settings) Description
1-2 (at the time of purchase) Does not clear the CMOS.
2-3 Clears the CMOS.
After the CMOS has been cleared, return the jumper to the
original setting.
231
 Loading...