Title Customizing a Button
Identifier GUID-B57EAE4E-D98E-40E3-86D5-30165451BDF4
Language EN-US
Description
Version 2
Revision 3
Changes Updating the app varid for use in Tread
Status Released
Last Modified 16/12/2020 11:04:32
Author hizerdanielle
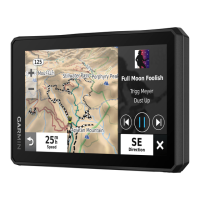
Customizing a Button
1 From the Garmin PowerSwitch app screen, select .
The app enters editing mode.
2 Select on the button you want to customize.
3 Select an option:
• To change the name of the button, select the Button Label field, and enter a name.
• To add an icon to the button, select the Icon field, and select an icon.
• To change the button color, select a color.
• To change the button mode, select a button mode.
• To adjust the intensity of the switch, use the slider.
• To set the button to activate with a control input, select a control input.
4 Select .
5 Select Done.
Title Setting Control Input Functions
Identifier GUID-F26177FA-5B3B-4A2D-8924-2BD83E85115B
Language EN-US
Description
Version 2
Revision 1
Changes No English change. Versioned to fix ZH-CN.
Status Released
Last Modified 10/11/2021 14:15:26
Author pullins
Assigning a Switch to a Control Input
Before you can use control input functions, you must connect a control input to your Garmin PowerSwitch
device (Connecting a Control Input, page 155).
You can assign one or more switches to turn on when the Garmin PowerSwitch device receives a signal from a
control input.
1 Select .
2 Select your Garmin PowerSwitch device.
3 Select a control input.
4 Select one or more switches.
66 Using the Apps