22
www.gateway.com
Chapter 3: Getting Started
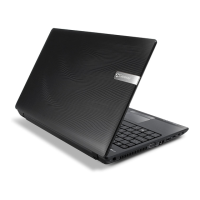
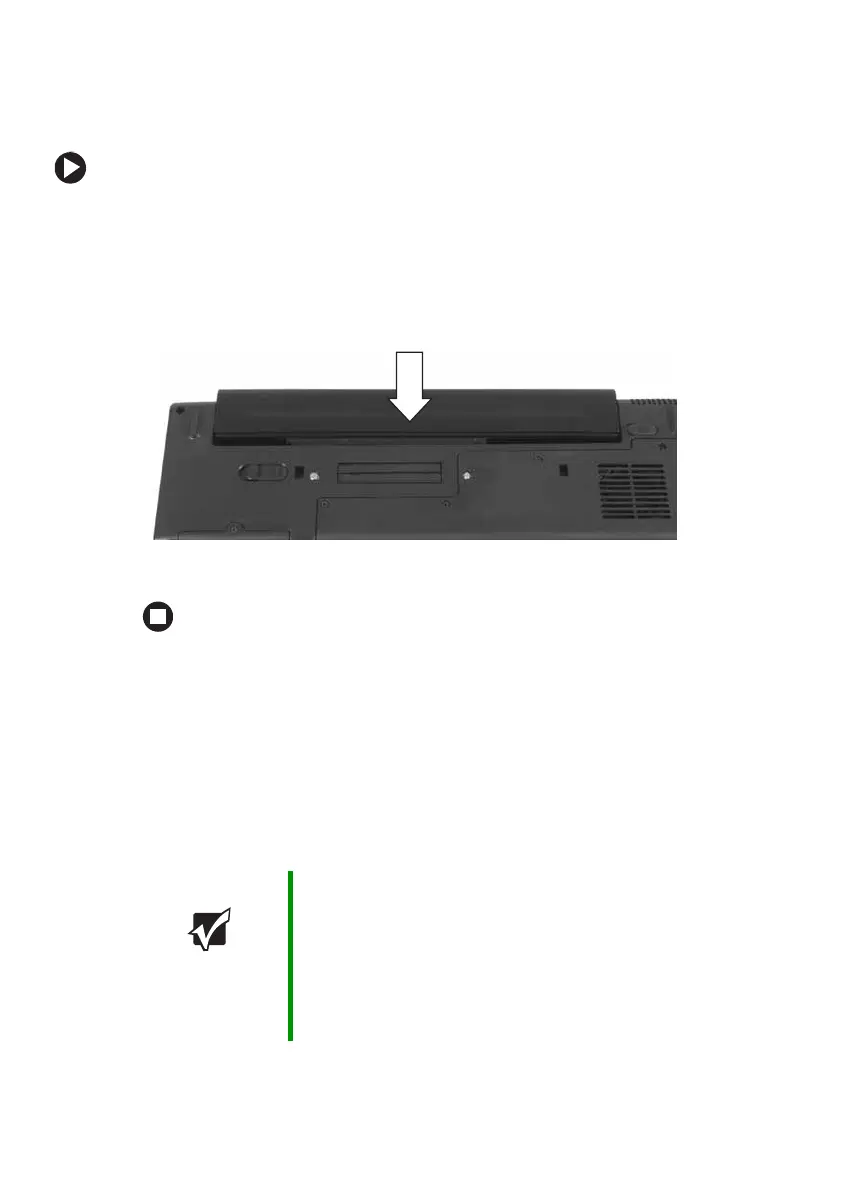
Installing the battery
To install the battery:
1 Close the LCD panel.
2 Turn your notebook over so the bottom is facing up.
3 Hold the battery label-side down and slide it into the open battery
slot until the battery clicks into place.
4 Slide the battery lock to the locked position.
Connecting the ACadapter
You can run your notebook using an AC adapter or your notebook’s
battery. The battery was shipped to you partially charged. You should use
the AC adapter right away to fully charge the battery. Allow three hours
for the battery to fully charge.
Important If the battery is not fully charged before you use your
notebook on battery power for the first time, the battery life
may be much shorter than you expect. If the battery life
seems short even after being charged for three hours, the
battery may need to be recalibrated. For information on
recalibrating the battery, see “Recalibrating the batteries”
on page 65.