82
www.gateway.com
Chapter 6: Upgrading Your Notebook
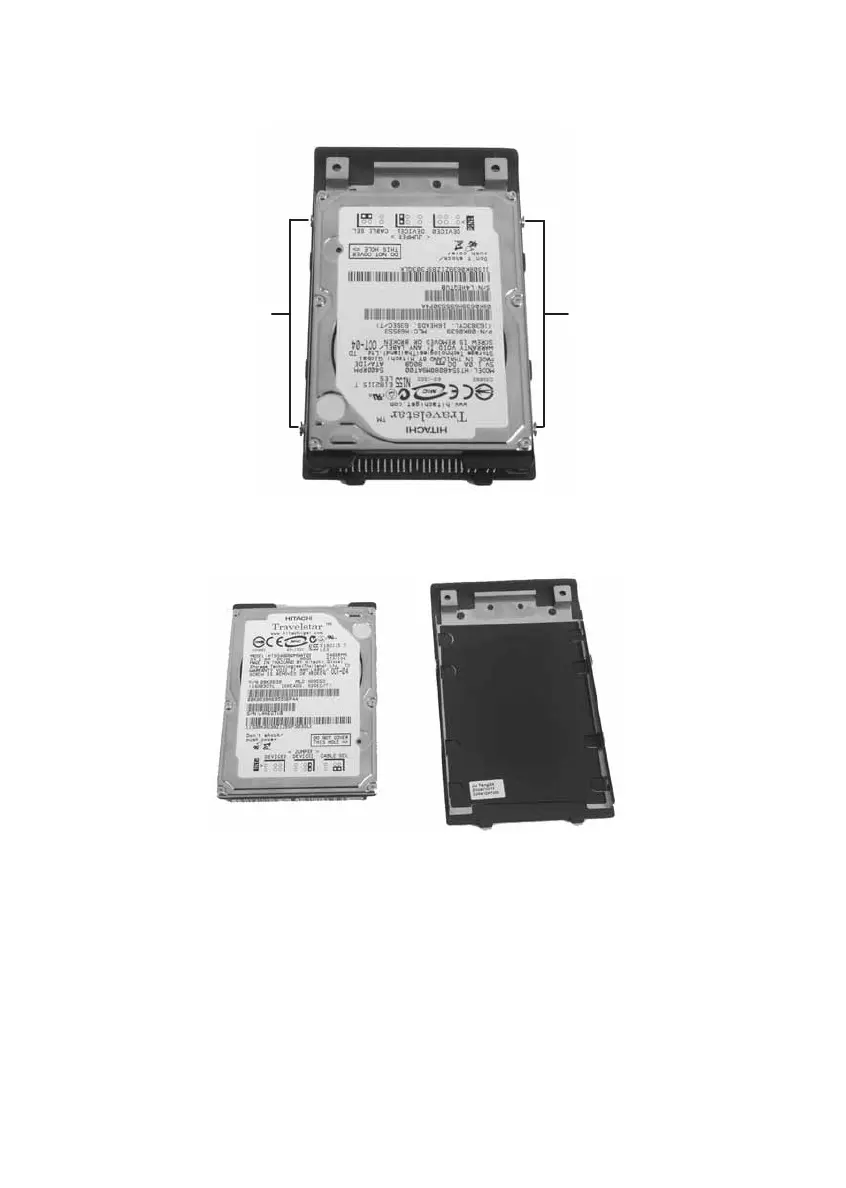
11 Remove the screws that secure the hard drive to the hard drive cover.
12 Remove the cover from the old drive.
13 Insert the new drive onto the cover so the screw holes line up.
14 Replace the screws that secure the cover to the drive.
15 Slide the new hard drive kit into your notebook, then replace the
cover screws.
16 Insert the batteries, then turn your notebook over.
17 Reconnect the optional port replicator.
Screws
Screws