2127661
LOGIQ 400 SERVICE MANUALGE MEDICAL SYSTEMS
RENEWAL PARTS
6–240
REV 9
6–2–98 LV3 Unit (FRU No. 770)
Time Required
30 Minutes
Tool Required
Screwdriver
Procedure
Refer to ILLUSTRATION 6–135 on page 6–241.
1. Turn the LOGIQ 400 system power OFF.
2. Remove the Side Cover left.
3. Unscrew four screws (
1
–
4
).
4. Remove the Left PS Cover.
5. Unscrew two screws (
5
and
6
).
6. Disconnect one connector (
7
) .
7. Unscrew fourteen screws (
8
–
21
).
8. Pull the LV3 Unit Outwards.
9. Disconnect one connector (
22
) from the rear of LV3 Unit.
10. Unscrew three screws (
23
–
25
).
11. Remove the LV3 Unit.
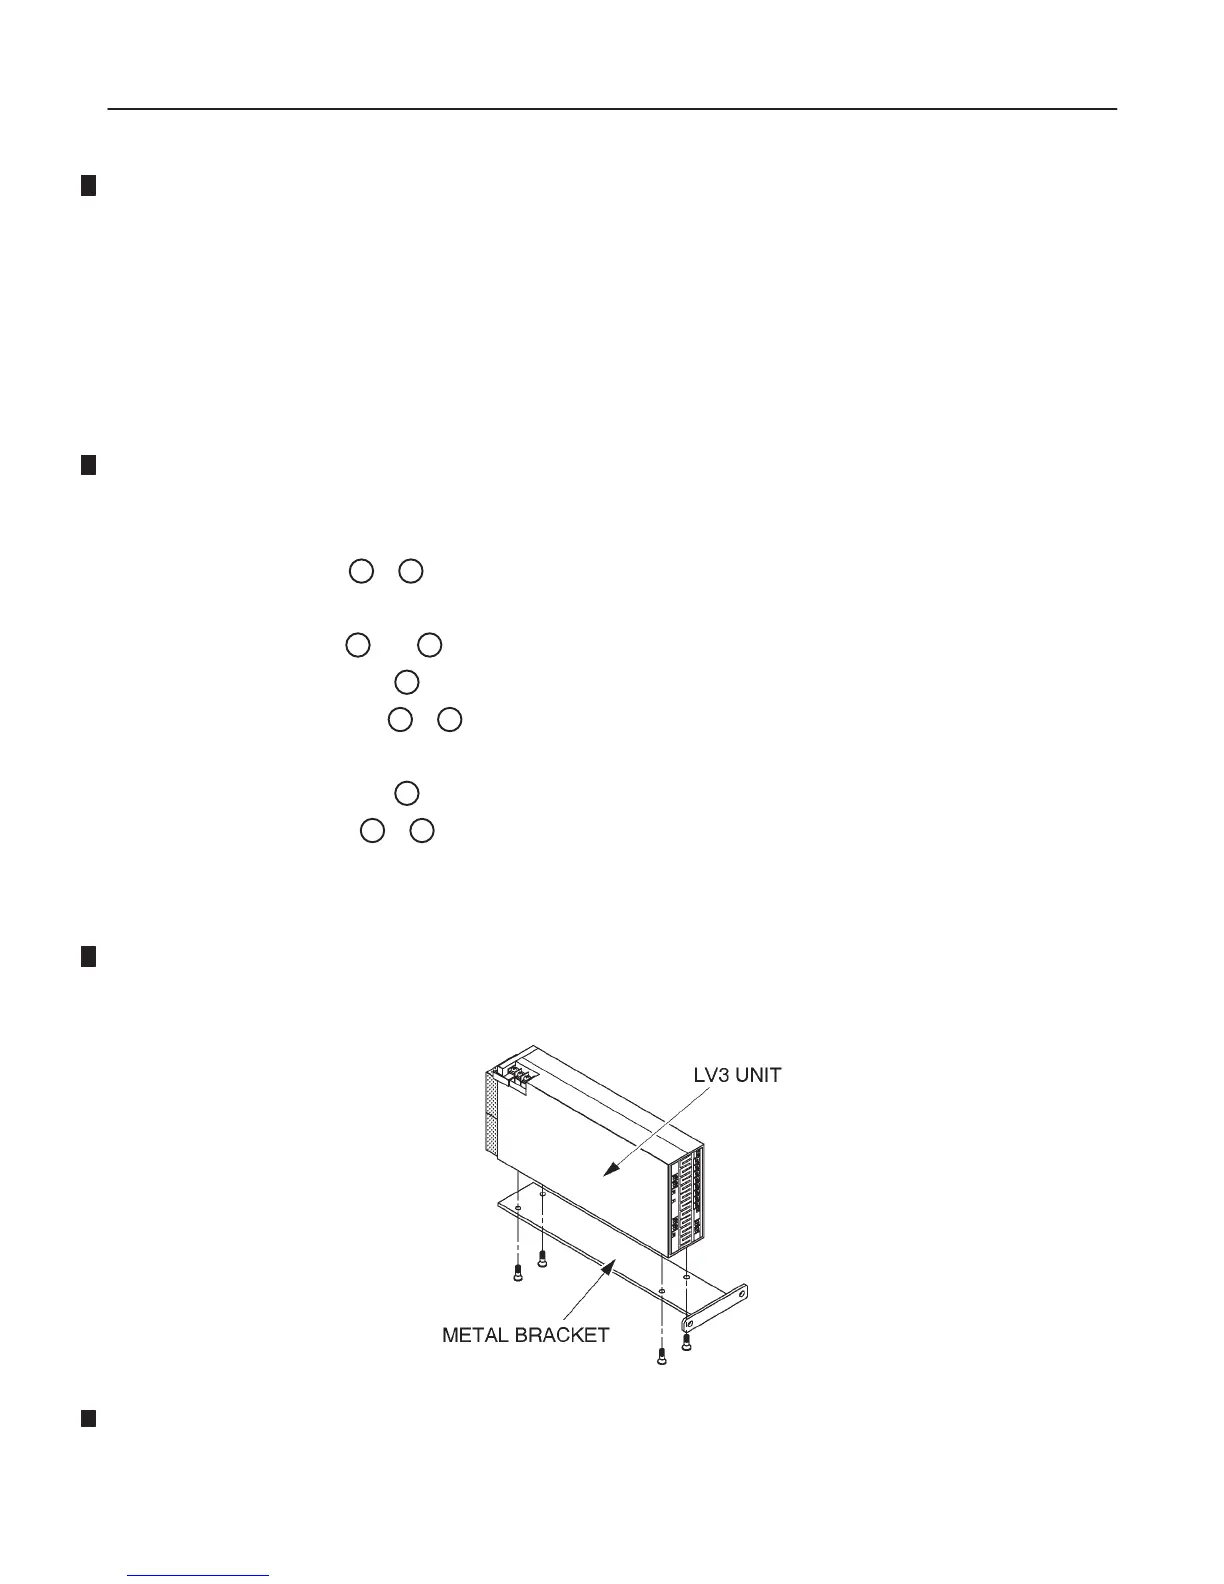
Note
When installing the LV3 Unit, it is necessary to remove the HV Unit temporarily. Refer to section 6–7
“REPLACING LV2 UNIT WITH LV3 UNIT” on page 6–276.
Note
When replacing the LV3 Unit, re–use the metal bracket installed onto the LV3 Unit.
SHORT PLUG AND FG WIRE
ILLUSTRATION 6–134

 Loading...


