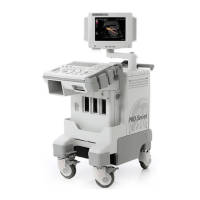
GE MEDICAL SYSTEMS
2127661
LOGIQ 400 SERVICE MANUAL
RENEWAL PARTS
6–276
REV 9
6–7 REPLACING LV2 UNIT WITH LV3 UNIT
6–7–1 Introduction
This section provides the procedures for replacing the LV2 Unit with the LV3 Unit on LOGIQ 400 console.
6–7–2 Time Required
Approximately 1 hour
6–7–3 Parts Required
ITEM PART NAME QTY PART # REMARKS
1. LV3 UNIT 1 2211491 including CN31 CABLE
(for LV3 UNIT) and PN LABEL
6–7–4 Procedures
(A) Removing LV2 Unit
1. Turn the LOGIQ 400 system power OFF.
2. Turn the circuit breaker located at the rear side of the Power Supply to the OFF position (lower side).
3. Unplug the unit. Follow the OSHA Lockout/Tagout Requirements (29 CFR 1910.147. Direction 46–015902).
4. Remove two screw caps (located at the place of the
3
and
4
screws).
5. Unscrew four screws (
1
–
4
). Refer to ILLUSTRATION 6–159 on page 6–277.
6. Remove the Side Cover Left.
7. Unscrew three screws (
5
–
7
). Refer to ILLUSTRATION 6–159 on page 6–277.
8. Remove the Front Base Cover.
9. Unscrew five screws (
8
–
12
). Refer to ILLUSTRATION 6–159 on page 6–277.
10. Remove the Side Cover Right.

 Loading...