76
Dimension 200
10.
Using the arrow keys, move the carriage to the extreme lower
left corner (absolute 0,0 or the orientation point) of the table.
11.
In ART Path, click on Output. The Job Output dialog box
appears. (Make sure that no pre-position moves have been
entered.)
12.
Click on Rout.
13.
Press START/STOP three times to begin table milling. This
displays the header and tool messages and begins routing.
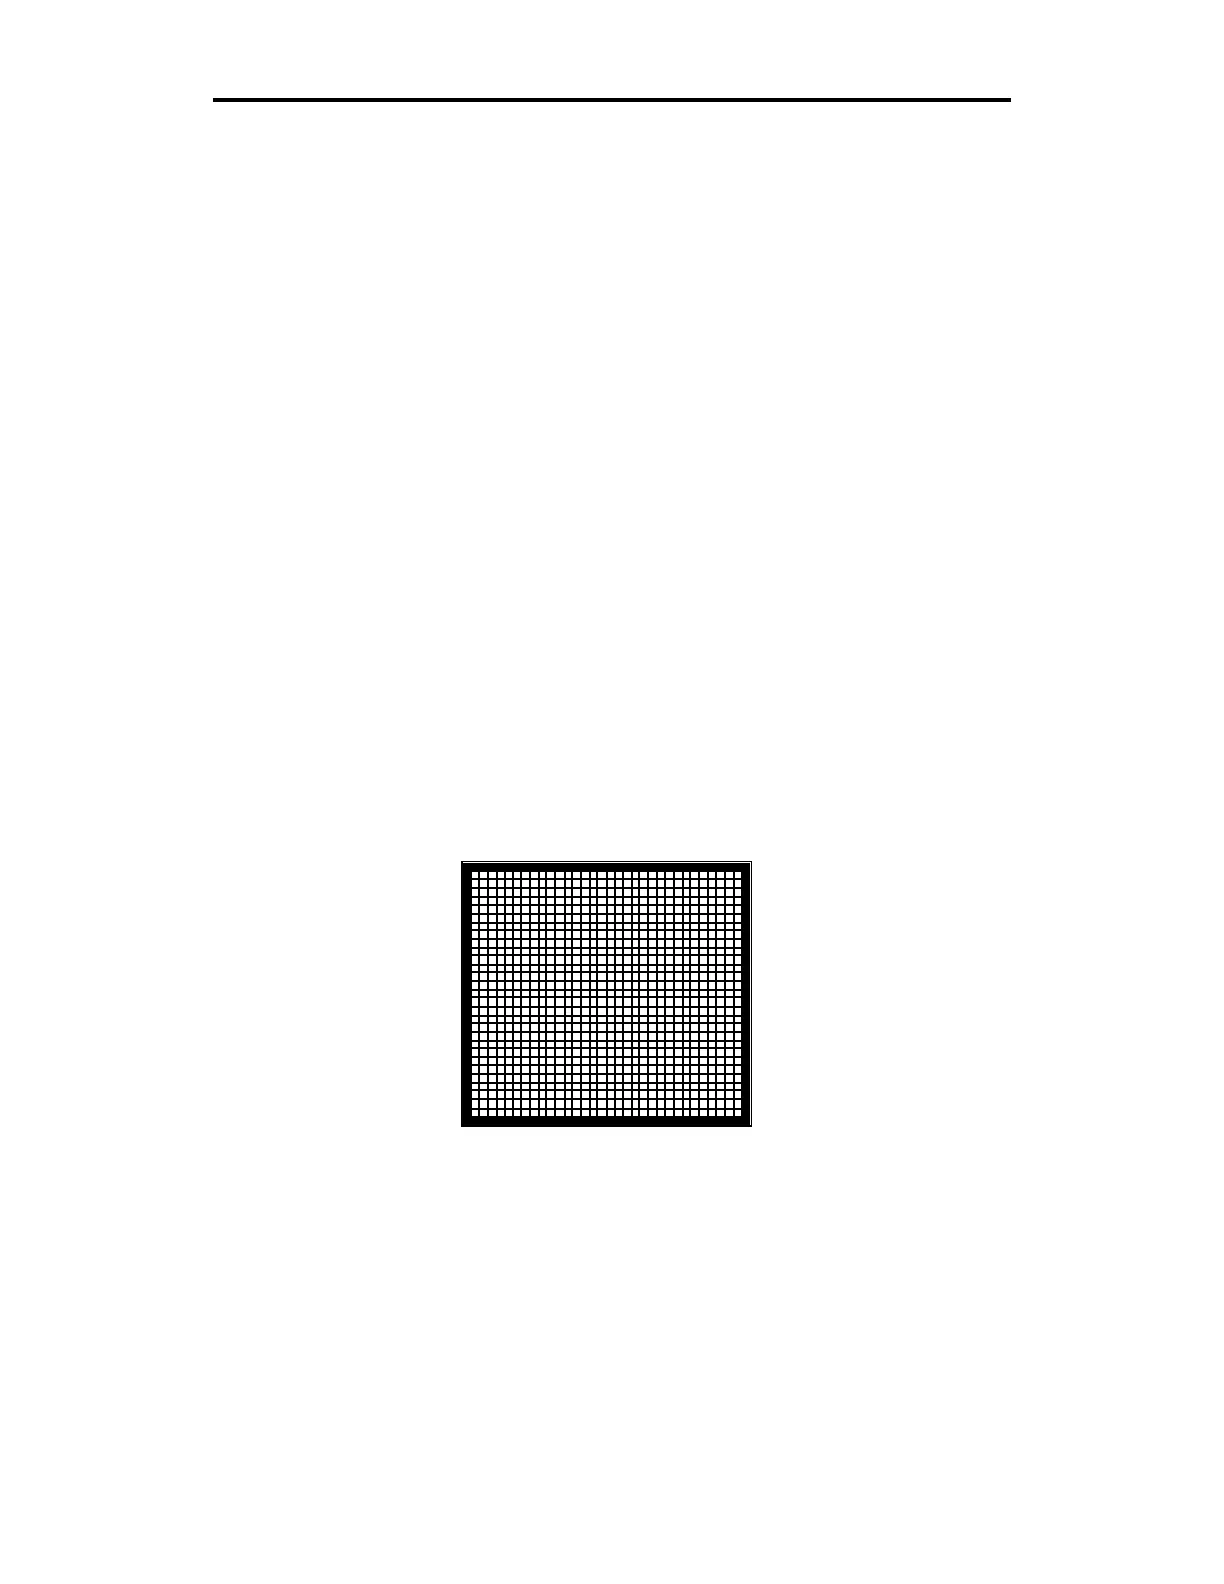
Grid Engraving
The grid consists of a numbered grid that assists in precise
alignment of material on the table. It should be engraved on the
mats after the mats have been milled.
After milling the table mats, choose the appropriate grid
engraving procedure described to engrave the grid:
normal grid engraving
grid engraving with the T-Vac System option installed
NORMAL GRID ENGRAVING
The grid engraving data needed is supplied with ART Path in the
file
ENGRGRID.RTP
.
1
ENGRGRID.RTP