Using The Handheld Tester
1
PAGE 23
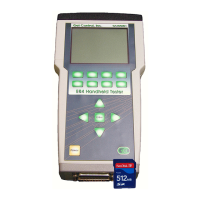
Figure 22 - IR Auto Test Active
Figure 23 - IR Auto Test with Errors
IR Transceiver Auto Test Screen
The IR Transceiver Auto Test changes the state of each Output
and Input on the transceiver and performs verification.
Voltage levels are recorded for each signal, in both the ON
and OFF states. The screen displays the current state of each
output and input. IR alignment must be maintained during
the entire test.
Errors detected during the IR Auto Test are marked on screen
as they occur. Arrows are displayed next to the input / output
signal that failed.
Press the Abort soft key to abort the IR Transceiver Test.
Using The Handheld Tester
1
PAGE 24
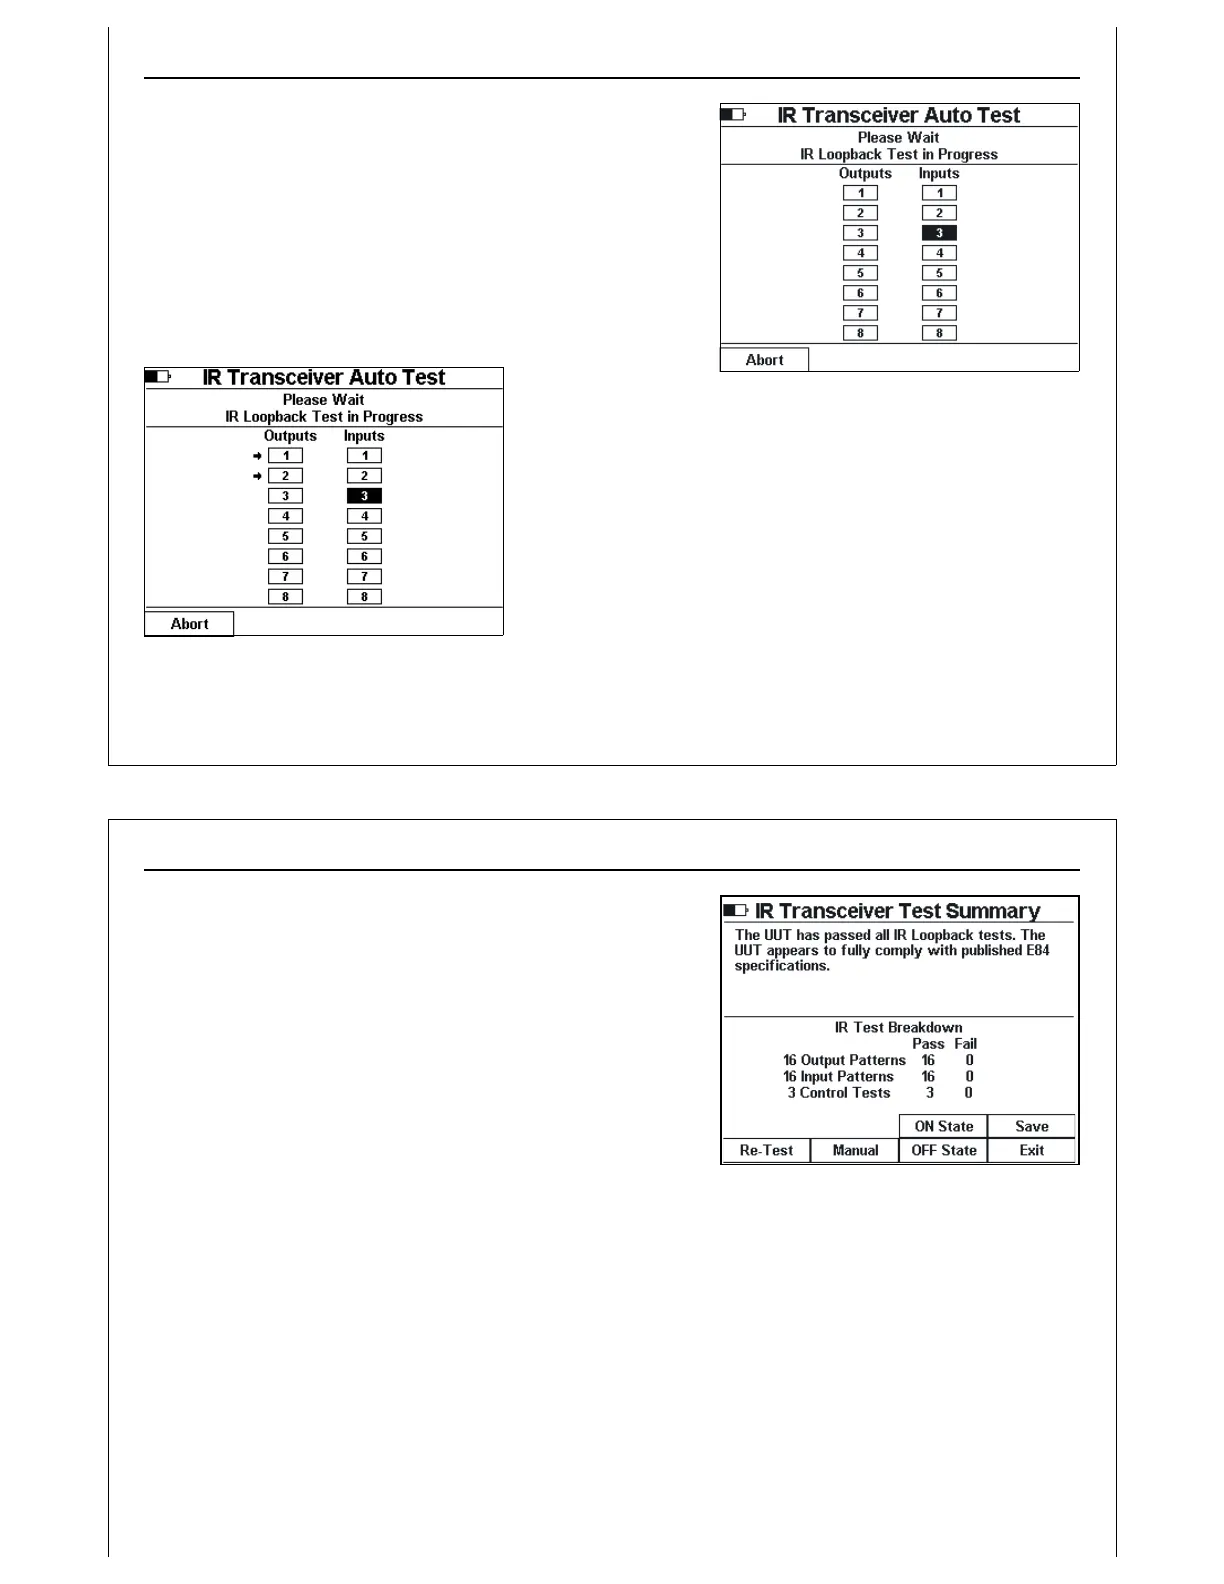
Figure 24 - IR Transceiver Test Summary
Screen
IR Test Summary Screen
When the IR Transceiver Test completes, the HHT displays the IR
Test Summary Screen showing the statistical results of the test.
IR Test completion status is displayed near the top of the
screen. If the transceiver fails at least one test, an error
message is displayed.
Press the Save soft key to save IR test results data (see Paperless
Storage System above). IR test results saved in the PSS include
voltage measurements for all input, output, and control signals
in both the ON and OFF state. The ASCII report generated
provides a formatted table of voltage and current levels for all
signals.
If the test failed, press the Err Detail soft key to display specific details of each error detected.
Press the ON State or OFF State soft keys to display voltage and current measurements taken during the
IR test.
Press the Exit soft key to close the IR Transceiver Test and return to the Main Test Menu.