Using The Handheld Tester
1
PAGE 31
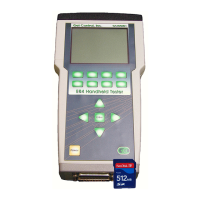
Figure 31 - Interface to DLD Main Screen
Interface to DLD
The HHT can interface with an attached GCI DLD or RJ11
Transceiver (with built in DLD) using Test Menu Option 5.
The GCI DLD captures and writes E84 handshake timing
details into non-volatile memory. Internal memory provides
the capacity to store over 50 FOUP handoffs.
Using the HHT’s DLD Interface capabilities provides access to
DLD’s configuration, log file upload, and live display mode
features.
The Interface to DLD Screen shows a graphic depicting the
proper connection between the HHT and the DLD. Typically,
the DLD would be installed between the Process Equipment
and it’s PI/O Transceiver. Alternately, the DLD can be plugged directly into the HHT’s Passive E84 Port.
The HHT connects to the DLD using a straight through 9-pin male-to-female cable.
Using The Handheld Tester
1
PAGE 32
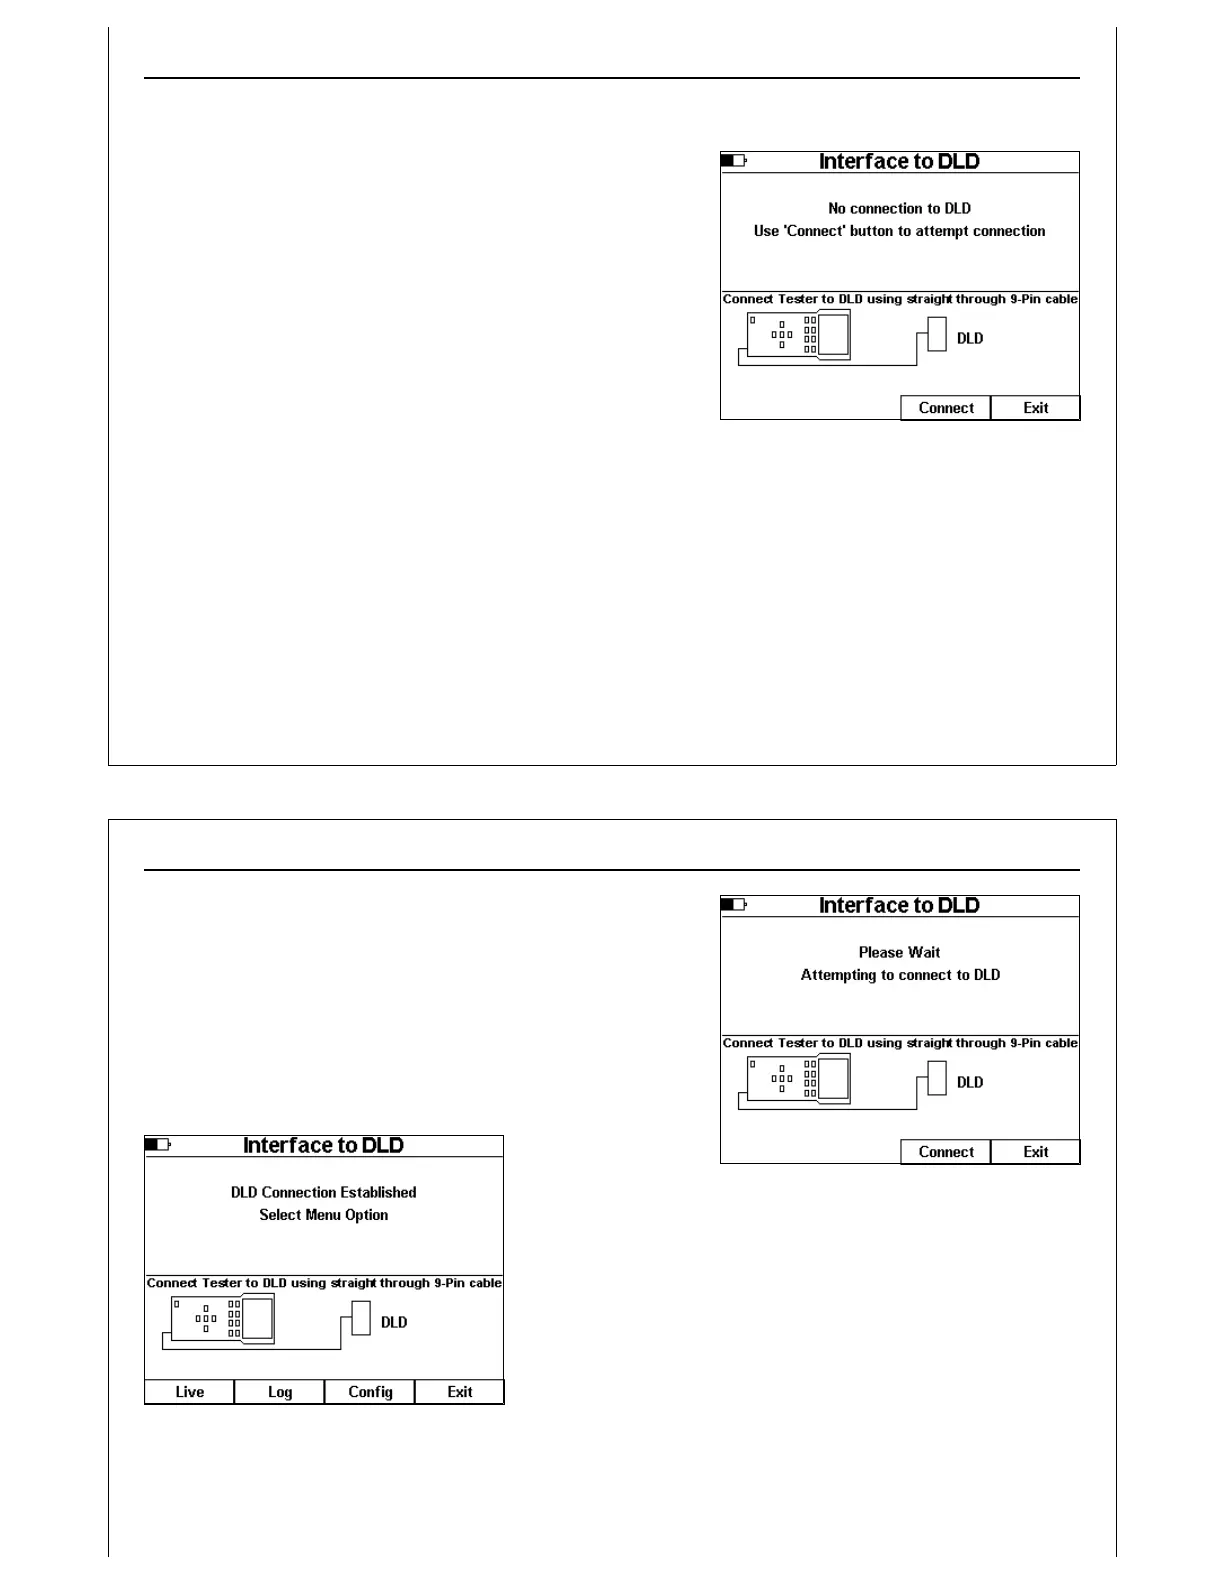
Figure 32 - Interface to DLD - Attempting
to Connect
Figure 33 - Interface to DLD - Contact
Established
Press the Connect soft key to attempt to establish
communications with the DLD.
A status message is displayed while the HHT searches for an
attached DLD. The DLD periodically checks the status of its
COM port to see if an HHT is connected. Connection may take
up to 5 seconds. If no DLD is found within 5 seconds, the HHT
terminates the attempt and displays an error message.
Once contact is
established, the HHT
adds additional soft
key options to the
Interface to DLD Screen.
Press the Live soft key to enter the DLD Live Mode.
Press the Log soft key to upload the DLD’s log file.
Press the Config soft key to modify DLD configuration settings.
Press the Exit soft key to return to the Main Test Menu.
DLD Live Mode