Using The Handheld Tester
1
PAGE 49
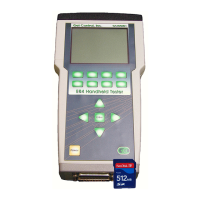
Figure 47 - Charge Battery Screen
Enter the Configuration screen using Option 7 from the Test
Menu. Press the Charge soft key to display the Charge
Battery Screen. This screen displays battery status information.
This information is valid only when the 15 VDC wall supply is
not connected. If connected, the 15 VDC supply will
influence battery levels, and cause the HHT to improperly
report that no charge is required.
Plug the 15 VDC wall supply to a 120 VAC source. Connect
the wall supply into the front panel connector on the E84 HHT.
From the Charge Battery Screen, press the Charge soft key to
begin charging. The Charging Batteries screen displays the
current battery voltage, battery temperature, charge current,
charge time, and maximum time to charge completion. After the batteries are fully charged, the E84
HHT terminates the charge cycle, and displays final charge statistics.
The Power timeout is disabled during the charge cycle. When the charge cycle completes, the Power
timeout is reactivated. This allows for over-night re-charging. When the charge cycle completes, the
charge statistics will be displayed. Following the Power timeout period, the HHT will auto-power down.
Ensure that the Power timeout is not disabled (using a value of 60) when charging over-night.
HHT Firmware Field Update
The HHT firmware is continuously being updated to add new features. When an update is released, it is
placed on the GCI web-site at:
Using The Handheld Tester
1
PAGE 50
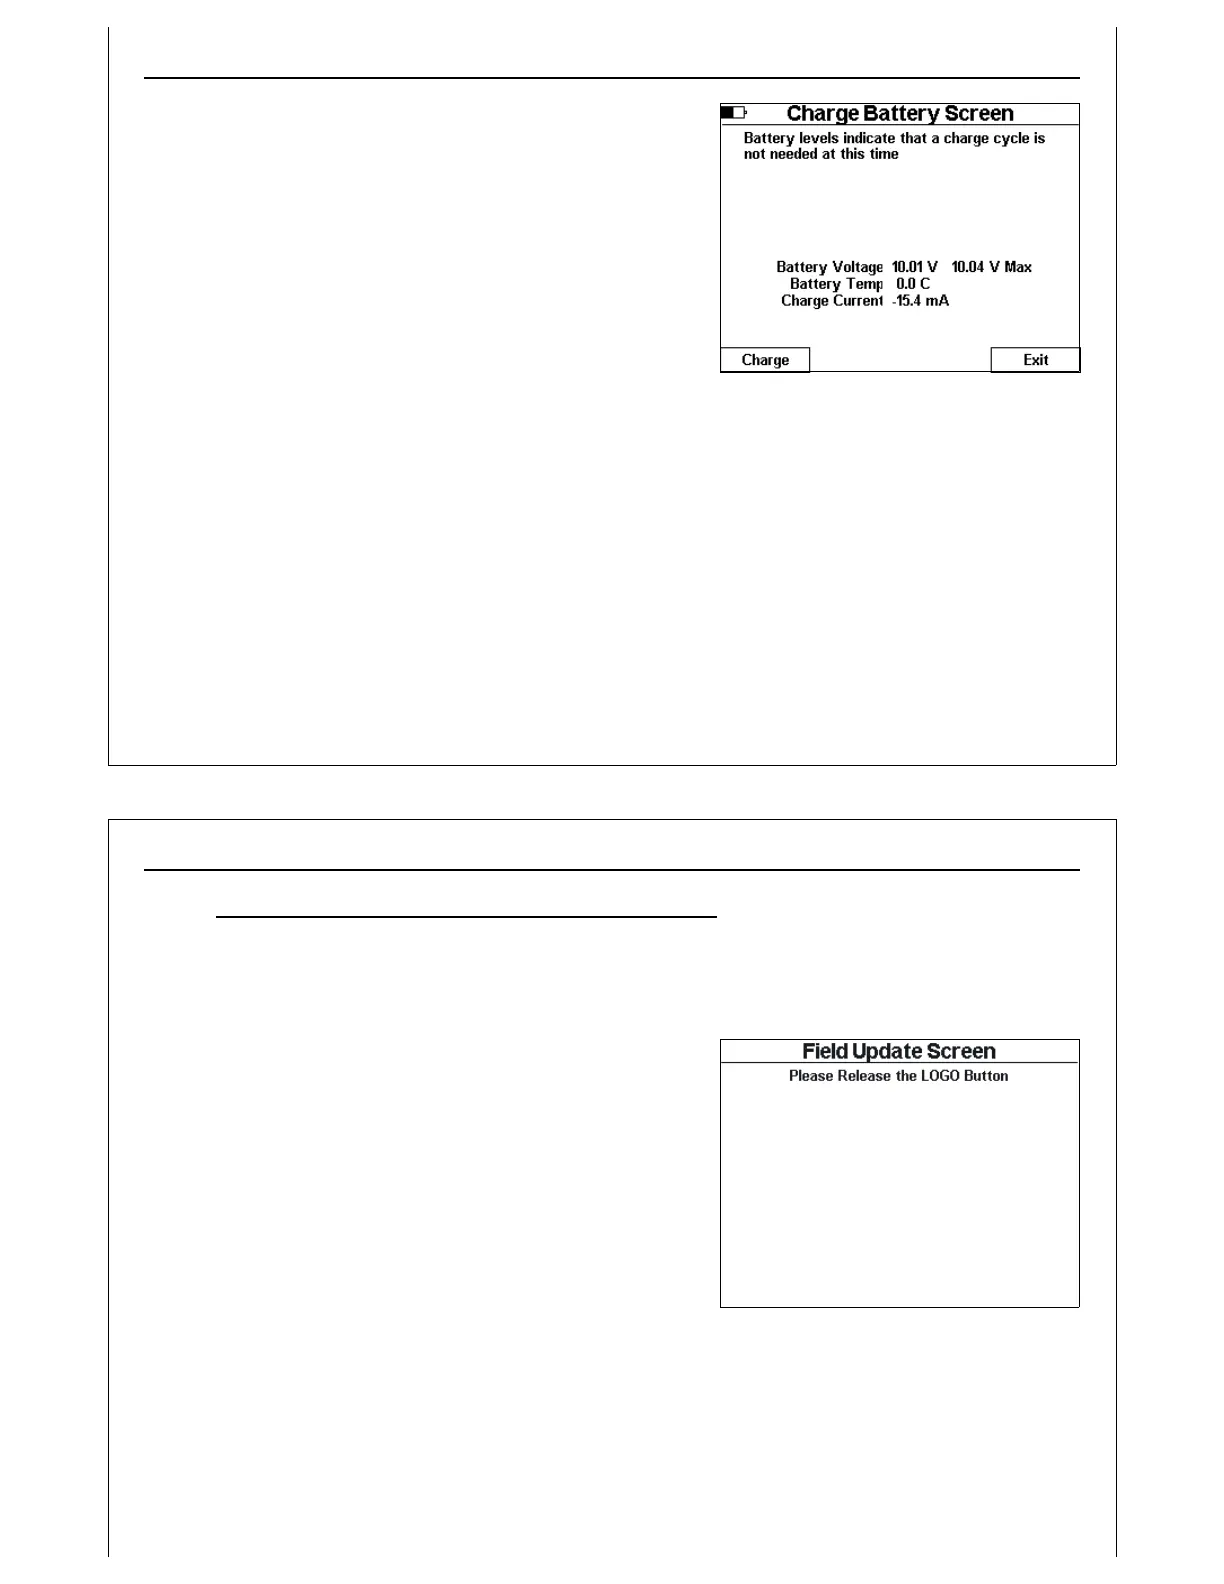
Figure 48 - Field Update Screen
www.getcontrol.com/products/e84handheld_tester.html
To update the HHT firmware, download the update file from the GCI web-site. The update filename
includes the version number of the update. When updating the HHT, the file must be renamed to
HHTUPDAT.S19. Save the downloaded file onto an SD Card in the root directory as HHTUPDAT.S19.
Insert the SD Card into the HHT. Press and hold the GCI Logo
key, which is at the lower right corner of the HHT’s keypad.
With the Logo key pressed, power on the HHT. The Field
Update Screen will be displayed.
Figure 48 shows the Field Update Screen. Release the Logo
key and follow the on-screen instructions to update the HHT’s
firmware.