12
Installation
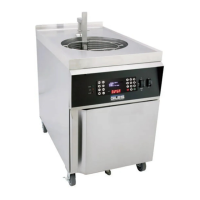
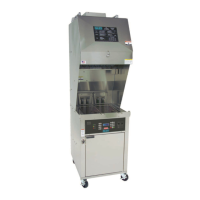
GBF-50 Fryer
2.09.2 Heat Test
Heating elements become extremely hot when energized! Skin contact can result in severe
injury.
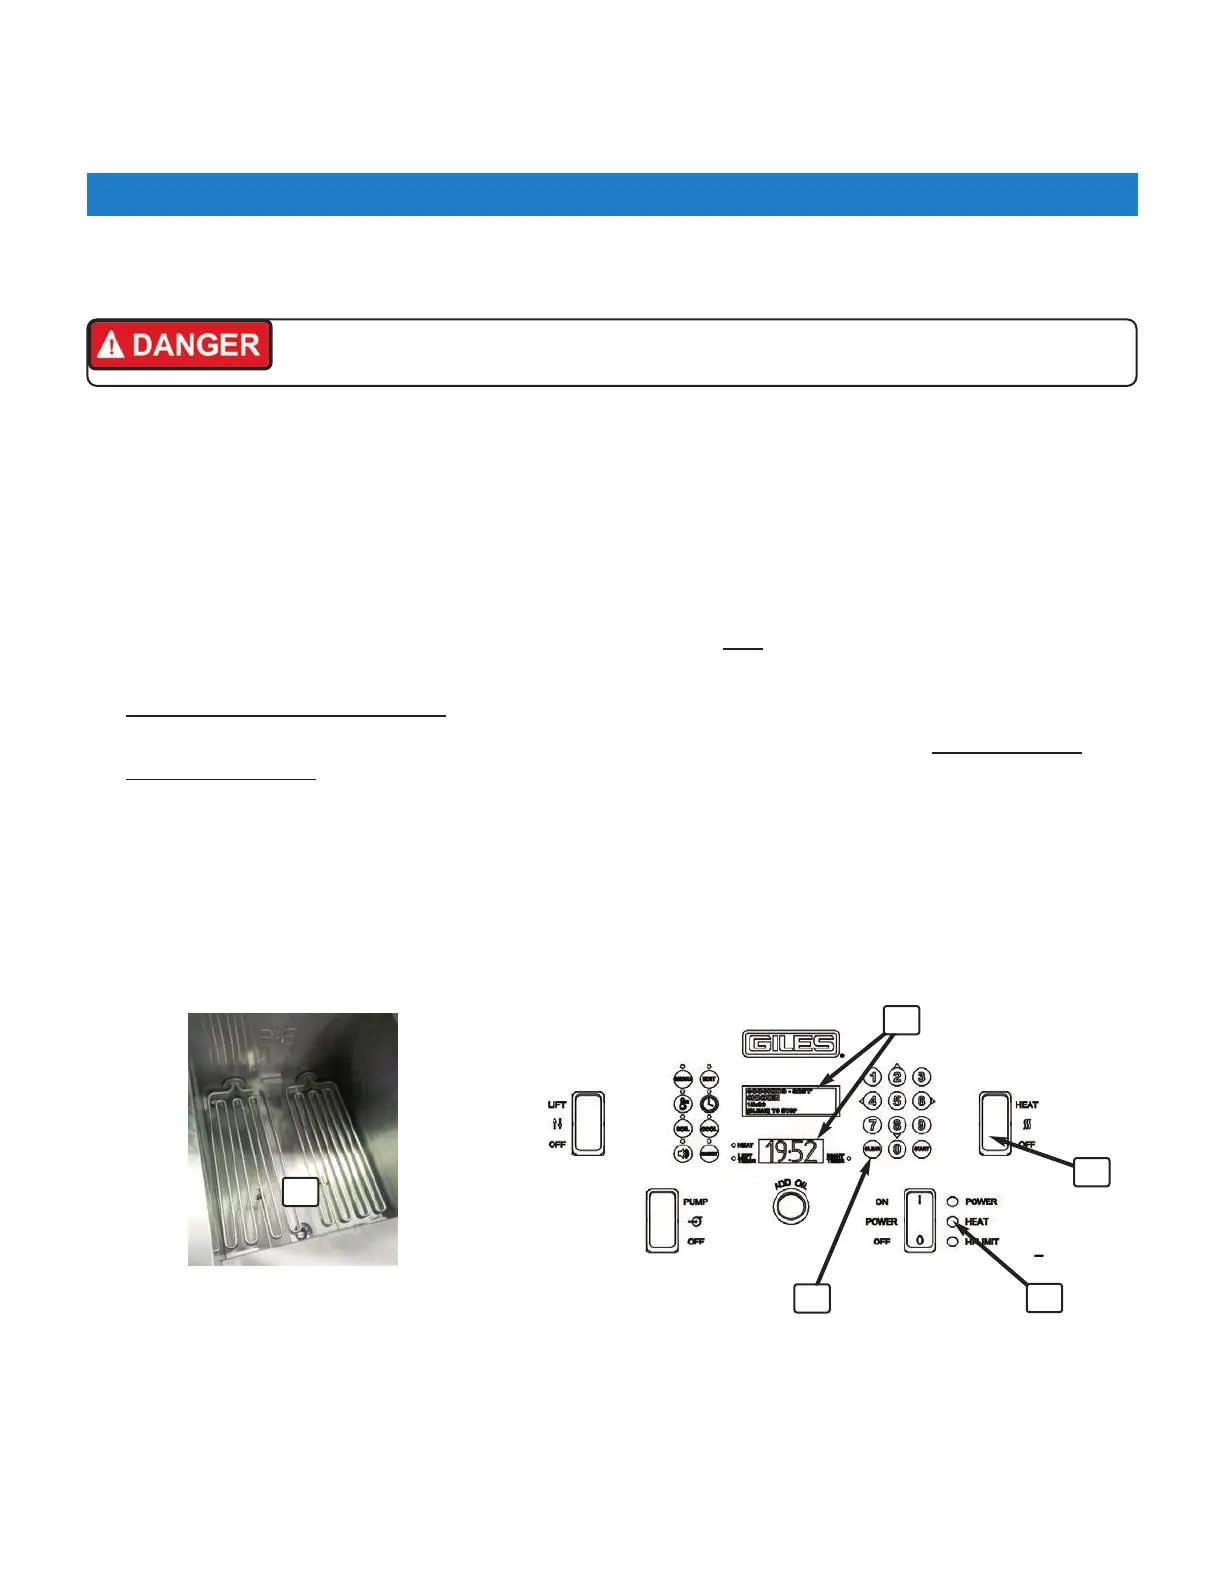
1. Confirm that Heat Switch ② is in the [OFF] position and drain valve is completely [CLOSED].
2. With a soaking wet towel, liberally dampen heating elements
①, leaving visible moisture on the surfaces.
3. The two controller displays
③ should show the following: Upper ‐ “POWER FAILURE PRESS [START] TO
PREHEAT” ... Lower ‐ “HOLD”. Press the [START] key
④.
4. Upper display changes to show message PREHEAT and a temperature setpoint value higher than 300°F. The
small red HEAT indicator (beside lower display) will turn ON and real‐time temperature will be displayed on
the lower display. The control panel amber HEAT light
⑤ should NOT be ON.
5. Place Heat Switch ② in the [HEAT] position. The HEAT light ⑤ should now turn ON. Leave switch ON for
NO MORE THAN 15 to 20 SECONDS
then return to [OFF] position.
6. The moisture on elements should dry quickly and heat should be felt rising from the vat. DO NOT TOUCH
HEATING ELEMENTS!
9. If heating elements do not dry rapidly (15‐20 secs) or heat is not detected, refer to Section 6.01,
Troubleshooting Procedures, else proceed to Section 2.09.3 below.
NOTE: While performing this test, if the HEAT light turns OFF, an alarm sounds and the upper display shows a
message “ERROR ‐ MAX ELEMENT TEMP”, return Heat Switch to [OFF] and proceed on to the next step, as this
would also be an indication that the elements were properly powered.
3
4
2
5
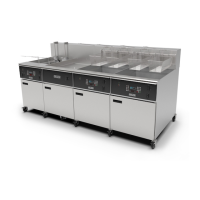
This test confirms that heating elements are being powered and properly energized by the controller. Perform test for
each fryer unit in a banked system.
1