47
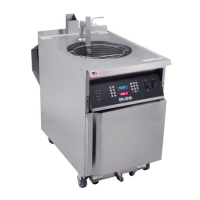
Fryer Operation
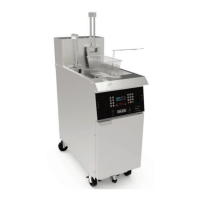
GBF-50 Fryer
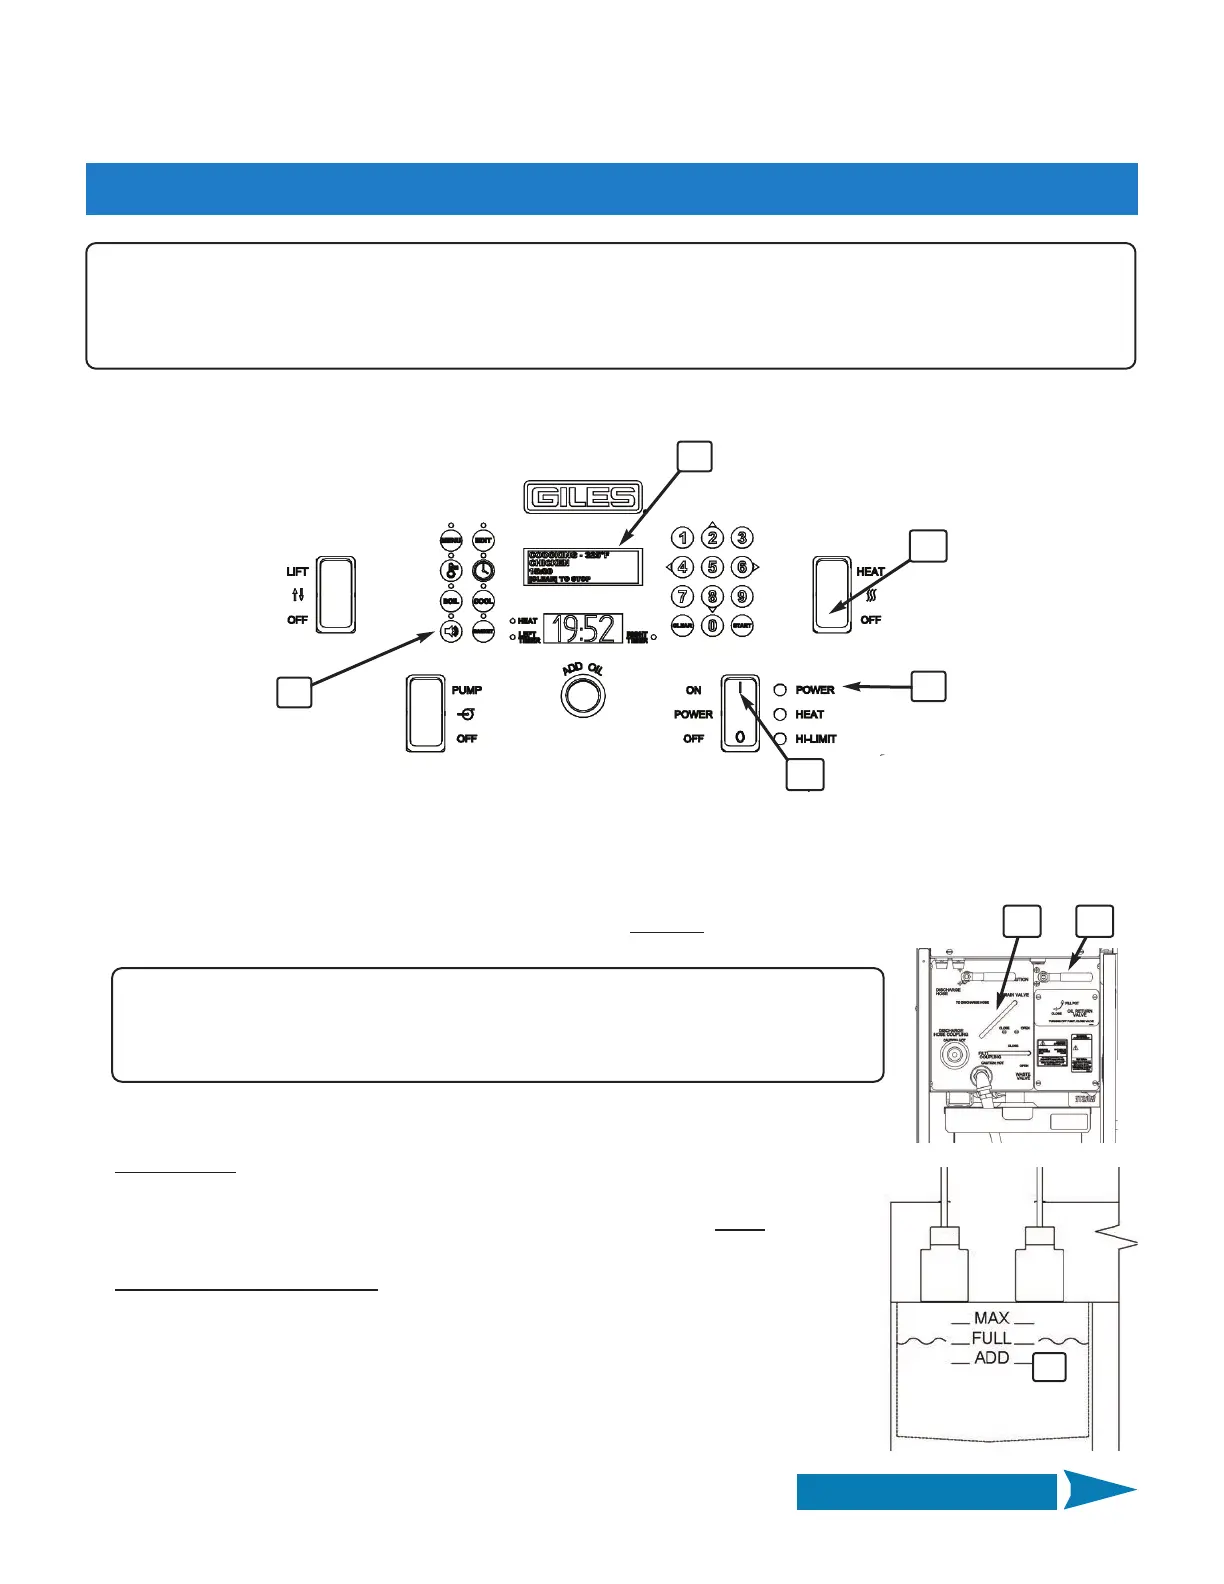
1. Place Power Switch ① in [ON] position; POWER light ② and Controller ④ turn ON. Controller boots up as
explained in Section 4.01.10 and the alarm sounds. At this time, DO NOT press the [START] key as prompted by
controller, only press [ALARM] key ⑤ to silence alarm.
2. Ensure that the Heat Switch ③ is in the [OFF] position. DO NOT
place switch in [HEAT]
position at this time.
3. Even if there was no alarm, it is still best to open lower cabinet door and confirm that
the Drain Valve ⑥ is CLOSED tightly (left to stop).
IMPORTANT!
Fryer will not heat unless drain valve is fully closed and the valve
interlock is engaged.
4. Fill cook vat with your preferred fresh liquid frying shortening. Fill ONLY
to the
[ADD] level mark ⑦, allowing for expansion as oil heats.
DO NOT use solid shortening
.
1
7
6
3
Continued on Next Page
NOTE:
After power‐up, if the “DRAIN OPEN” alarm sounds and error message shows on
upper display ④, check drain valve handle. Closing fully should reset error
alarm, press the [ALARM] key and continue.
5
4
2
8
4.02.1 Filling & Preparing Fryer for Cooking
NOTE:
Before using the fryer for first time, be sure all installation steps have been properly performed, including
necessary cleaning (boil out, wash accessories, etc.).
The steps described here assume starting with a clean, empty fryer (baskets & crumb screen removed).
 Loading...