6.1 Connecting the Printer
92
Connector Pinouts
Connecting the PRINTER to the Instrument
1. Confirm that the instrument and
Printer are turned off.
2. Connect the AC Adapter to the
Printer, and insert the power
plug into an outlet.
3.
Connect the RS-232C Cable
to
the RS-232C connectors on the
instrument and printer.
4. Turn the instrument and printer
on.
RS-232C Cable
3
AC Adapter
2
4
Printer
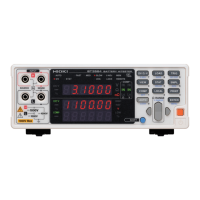
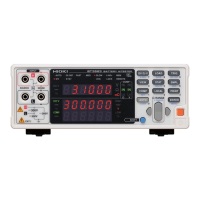
Model BT3562 (BT3562-01)
25 ................................ 14
Printer (25-pin) Connector (Example)
Instrument (9-pin) Connector
Pin
Signal
Name
Function
2 TxD Transmit Data
3 RxD Receive Data
7 GND Signal or Common Ground
4 RTS Request to Send
5 CTS Clear to Send
Function
Signal
Name
Pin
Receive Data RxD 2
Transmit Data TxD 3
Signal or Common Ground GND 5
6 7 8 9
1 2 3 4 5
13 ........................................ 1