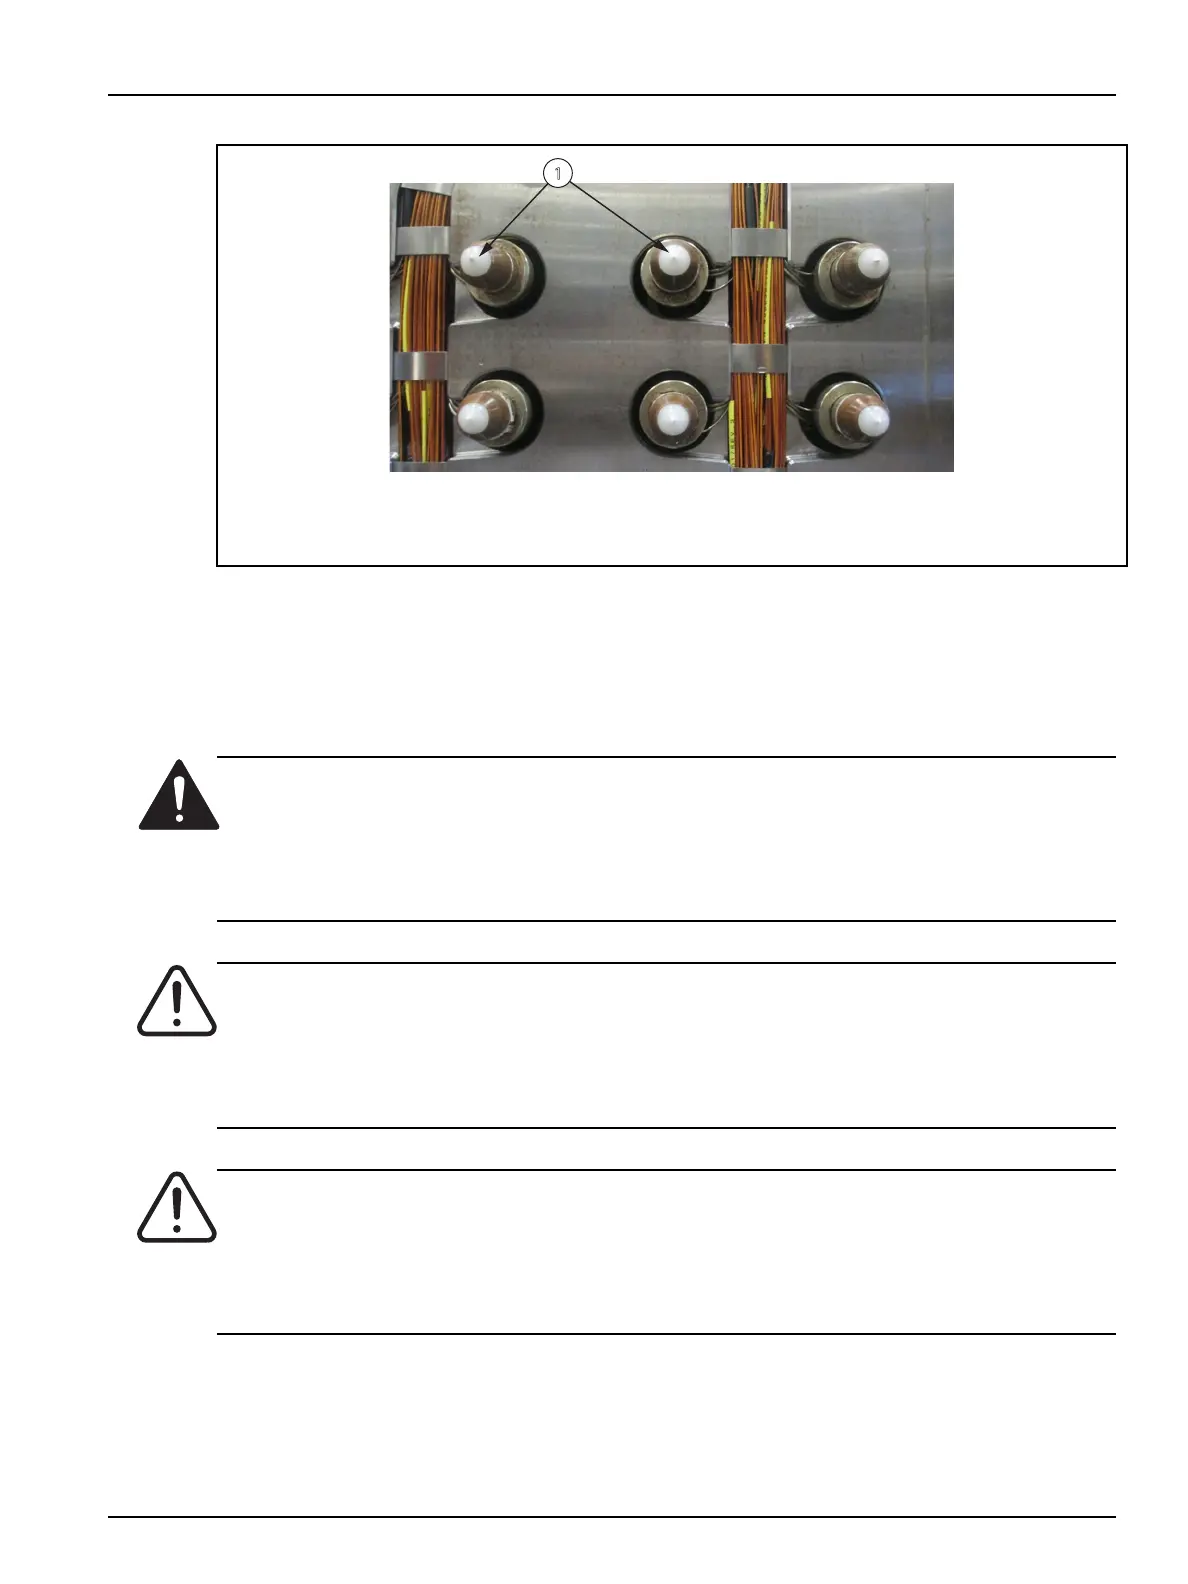
Figure 6-44: Gate Bubbles
1. Gate Bubbles
To remove the insulating gate bubbles, do the following:
1. Remove the cavity plate. Refer to Section 6.14 for more information.
2. Connect the hot runner to a controller.
3. Turn on the controller.
DANGER!
Electrocution hazard – risk of serious injury and/or damage to the hot runner. Do not turn
on the heaters if water has leaked into the hot runner. If water has leaked into the hot
runner, the hot runner must be completely disassembled, dried and assembled before the
heaters are turned on.
WARNING!
Hot resin spray hazard – risk of serious injury. Hot resin may unexpectedly spray from the
nozzle tips while the hot runner is reaching operating temperature. To avoid serious burns,
wear personal protective equipment consisting of a heat-resistant coat, heat-resistant
gloves and a full face shield over safety glasses. Use adequate ventilation for fumes.
WARNING!
Burn hazard – risk of serious injury. Hot runner components stay hot for long periods of
time after heaters have been turned o. Wear personal protective equipment when
working near the hot runner and place a warning sign in the area before leaving the hot
runner unattended.
4. Increase the temperature of a row of nozzle tips to a temperature high enough to soften the
insulating gate bubble.
Hot Runner Installation Manual v 2.2 — March 2021 Maintenance
Removing Insulating Gate Bubbles (If Equipped) 109