5. Tighten the screws installed in step 4. Refer to the assembly drawings for torque
specications.
6. Push the spring pin to engage it with the valve stem.
7. Connect the hydraulic and water hoses to the actuator.
6.6 Removing and Installing the Pneumatic Actuator
This section describes how to remove and install the pneumatic actuator on the manifold.
6.6.1 Removing the Pneumatic Actuator from the Manifold
To remove the pneumatic actuator from the manifold, do the following:
1. Remove all air pressure from the air lines.
2. Disconnect the air hoses from the actuator.
3. If equipped with a thermal regulator, remove water hoses from the thermal regulator.
NOTE:
Water may drool from the actuator and hoses.
4. Loosen the screws on the outer perimeter of actuator.
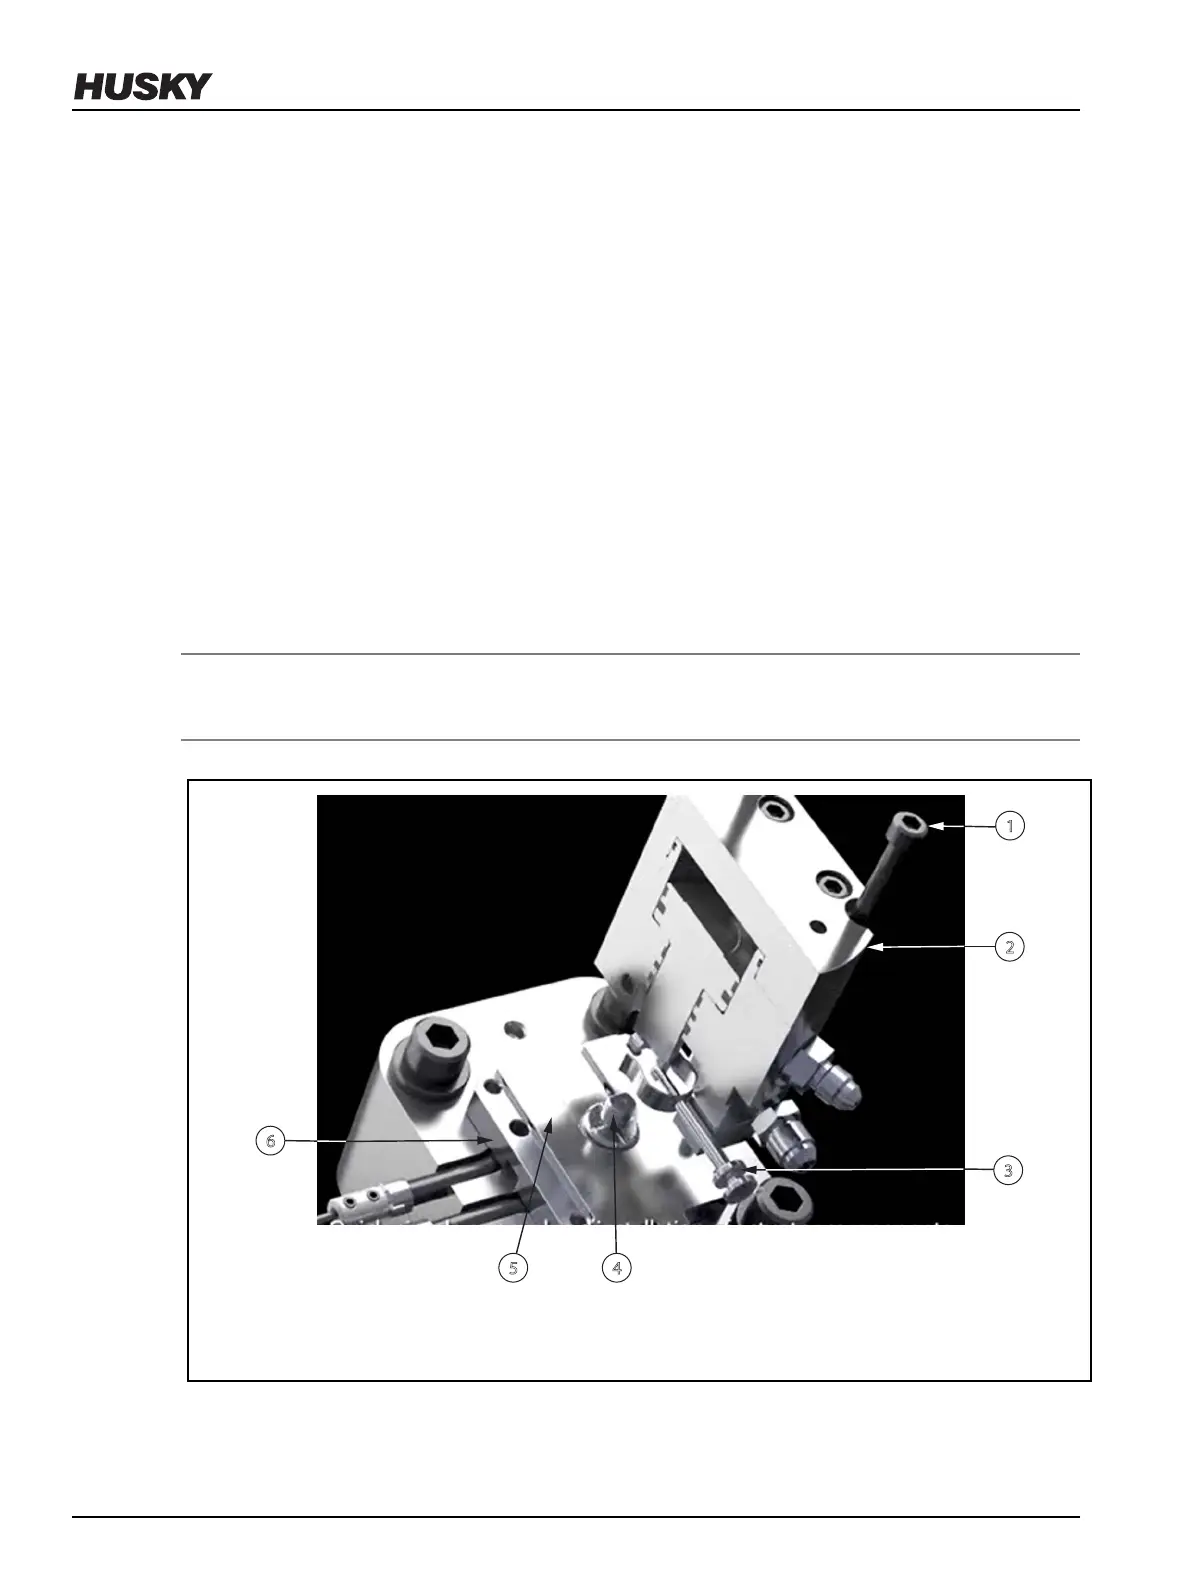
Figure 6-11: Removing and Installing an Actuator
1. Screw 2. Actuator 3. Spring Pin 4. Valve Stem 5. Shim 6. Bushing Cap
5. Pull the spring pin to disengage it from the valve stem.
v 2.2 — March 2021 Unify Manifold System
72 Removing and Installing the Pneumatic Actuator