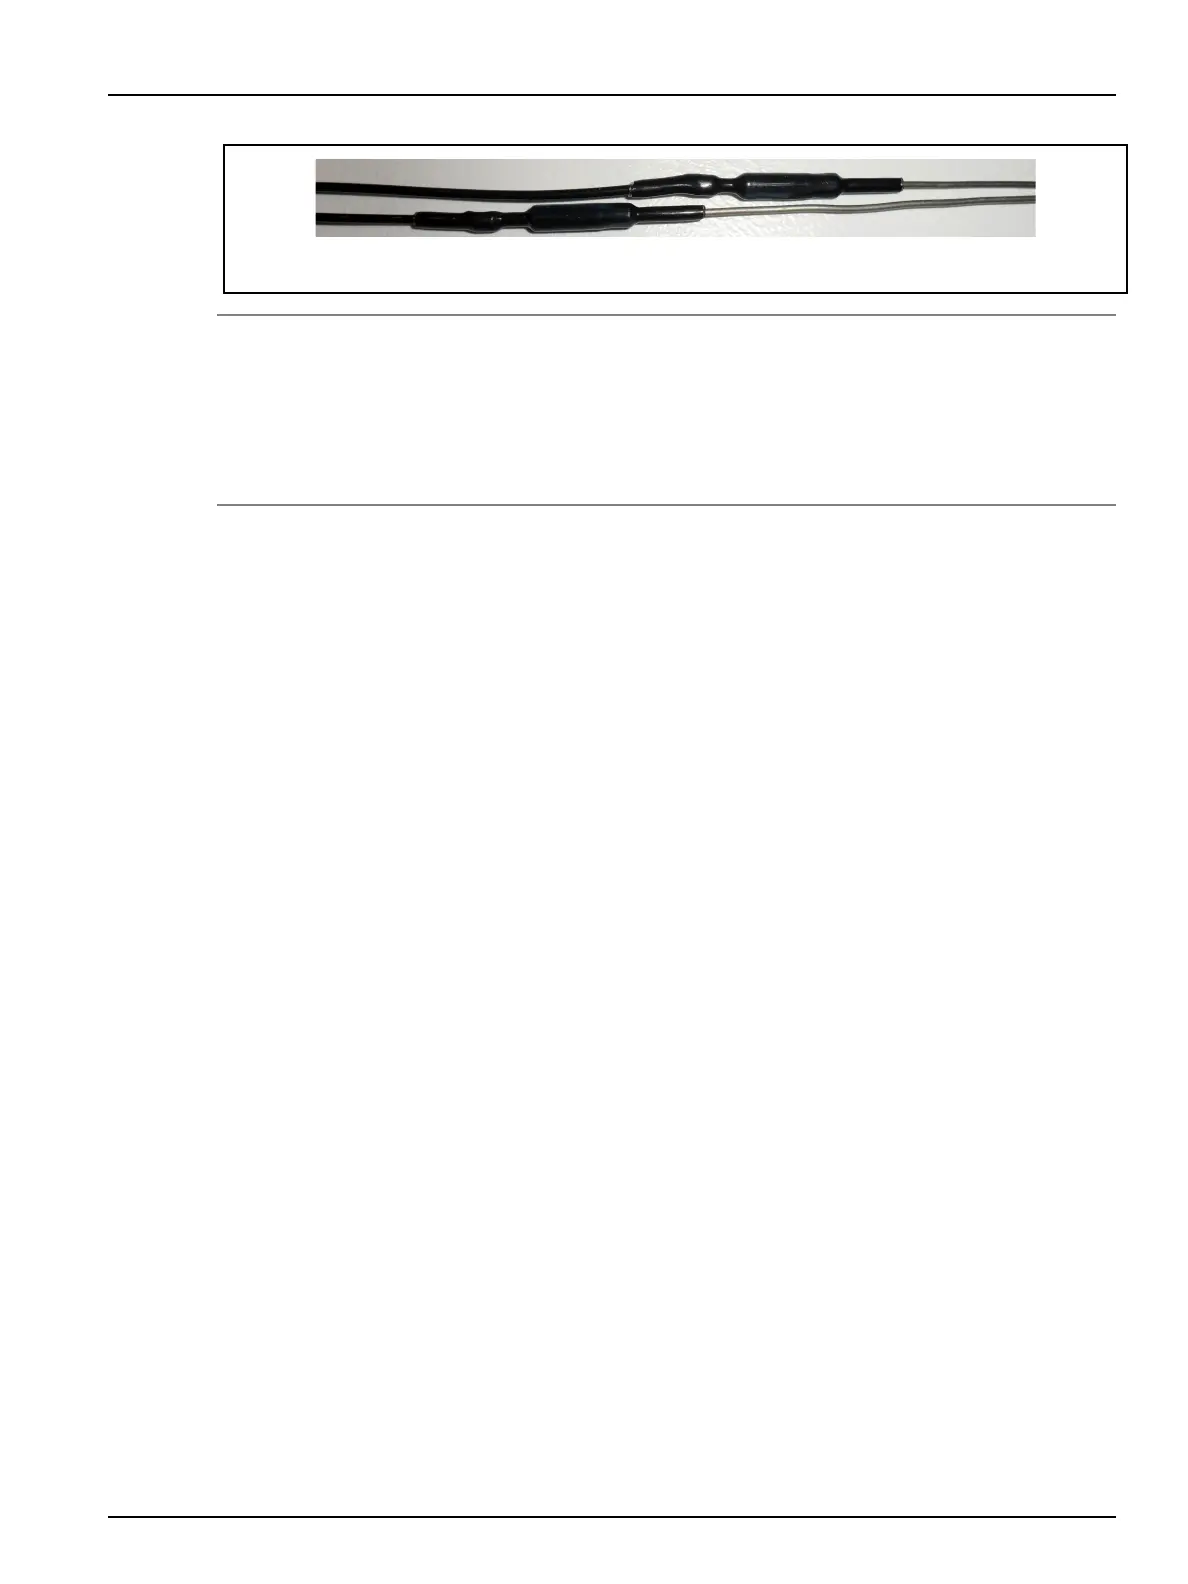
Figure 6-21: Staggering the Knuckles in the Wire Grooves
NOTE:
All wire, including heater or thermocouple wire, that could contact a heated component such as a
nozzle housing or manifold must be mineral insulated high temperature wire (hard lead). If the
mineral insulated lead is not long enough to allow this, additional steps must be taken, such as
using high temperature sleeving, to prevent the knuckles and PTFE or Kapton insulated wire (soft
lead) from overheating.
13. Label each wire with the heater zone number. Refer to the electrical schematic for the zone
number.
14. Crimp the wire ends and connect the wires to the appropriate multi-pin connectors. Refer to
the electrical schematic for more information.
15. Test each nozzle heater. Refer to Section 6.13 for more information.
6.10.2
Removing and Installing Ultra Nozzle Heaters (UNH) With Ring Thermocouples
The following procedures describe how to remove and install ultra nozzle heaters with ring
thermocouples (UNH 500 and UNH 750).
6.10.2.1
Removing Ultra Nozzle Heaters (UNH) With Ring Thermocouples
To replace an Ultra Nozzle Heater (UNH) with a ring thermocouple, do the following:
1. Separate or remove the cavity plate from the hot runner. Refer to Section 6.14 for more
information.
2. Remove the retaining clip from the nozzle tip.
3. Remove the necessary wire clips to expose the nozzle heater and thermocouple wires.
4. Remove the ring thermocouple.
Hot Runner Installation Manual v 2.2 — March 2021 Maintenance
Removing and Installing Nozzle Heaters 83