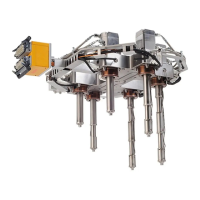
10. Remove any insulating gate bubbles in the cavity plate. If required, carefully heat the gate
bubbles with a propane torch and then wipe the deposits away with a clean, soft cloth or
soft wire brush. This may have to be repeated several times.
CAUTION!
Mechanical hazard – risk of damage to the hot runner. Do not allow molten resin to drop on
or build up under the nozzle tip insulators while the gate bubbles are being removed. The
additional material will increase the calculated preload for the nozzle tip insulator and
damage the hot runner during assembly with the cavity plate.
Make sure all nozzle tip insulators are clean and seated correctly before installing the cavity
plate.
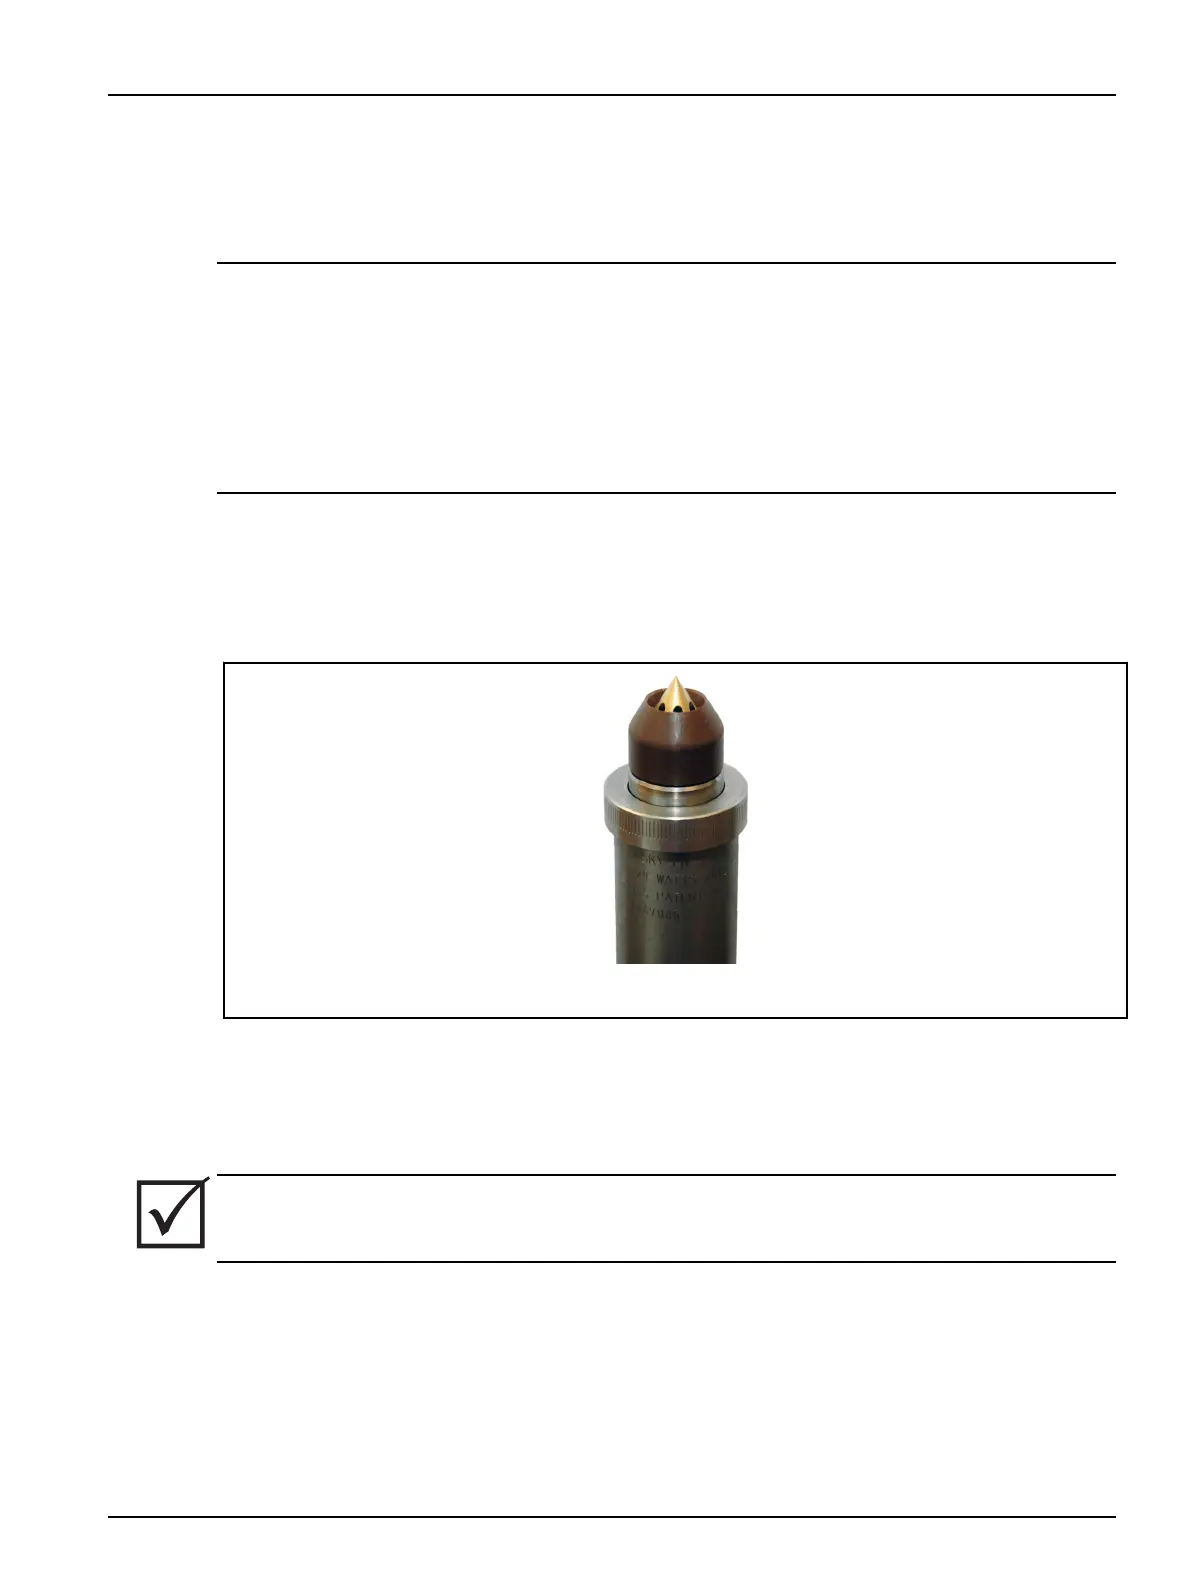
11. Make sure all nozzle tip insulators (if equipped) are seated correctly with a minimal and even
gap between the nozzle tip insulator and the nozzle housing. For reused nozzle tips, the gap
may not be noticeable. When plastic is under the nozzle tip insulator, it will have a larger
than usual and/or uneven gap in relation to the nozzle housing. If plastic is under the nozzle
tip insulator it must be cleaned or replaced. For more information on removing and installing
the nozzle tip insulator refer to Section 6.19.
Figure 6-45: Seating the Nozzle Tip Insulator (Example)
To remove, clean and install the nozzle tip insulator, do the following:
a. Mark the orientation of the nozzle tip insulator.
b. Remove the nozzle tip insulator.
IMPORTANT!
If the nozzle tip insulator is damaged or cannot be cleaned then it must be replaced.
c. Clean the nozzle tip insulator by heating to melt the residual plastic and wiping it clean.
d. Install the nozzle tip insulator. Nozzle tip insulators must be installed on the same
nozzle tip in the original orientation.
12. Make sure the hot runner is at room temperature <25 °C (<77 °F).
Hot Runner Installation Manual v 2.2 — March 2021 Maintenance
Removing Insulating Gate Bubbles (If Equipped) 111