Removing the bezel
To remove the bezel, complete the following steps:
1. Read the safety information that begins on page Safety and “Installation
guidelines” on page 30.
2. Turn off the server (see “Turning off the server” on page 21) and all attached
peripheral devices. Disconnect all power cords; then, disconnect all external
cables as necessary to replace the device.
3. If the server has been installed in a rack, press the two release latches on the
front of the server and remove the server out of the rack enclosure.
Attention: Two or more people are required to remove the system from a rack
cabinet.
4. Remove the drives and filler panels from the drive bays (see “Removing
hot-swap drives” on page 302 or “Removing a 3.5-inch simple-swap SATA
drive” on page 304).
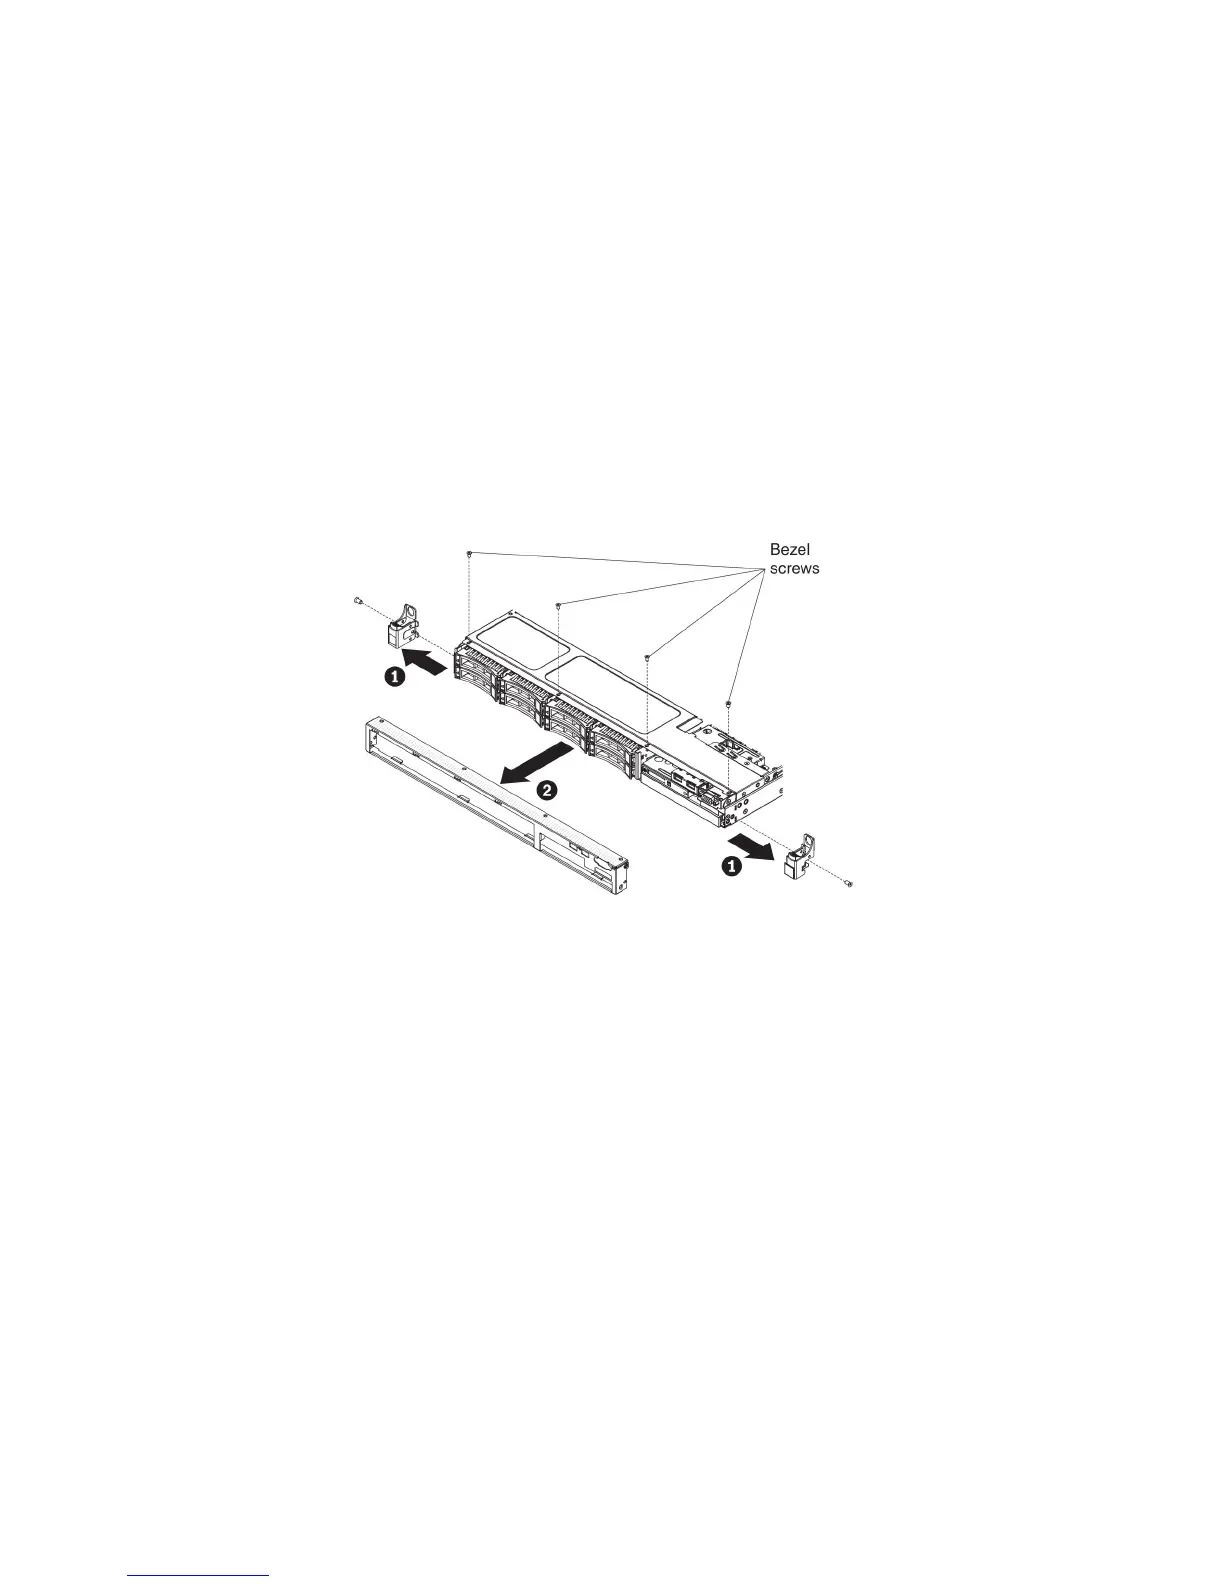
5. Remove the EIA quick latch first; then, remove the screws from the bezel.
6. Pull the top of the bezel out slightly; then, rotate it downward until the tabs on
the bottom of the bezel disengages from the chassis and set it aside.
7. If you are instructed to return the front bezel, follow all packaging instructions,
and use any packaging materials for shipping that are supplied to you.
Replacing the bezel
To install the bezel, complete the following steps:
1. Insert the tabs on the bottom of the bezel into the holes on the chassis.
2. Rotate the bezel upward to the server and reinstall the bezel screws. Then,
install the EIA quick latch.
364 System x3530 M4 Type 7160: Installation and Service Guide

 Loading...


