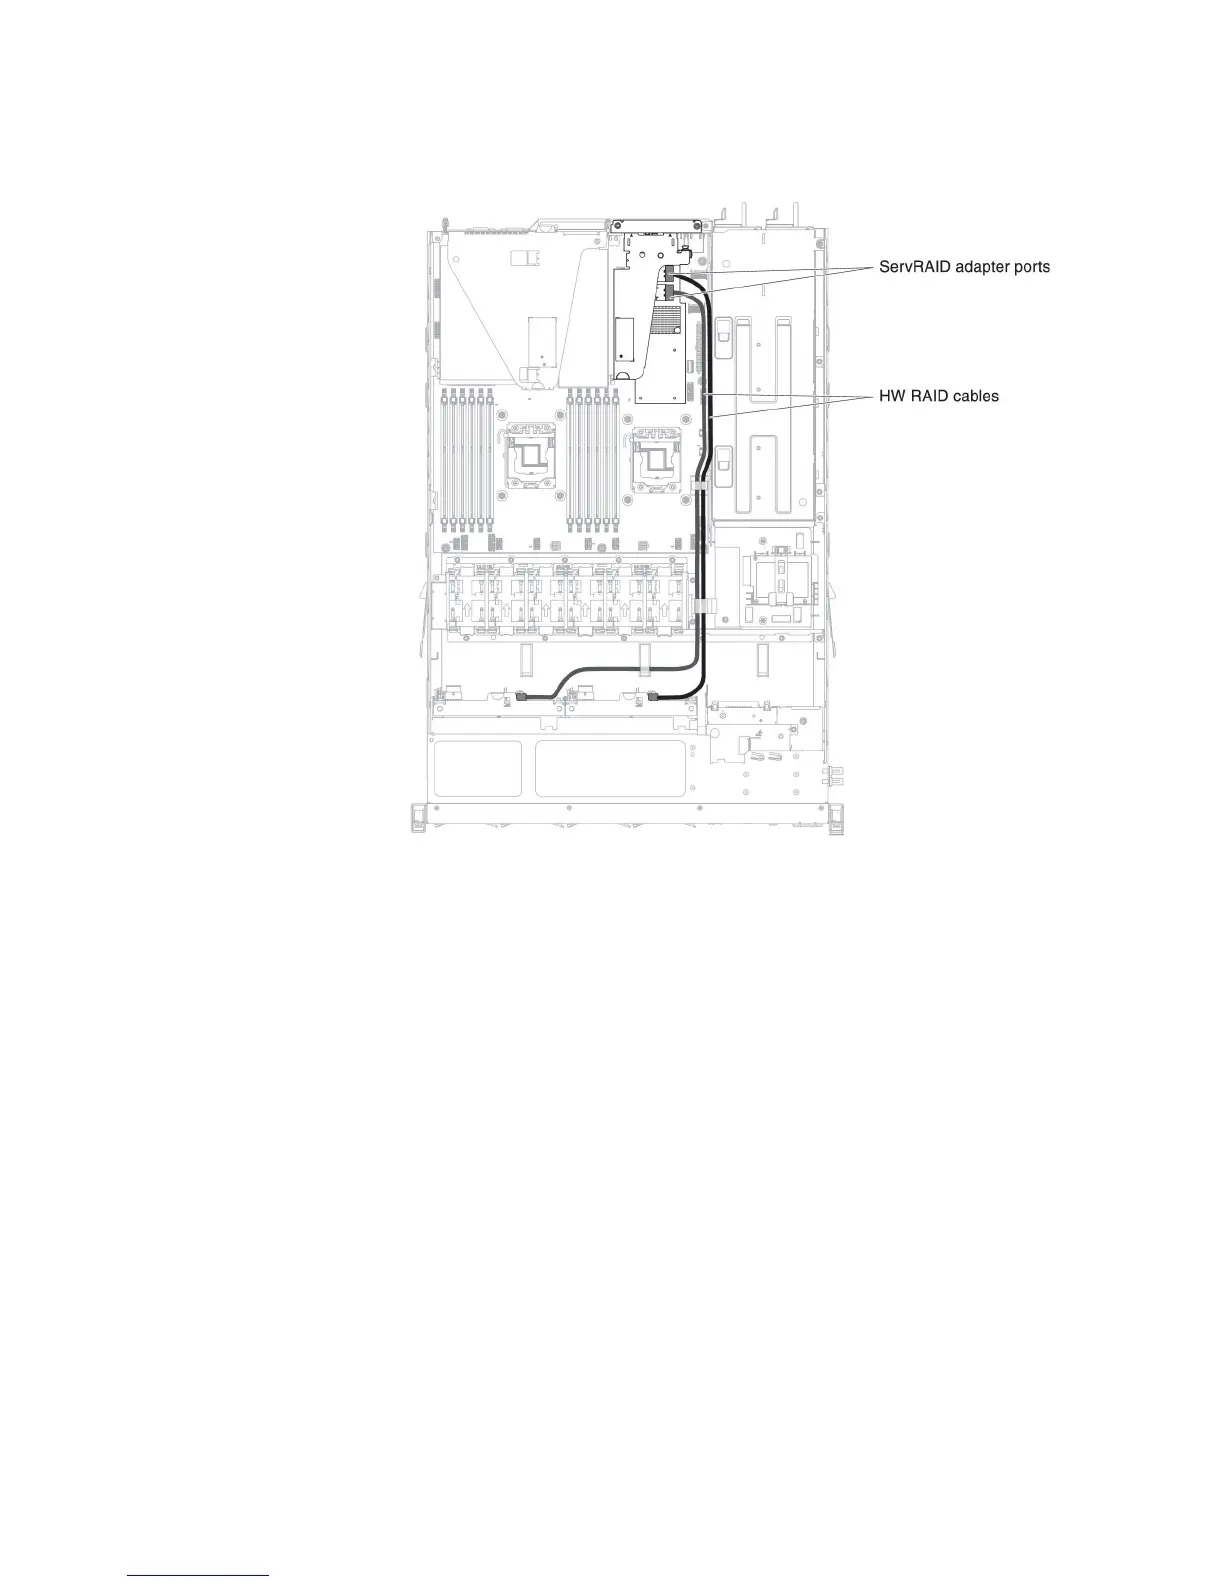
b. Connect the other end of the signal cable to the Port 1 connector on the
RAID adapter or the connector on the system board. Be sure to route the
signal cable through the cage hole next to the power distribution board.
c. Use the cable clips on the chassis to secure the cables so that they do not get
in the way or get damaged.
If you have other devices to install or remove, do so now. Otherwise, go to
“Completing the installation.”
Completing the installation
To complete the installation, complete the following steps:
1. If you removed the air baffle, reinstall it (see “Replacing the air baffle” on page
66).
2. If you removed a PCIe riser-card assembly, reinstall it (see “Replacing a PCI
riser-card assembly” on page 66).
3. If you removed the server cover, replace it (see “Replacing the server top
cover” on page 67).
4. Install the server in the rack cabinet (see the Rack Installation Instructions that
come with the server for instructions).
5. Reconnect the cables and power cords (see “Connecting the cables” on page
68).
6. Start the server. Confirm that is starts correctly and recognizes the newly
installed devices, and make sure that no error LEDs are lit.
7. Update the server configuration (see “Updating the server configuration” on
page 69).
Chapter 2. Installing optional devices 65