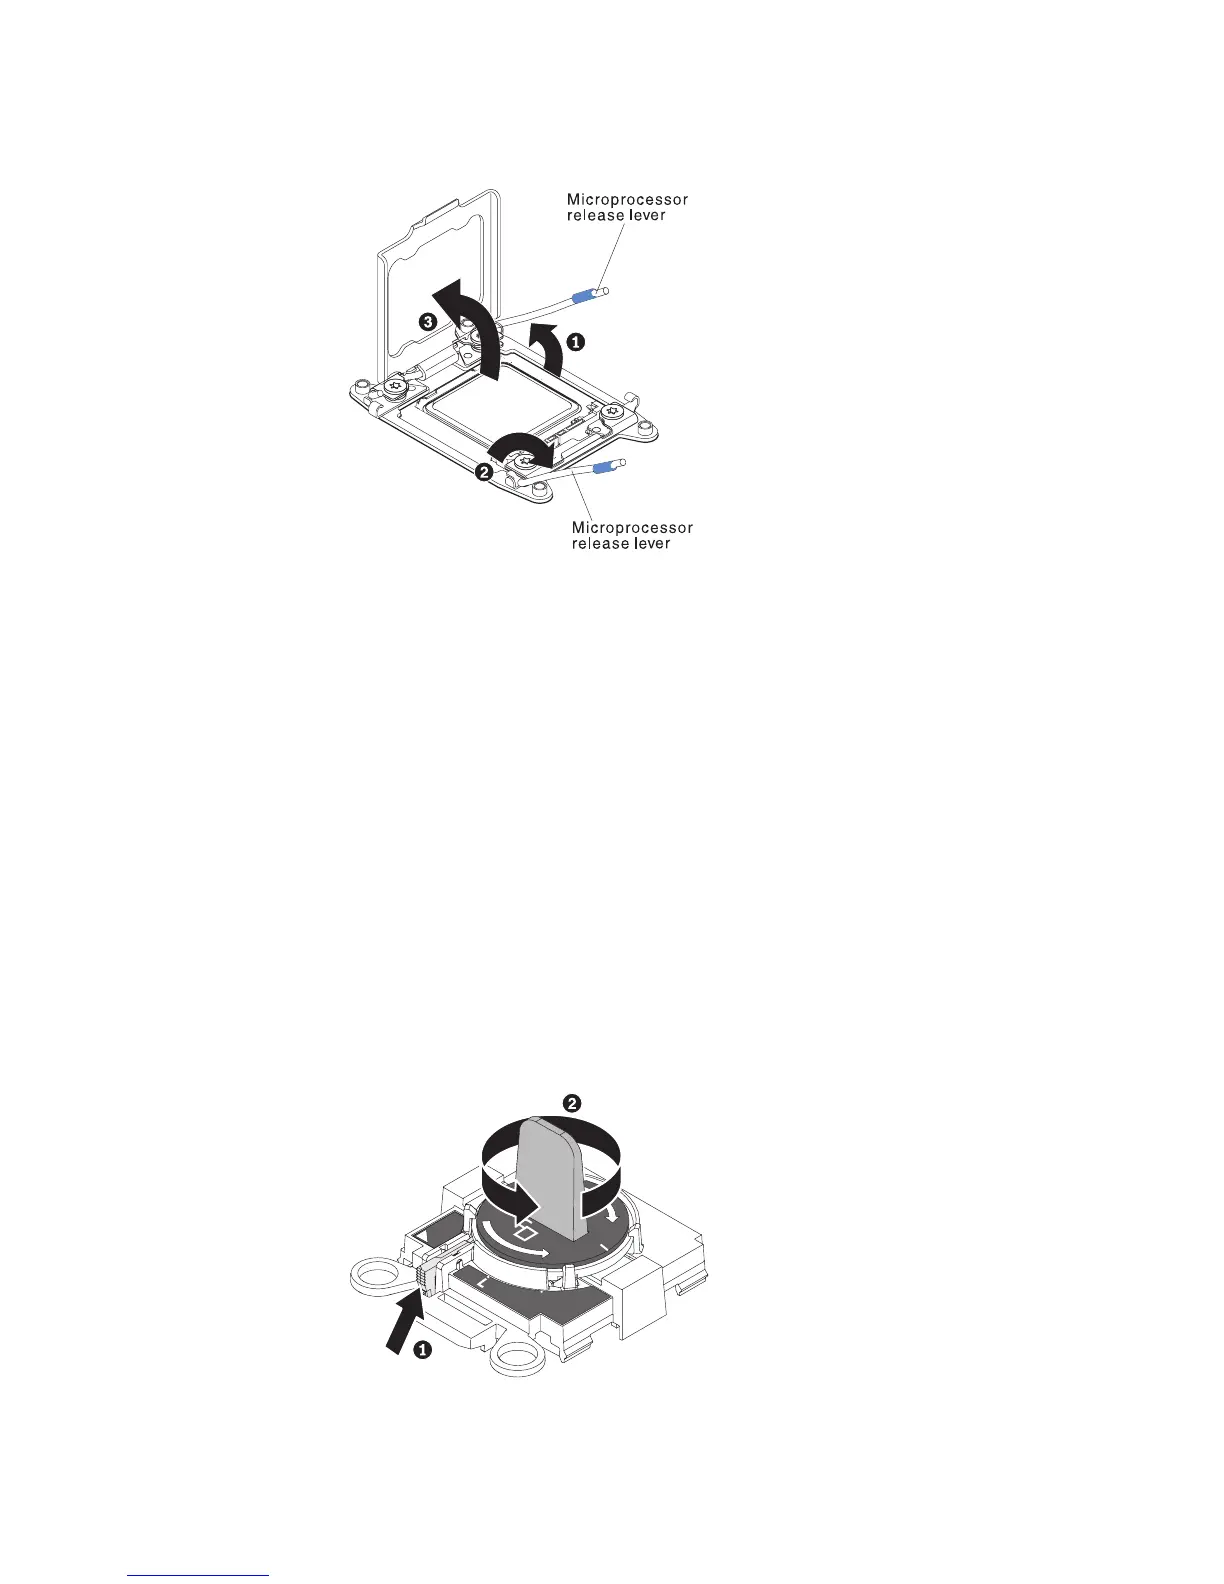
7. Open the microprocessor socket release levers and retainer.
a. Identify which release lever is labeled as the first release lever to open and
open it.
b. Open the second release lever on the microprocessor socket.
c. Open the microprocessor retainer.
Attention: Do not touch the microprocessor contacts. Contaminants on
the microprocessor contacts, such as oil from your skin, can cause
connection failures between the contacts and the socket.
8. Remove the microprocessor from the socket.
a. Select the empty installation tool and ensure that the handle is in the open
position. If the installation tool handle is not in the open position, use the
following instructions for your installation tool:
v When using the installation tool,▌1▐lift the interlock latch and hold it up
while you▌2▐twist the microprocessor installation tool handle
counterclockwise to the open position, and then release the interlock
latch. The following illustration of the installation tool shows the
location of the interlock latch and counterclockwise rotation of the
handle before loading the microprocessor.
Figure 176. Microprocessor socket levers and retainer disengagement
H
Figure 177. Installation tool handle adjustment
Chapter 5. Removing and replacing components 249

 Loading...


