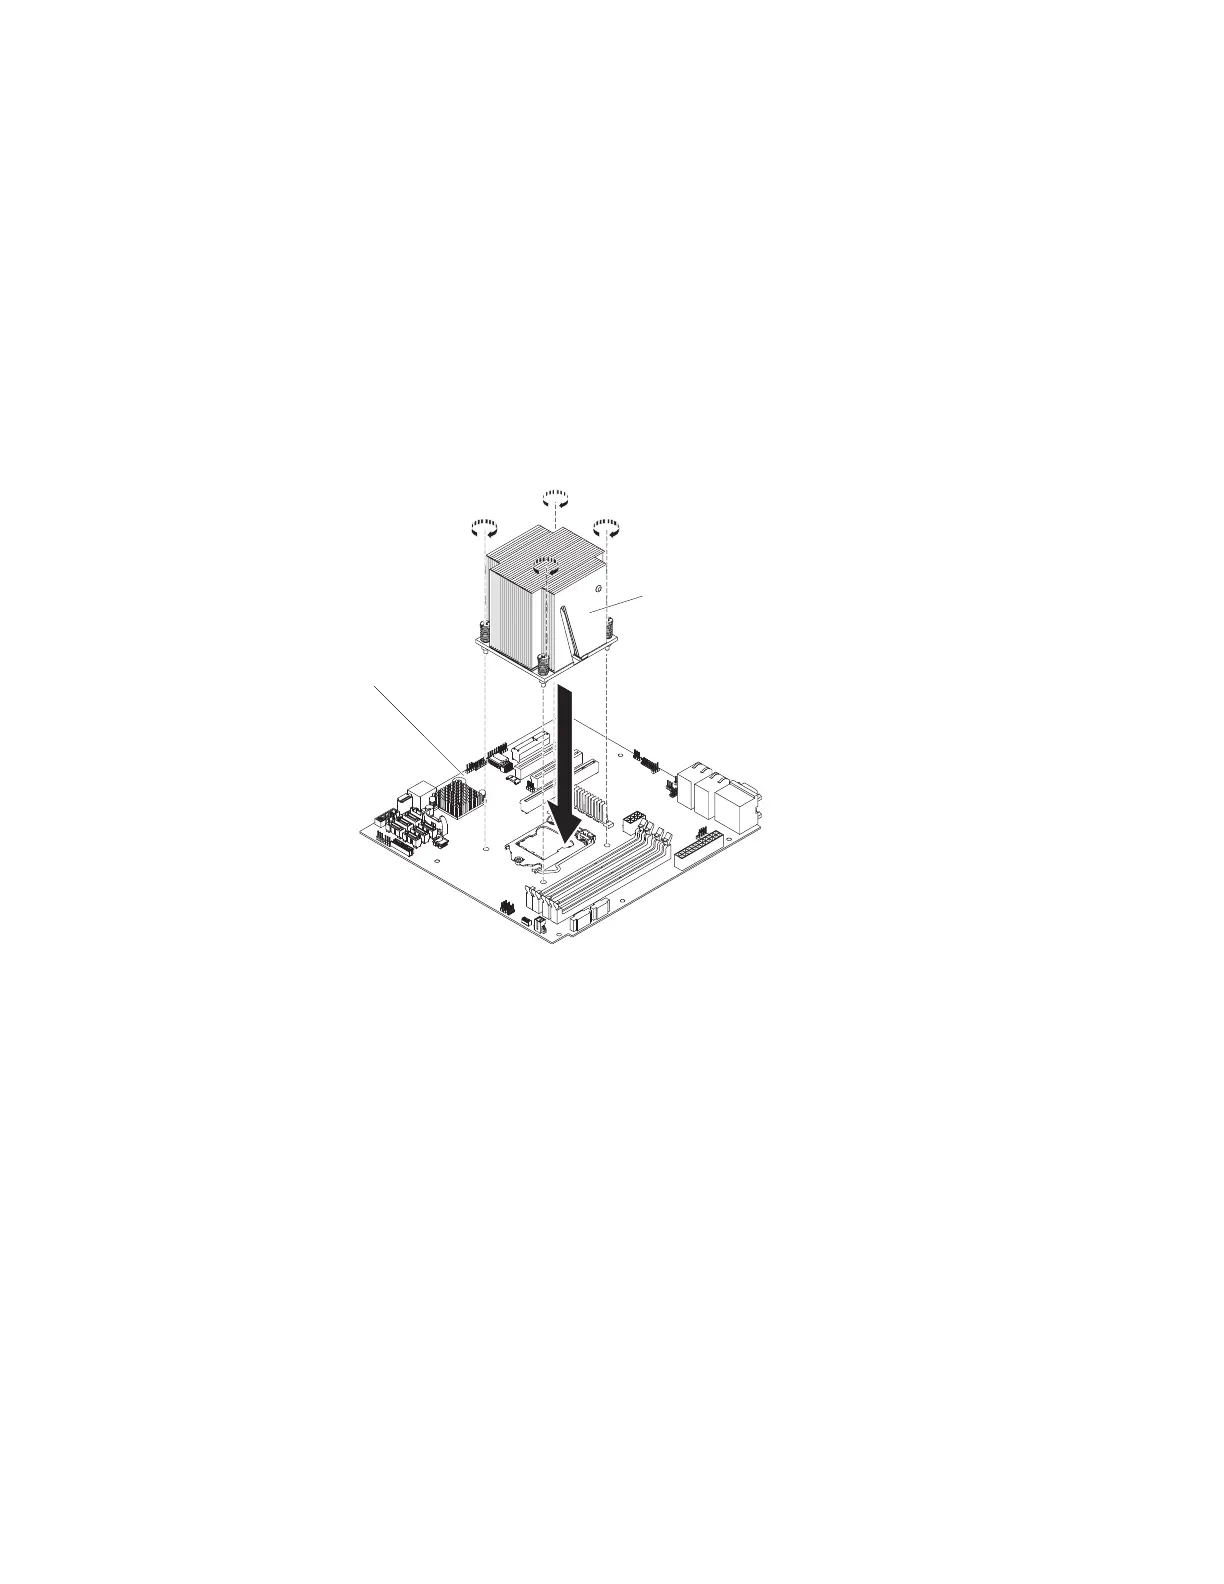
Attention: To maintain correct orientation between the microprocessor and
the microprocessor socket during installation, observe the following
information:
a. Align the screw holes on the heat sink with the holes on the system board.
b. Tighten the screws with a screwdriver, alternating among the screws until
they are tight. If possible, each screw should be rotated two full rotations
at a time. Repeat until the screws are tight. Do not overtighten the screws
by using excessive force.
Important: Do not touch the thermal material on the bottom of the heat
sink. Touching the thermal material will contaminate it. If the thermal
material on the microprocessor or heat sink becomes contaminated, contact
your service technician.
11. Reconnect any cables that you disconnected during the removal of the old
microprocessor.
12. Rotate the rear adapter-retention bracket to the closed (locked) position.
If you have other devices to install, do so now. Otherwise, go to “Completing the
installation” on page 82.
Heat sink
System board
Figure 46. Heat sink installation for 5U server models with hot-swap power supplies
70 System x3100 M5 Type 5457: Installation and Service Guide

 Loading...


