Replacing the side cover
Use this information to replace the side cover.
Attention: For proper cooling and airflow, replace the side cover before turning
on the server. Operating the server for extended periods of time (more than 30
minutes) with the side cover removed might damage server components.
For 4U server models with non-hot-swap power supplies, complete the following
steps to remove the side cover. For the 5U server model with hot-swap power
supplies, please see the next sub-section.
1. Read the safety information in “Safety” on page vii and “Installation
guidelines” on page 35.
2. Make sure that all cables, adapters, and other components are installed and
seated correctly and that you have not left loose tools or parts inside the server.
Also, make sure that all internal cables are correctly routed.
3. Carefully turn the server on its side so that it is lying flat, with the cover facing
up.
Attention: Do not allow the server to fall over.
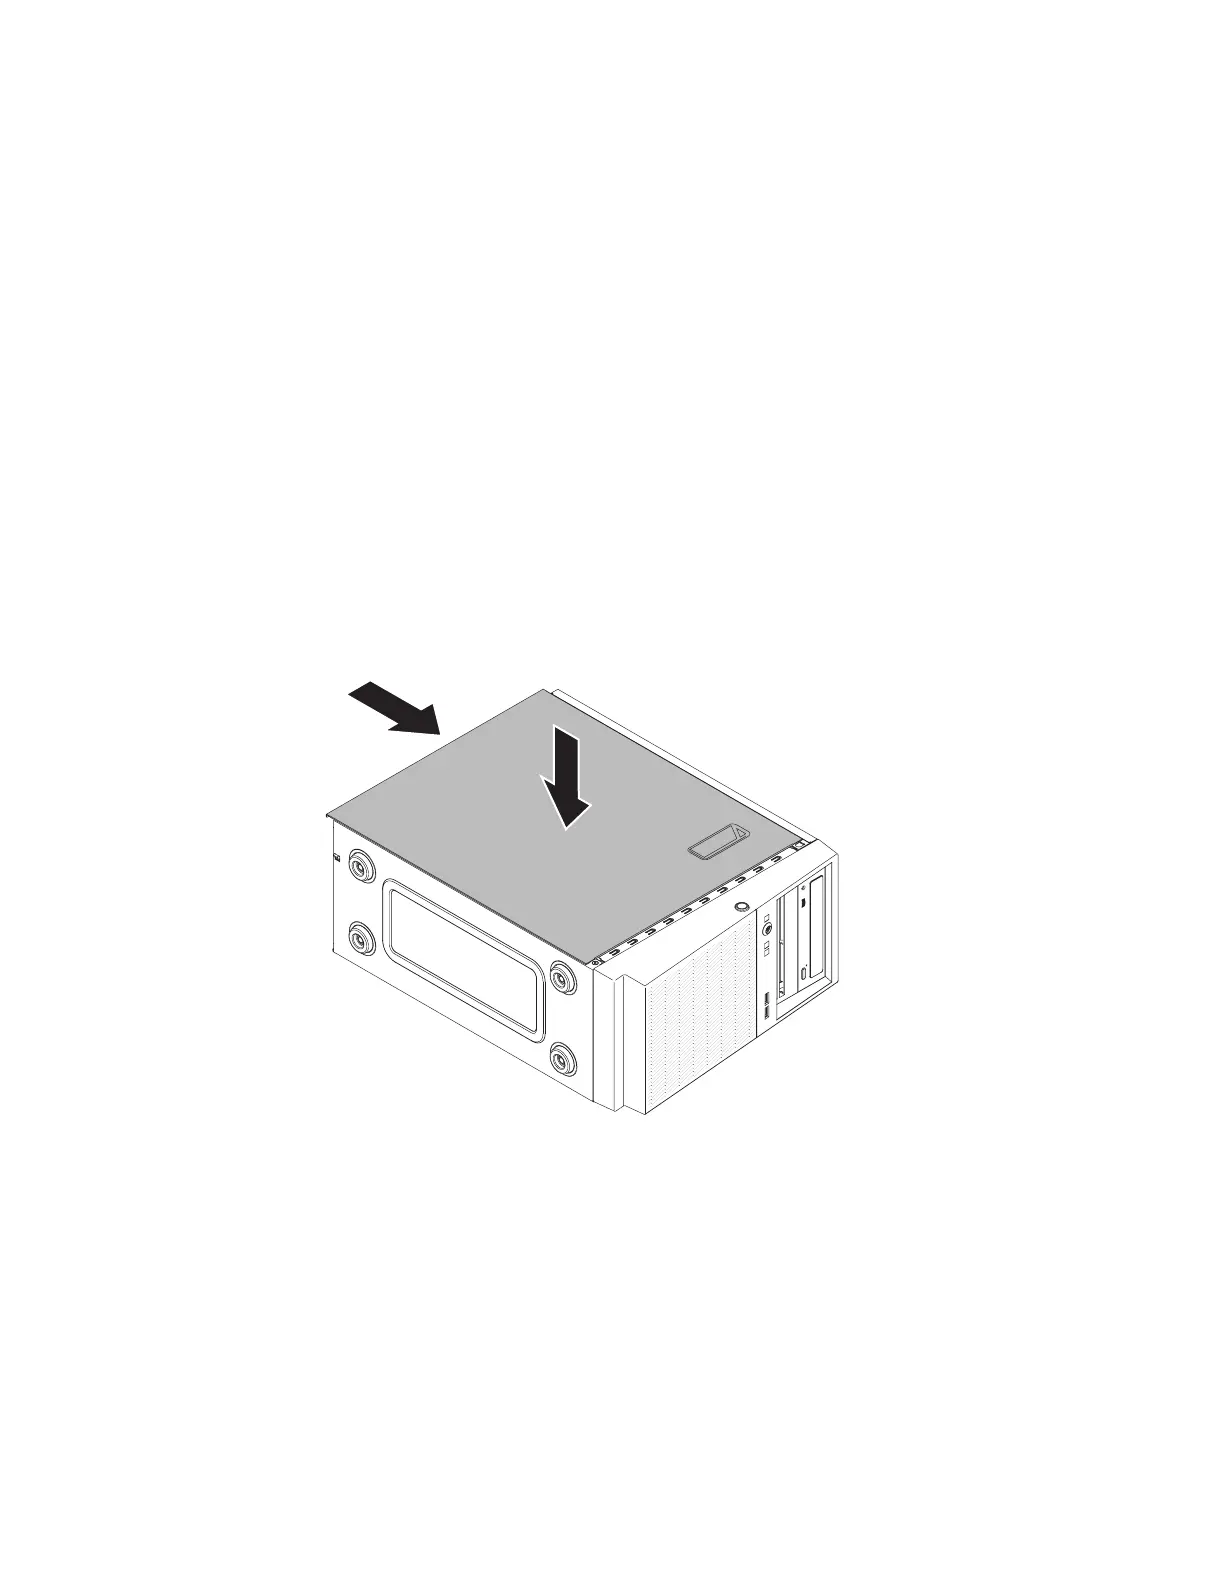
4. Press on the side cover and push from the rear side of the side cover until it
locks securely into place.
5. Secure the side cover in place with the two chassis screws on the rear of the
side cover.
6. Reconnect the external cables and power cords; then, turn on the attached
devices and turn on the server.
For the 5U server model with hot-swap power supplies, complete the following
steps in order to remove the side cover. For 4U server models with non-hot-swap
power supplies, please see the above sub-section.
Attention: The cover lock must be in the unlocked (opened) position before you
install the side cover.
Figure 80. Side cover installation for 4U server model with non-hot-swap power supplies
182 System x3100 M5 Type 5457: Installation and Service Guide

 Loading...


