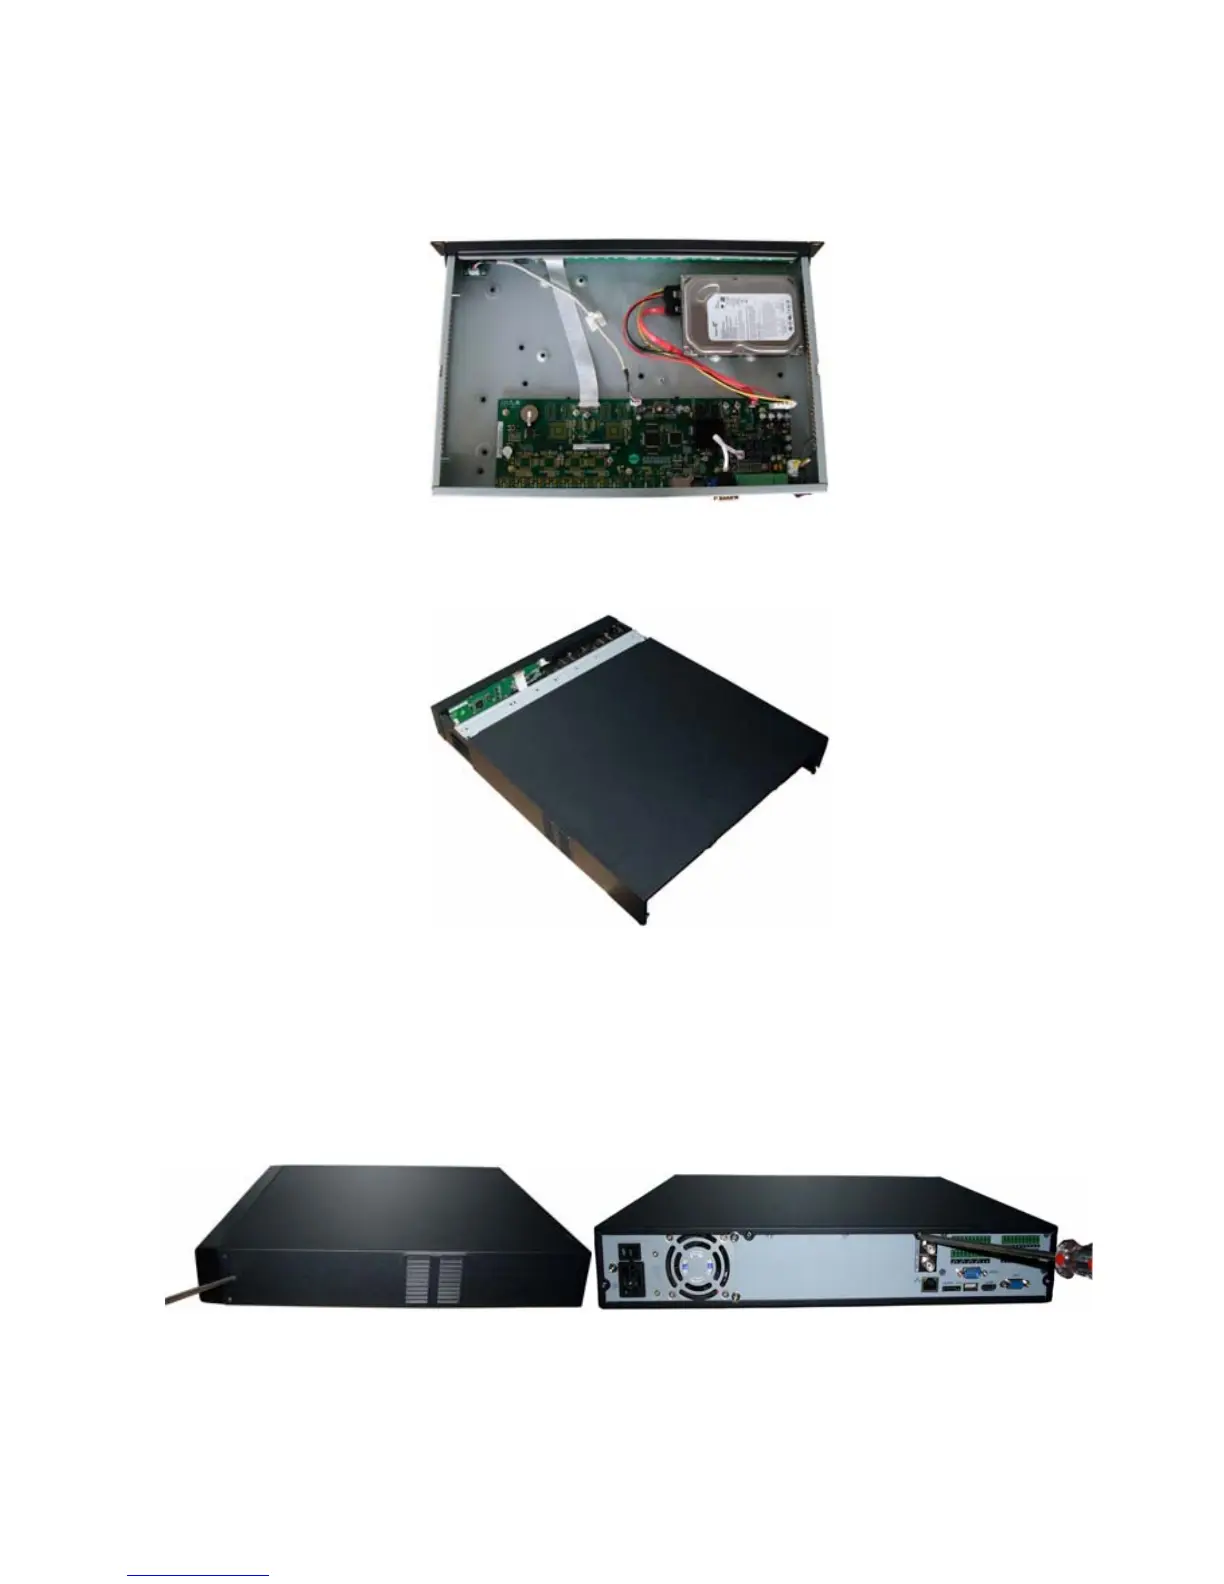
29
After you fix the HDD, please connect the data cable to the main board first and then connect the power
cable to the main board. See
241HFigure 3-4.
Figure 3-4
Please put the cover back and then fix the screws in the rear panel. See
242HFigure 3-5.
Figure 3-5
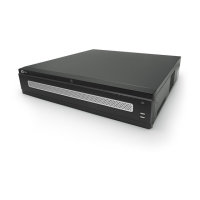
3.2 L Series
Use the screwdriver to loose the screws in the rear panel and the side panel, and then remove the front
cover. See
243HFigure 3-1
Figure 3-6
Place the HDD on the HDD bracket in accordance with the four holes in the device chassis. Use the