31
Figure 3-10
3.3 S Series
Pleas follow the steps listed below to install the HDD.
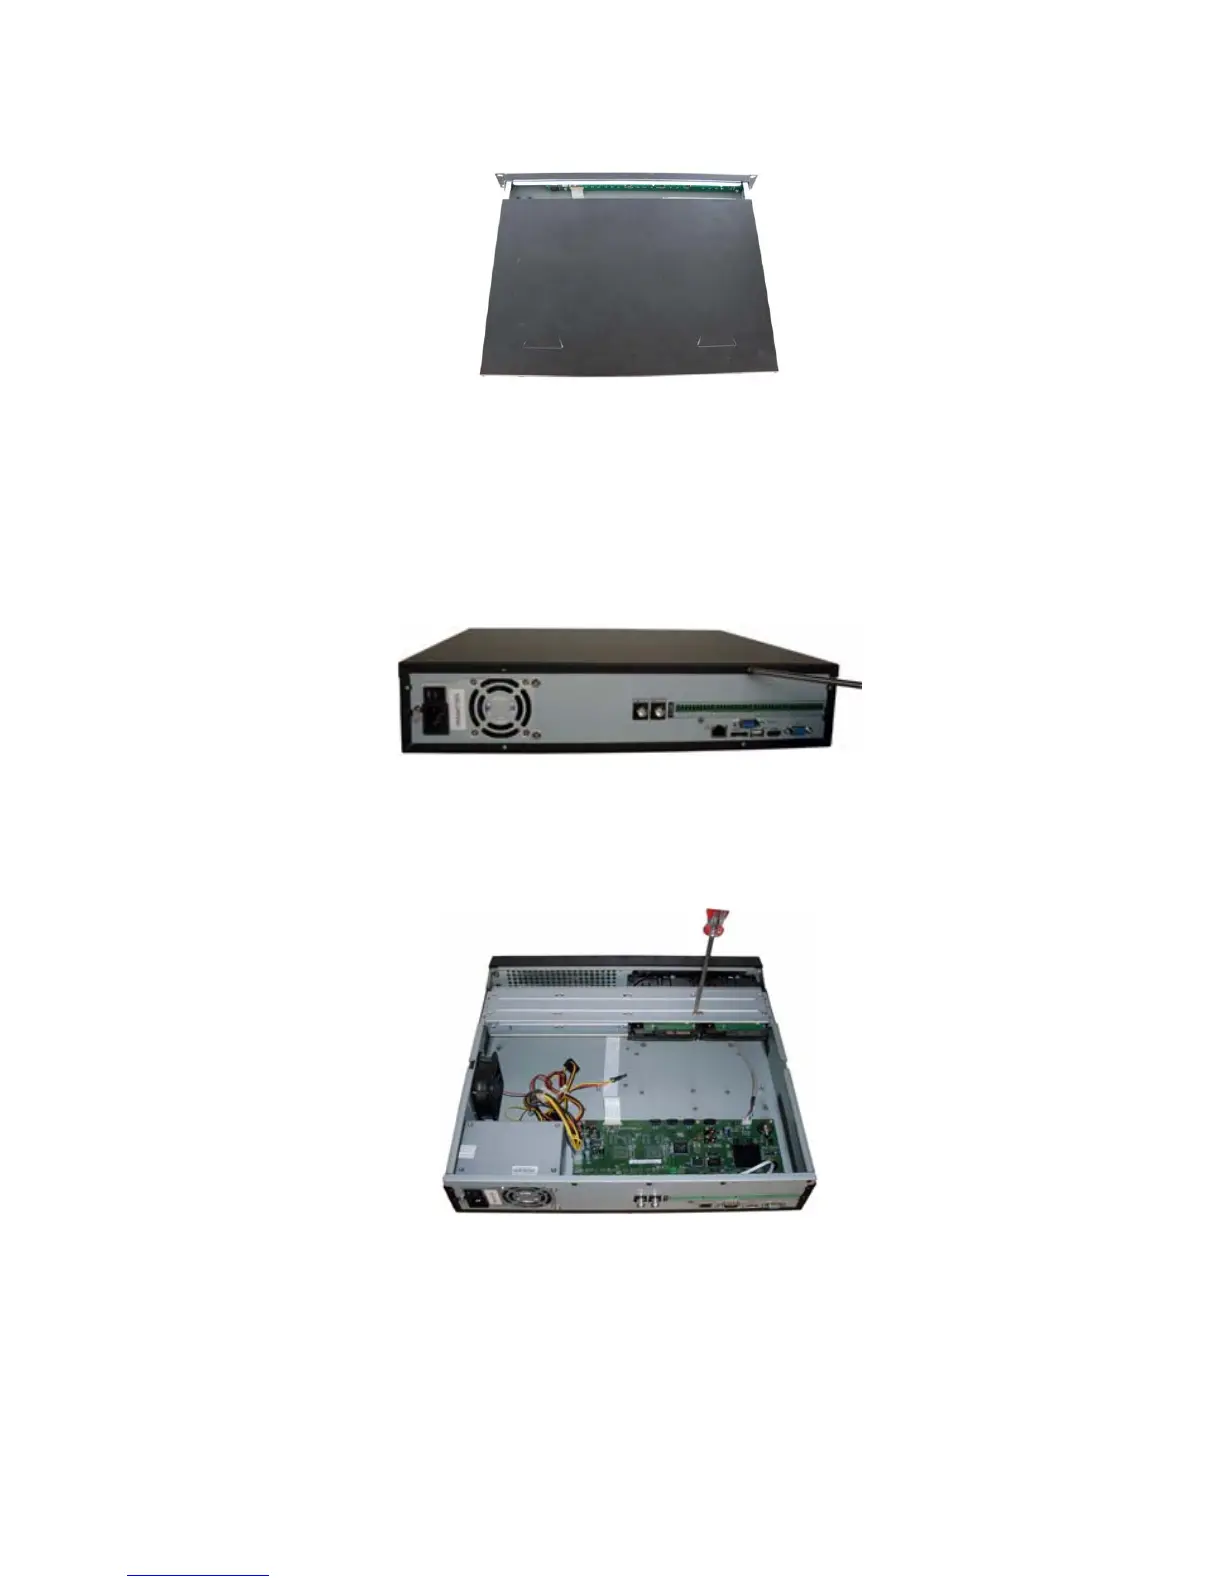
Use the screwdriver to loose the screws in the rear panel and then remove the front cover. See
248HFigure
3-11.
Figure 3-11
Place the HDD on the HDD bracket in accordance with the four holes in the device chassis. Use the
screwdriver to secure the HDD in the HDD bracket. See
249HFigure 3-12.
Figure 3-12
Connect the HDD data cable to the main board and HDD port respectively. Loosen the power cable in
the chassis and then connect the power cable to the other port of the HDD. See
250HFigure 3-13.