LOCAL OPERATION
3-32 46882/439
B3454
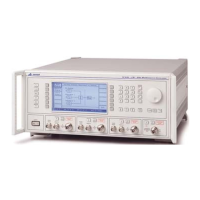
Fig. 3-22 Display adjustment utility
(2) Set the required brightness by pressing [Dim], [Medium] or [Bright]. You can then adjust
the contrast by means of the control knob.
(3) Once adjusted, the display setting can be stored in the non-volatile memory by pressing
[Save LCD Setting]. The setting will be subsequently recalled on power-up.
(4) Press [EXIT] to return to the Utilities Selection Menu 1.
Frequency standard selection (menu 1)
This utility enables you to select a 10 MHz output as a standard for use with associated equipment.
It also enables you to select a standard (either external or internal) for use by the instrument.
When an external standard is selected, the internal TCXO is locked to the external standard using
a phase locked loop. For a 10 MHz standard, the menu allows you to select between direct and
indirect. When direct is selected the internal standard for the RF trays is provided directly from
the external standard. When indirect is selected this standard is provided from the TCXO locked
to the external standard. Frequency standard selection is as follows:
(1) Select [Freq Standard] to display the Frequency Standard Selection Menu shown in
Fig. 3-23 below. This shows the currently selected standard.
B3455
Fig. 3-23 Frequency standard selection menu
(2) Select the internal standard for the instrument by pressing [10 MHz Int].
(3) To provide an externally generated 1 or 10 MHz standard for the instrument, connect the
signal to the rear-panel EXT STD I/P socket. Then choose one of the three external
standards [10 MHz Ext Dir], [1 MHz Ext Ind] or [10 MHz Ext Ind]. You should choose
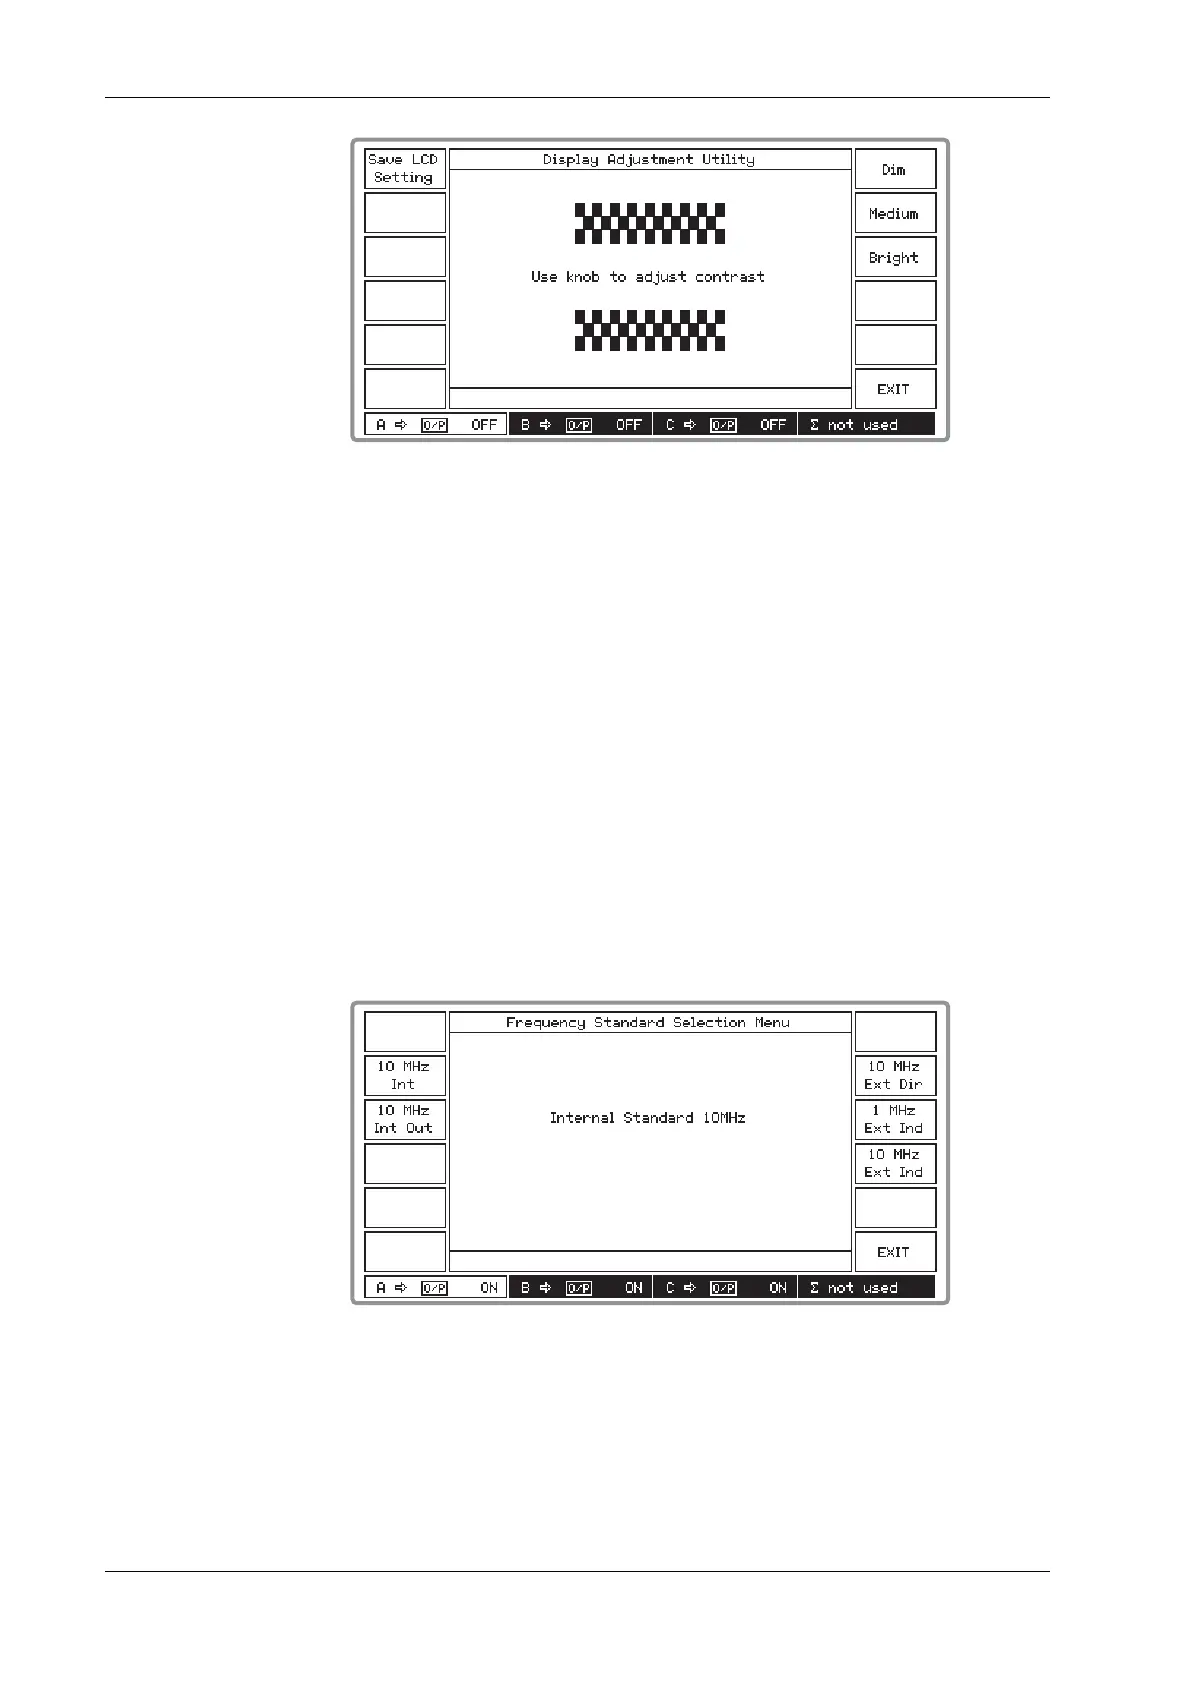 Loading...