Intel
®
Omni-Path Fabric Switches
May 2016 Installation Guide
Doc. No.: H76456Rev 3.0US 59
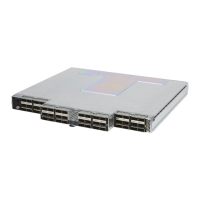
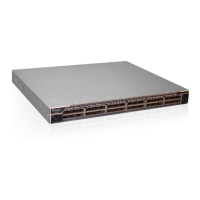
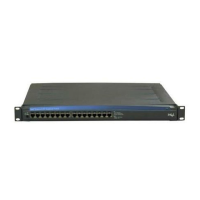
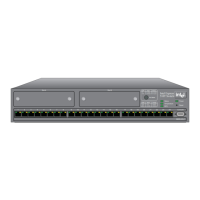
Omni-Path Switches
2.6 Setting Up the USB Console
1. Download the driver file CDM v2.12.00 WHQL Certified.exe from http://
www.ftdichip.com/Drivers/VCP.htm.
2. Open the FTDI Drivers Folder and Right click on the CDMv2.12 driver file and
select Run As Administrator to install the necessary driver to access the USB
serial console of the switch.
3. Open Putty, under Category, select Serial and enter the following parameters:
— Serial Line to connect to: <Enter COM>
— Speed: 115200
— Data Bits: 8
— Stop Bits: 1
— Parity: None
— Flow Control: None
2.7 Bringing Up the System For the First Time
2.7.1 Start-up Procedures
1. Power up the switch.
2. From its flash image on the management module, the switch begins its boot
process.
3. Verify the IP address with the CLI command
showChassisIpAddr command. The
system returns information similar to the following:
Chassis IP Address: 192.168.100.9 Net mask: 255.255.252.0
2.7.2 Changing the Switch IP Address and Default Gateway through
the CLI
The CLI can be accessed two ways:
• using the switch serial port:
—
Edge switch (with optional management module): connects through the USB
serial port
—
Director series: connects through the USB port on the SEEB modules
• through Ethernet, using Telnet or SSH
Note: If using a serial port on a Director switch, make certain to connect to the SEEB serial
port associated with the Management Module (MM) on the opposite side of the chassis.
2.7.2.1 Using the Serial Connection
1. When a serial port connection is established, the user will see a prompt. To change
the chassis IP address type:
setChassisIpAddr -h <ipaddress> -m <netMask>
where -h <ipaddress> is the new IP address in dotted decimal format (that is,
xxx.xxx.xxx.xxx), and -m <netMask> is the new subnet mask in dotted
decimal format.
2. To change the switch default gateway IP address type:
setDefaultRoute -h <ipaddress>