Chapter 2 Startup
2.1 Starting Up and Shutting Down the NVR
Purpose:
Proper startup and shutdown procedures are crucial to expanding the life of the NVR.
Before you start:
Check that the voltage of the extra power supply is the same with the NVR’s requirement, and the
ground connection is working properly.
Starting up the NVR:
Steps:
1. Check the power supply is plugged into an electrical outlet. It is HIGHLY recommended that an
Uninterruptible Power Supply (UPS) be used in conjunction with the device. The Power
indicator LED on the front panel should be on, indicating the device gets the power supply.
2. Turn on the power switch on the rear panel if the device starts up for the first time, or press
the button on the front panel (Not required if not). The Power indicator LED should blink or be
always on indicating that the unit begins to start up.
3. After the startup you will hear a beep, the Power indicator LED stays on. A splash screen with
the status of the HDD appears on the monitor. The row of icons at the bottom of the screen
shows the HDD status. ‘X ‘means that the HDD is not installed or cannot be detected.
Shutting down the NVR
Steps:
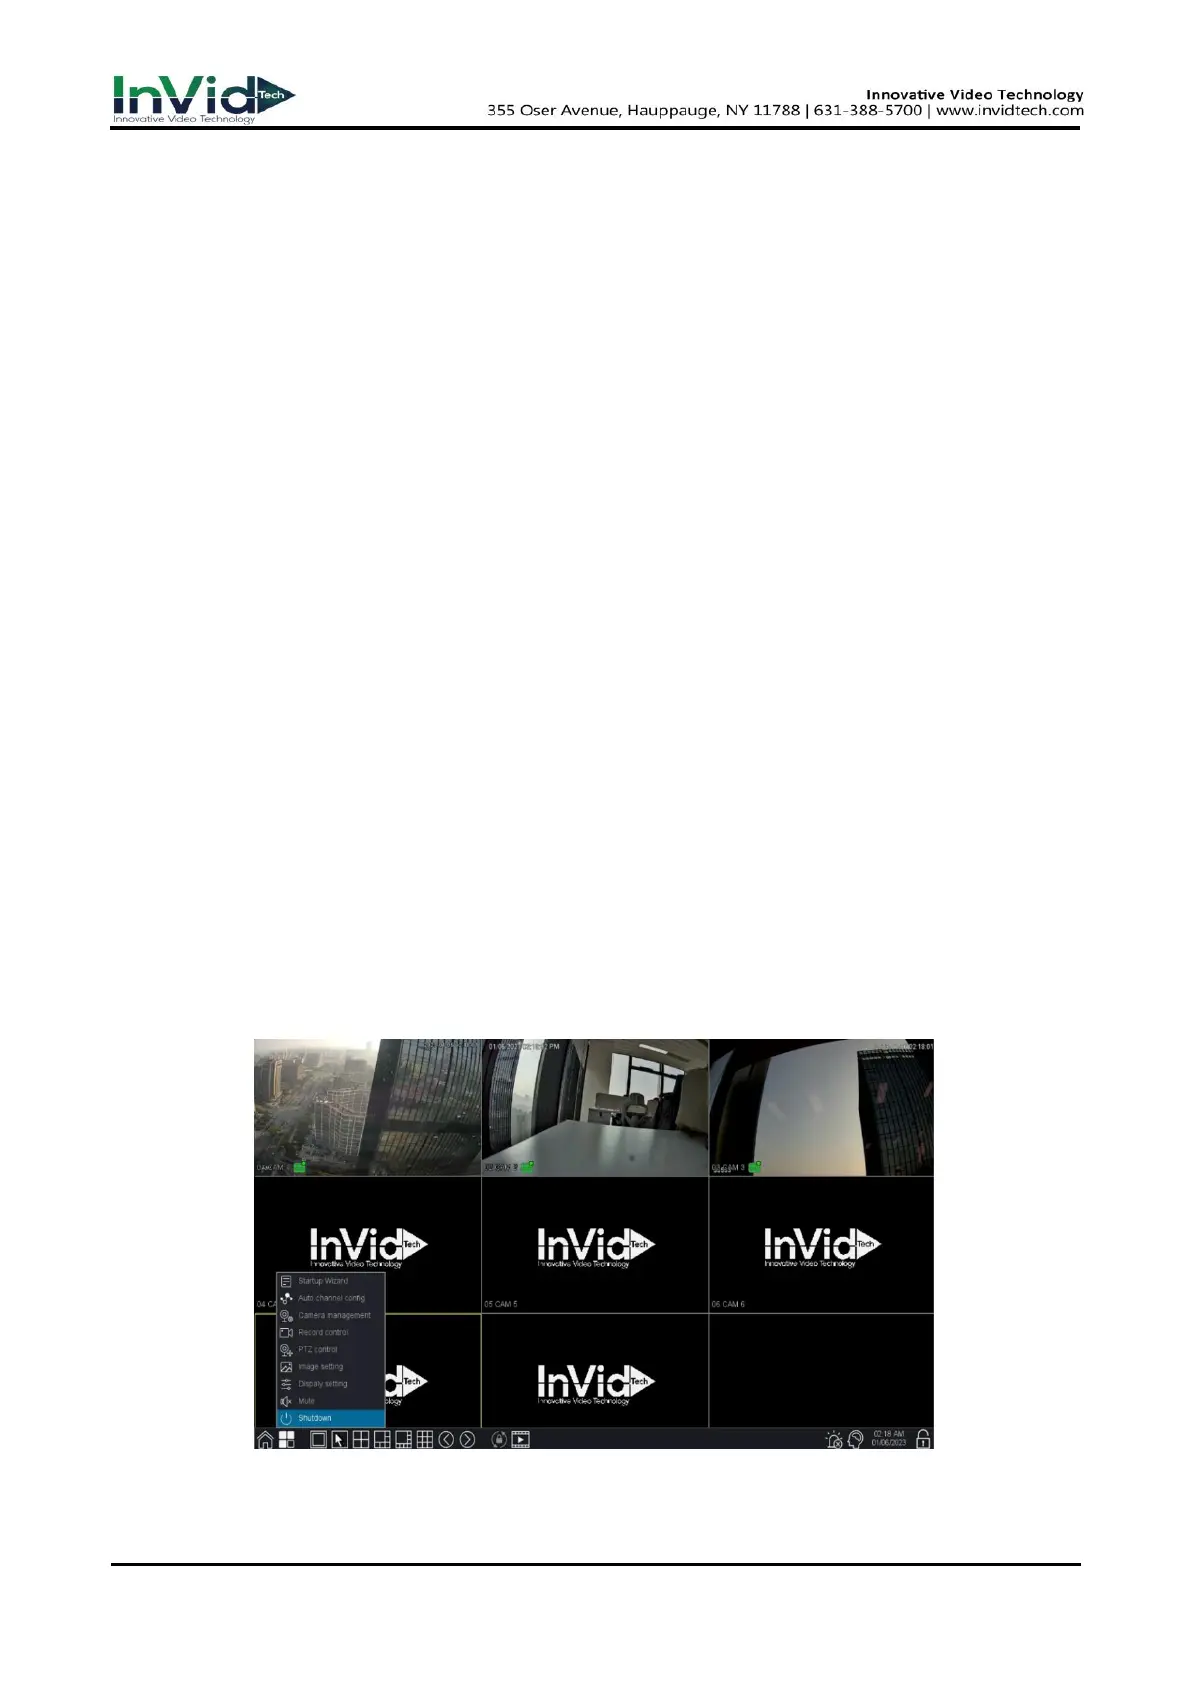
1. Move the mouse to the bottom of the interface then enter the Shutdown menu.
Go to the bottom of the interface → Quick Menu → Shutdown
Figure 2-1-1 Quick Menu



 To Next Page