4. Tap ‘Devices’ then the ‘+’ in the top right to add device.
5. Allow the app access to the devices camera, now scan the QR code. From the start up wizard
labeled ‘Cloud ID’. This will enter the connection information to the device to the app.
6. Set a name for the device so the user can easily identify it from a list; the location of the install is
a popular way to name connections.
7. Tap ‘Save’, then you will be able to ‘Start Live View’.
8. Find the device you just added in the devices menu, click the play button in the triangle, and the
default is to open the real-time preview of the sub-stream. Choosing sub stream over main will
increase video display speeds and reduce mobile data usage.
● You can also direct your phone to the app download store.
● If the device has been bound with an account, you can click "Unbind" to unbind it from
the current account.
● If your device does not support manual unbinding, please contact relevant technical
personnel.
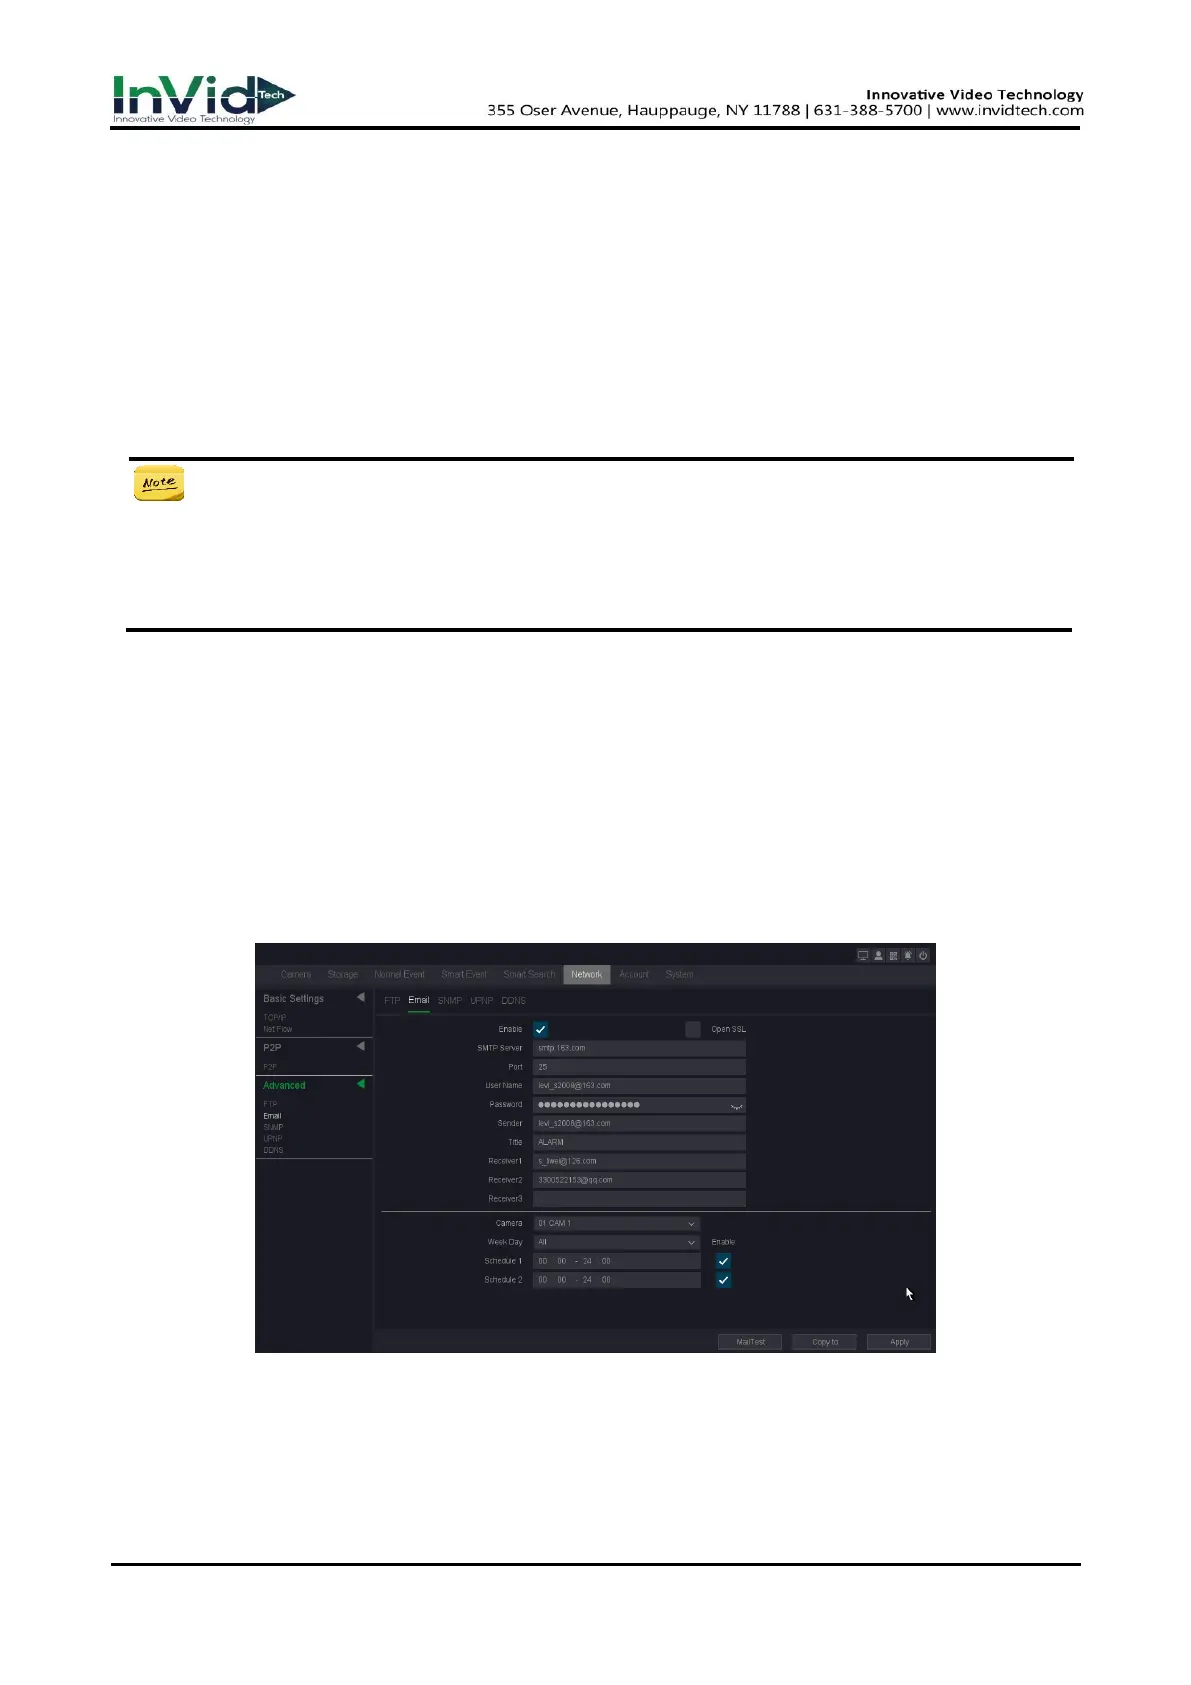
6.2.3
Email
Set an email account to receive event notification.
Before You Start
● Ensure SMTP service is available for your email.
● Configure your network parameters. Refer to 6.2.1 General - TCP/IP for details.
Steps:
1. Go to Seven Grid Menu → Network → Advanced → Email.
Figure 6-2-3-1 Email
2. Set email parameters
Enable
Check it to enable the server authentication feature.
 Loading...