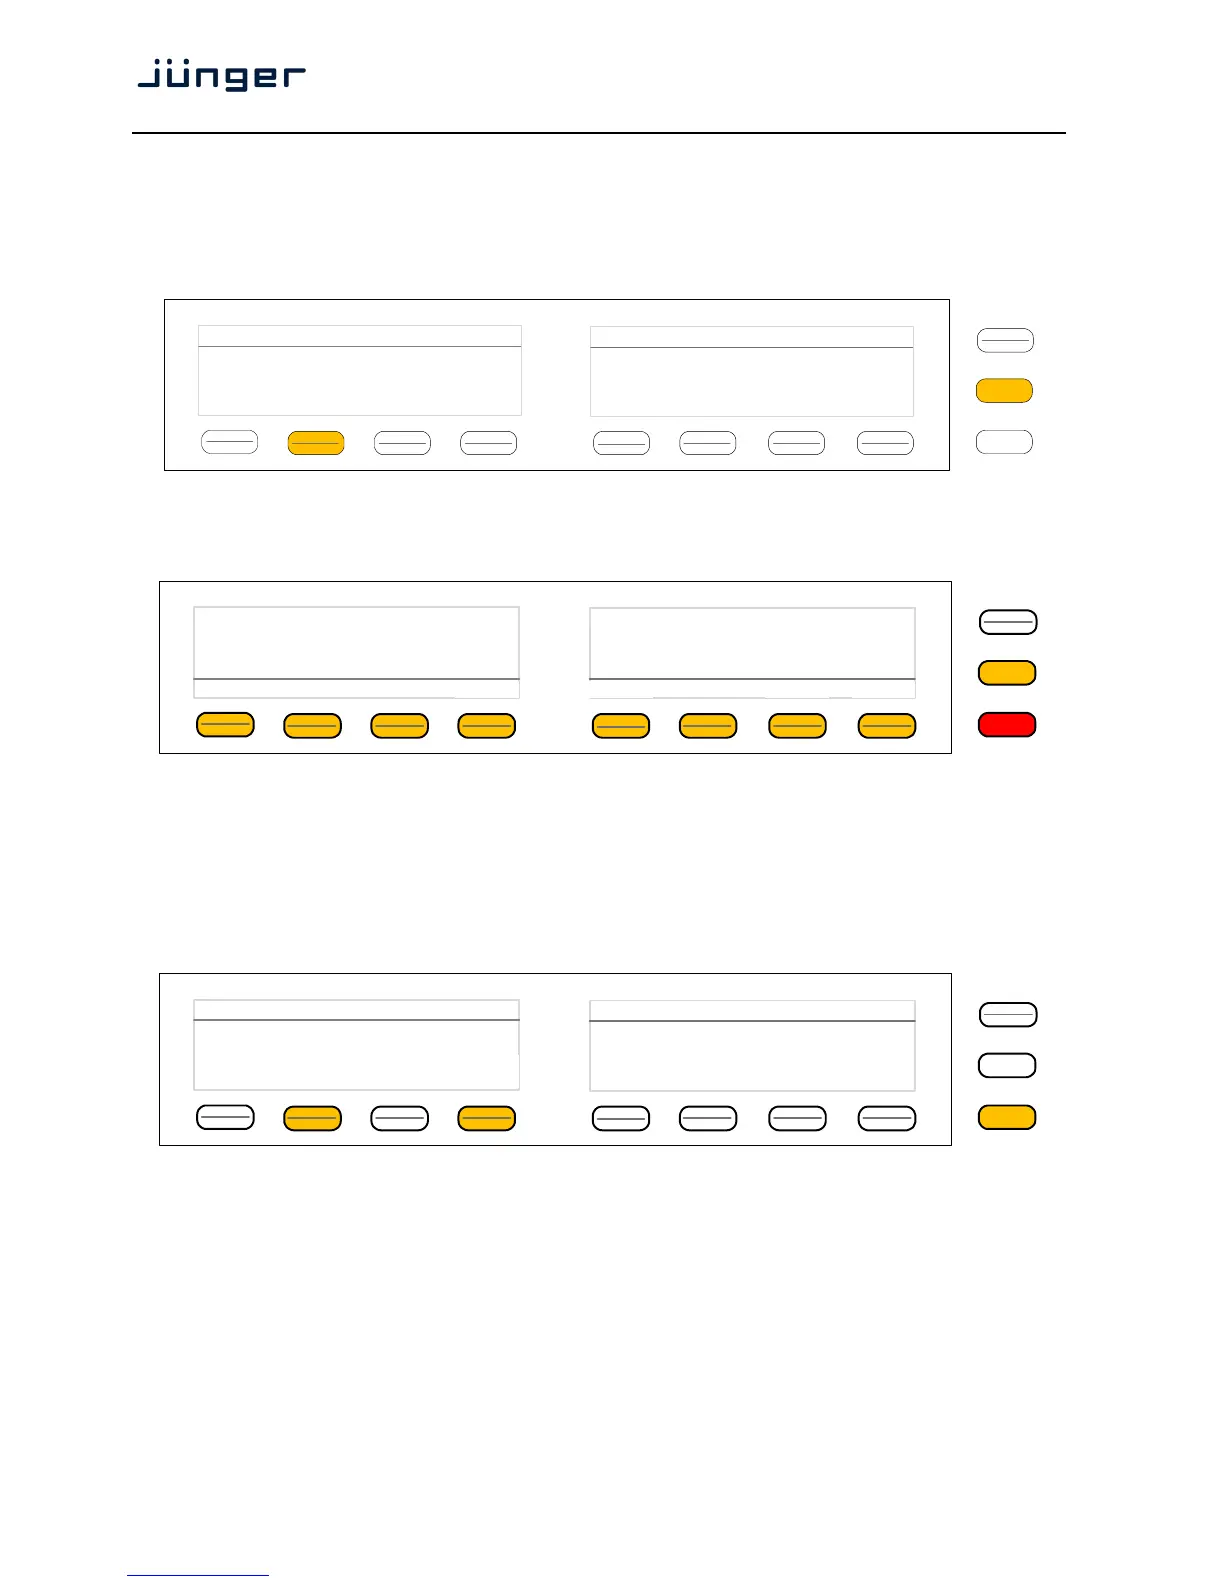
Operating - menu structure of the X*AP RM
1
remote panel
Power up display – may show up to four D*APx enabled for remote control for this X*AP RM
1
remote panel. The example below has just one D*AP4 unit [given name "TV3 HD"] attached for
remote control. The status is "connect" (i.e. you may connect with that device).
See X*AP RM1 manual for details.
Pressing that button will connect with that D*AP4.
Now the X*AP RM
1
remote panel will gather all necessary information from that D*AP4 unit
(this may take a few seconds). When finished the main operating display opens up:
From here you may fire pre-defined hotkeys and observe the loudness of the processed programs.
Because this is the main operating display, the <ESC> button lights red to indicate that the
power up display is below the main operating display.
Pressing <ESC> sends you back to the power up display (device selection).
Operating – menu structure of the X*AP RM
1
remote panel – operating displays
When you press the <MENU> button, the upper operating display opens up:
When pressing the <ESC> button you will return to the main operating display.
MENU
ESC
Remote Panel select device to control
TV3 HD
10.110.96.13
connect
MENU
ESC
R128 ITU1770 Loudn Lim
D02 Limiter!
Nicerizer
[Panic 1 Panic 2]
Program 1
Program 2
-21.0
LUFS
-21.5
LUFS
EBU
S
out
MENU
ESC
Menu TV3 HD
10.110.96.15
Audio
Processor
EBU R128
Meter