CAUTION: Ensure that a licensed electrician has aached an appropriate grounding lug
to the grounding cable that you supply. Using a grounding cable with an incorrectly
aached lug can damage the device.
NOTE: Mount your switch in the rack before aaching the grounding lug to the switch.
Ensure that you have the following parts and tools available:
• A grounding cable must be 2 AWG , minimum 90° C wire, or as permied by the local code.
• Panduit LCDXN2-14AF-E or equivalent grounding lug
• Two M6 screws with start washers
• Number 2 Phillips (+) screwdriver—not provided
• ESD grounding strap—not provided
• Grounding lug:
• QFX5240: The grounding lug required is a Panduit LCDXN2-14AF-E or equivalent. The grounding
lug aaches to the device chassis through the le-front mounng bracket, providing a protecve
earthing terminal for the device.
The QFX5240 switches chassis gain addional grounding when you plug the power supply in the switch
into a grounded AC power outlet by using an AC power cord appropriate for your geographical locaon.
To ground the QFX5240:
1. Connect one end of the grounding cable to an appropriate earth ground site, such as the mounng
rack.
2. Remove the two M6 screws and star washers from the earthing terminal on the side of the chassis.
3. Place the Panduit LCDXN2-14AF-E or equivalent grounding lug aached to the grounding cable over
the protecve earthing terminal.
4. Secure the grounding lug to the protecve earthing terminal with the M6 screws and star washers.
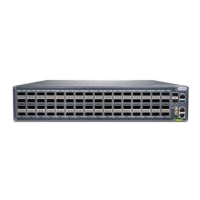
Figure 24: Connect a Grounding Cable to a QFX5240 Switch
80