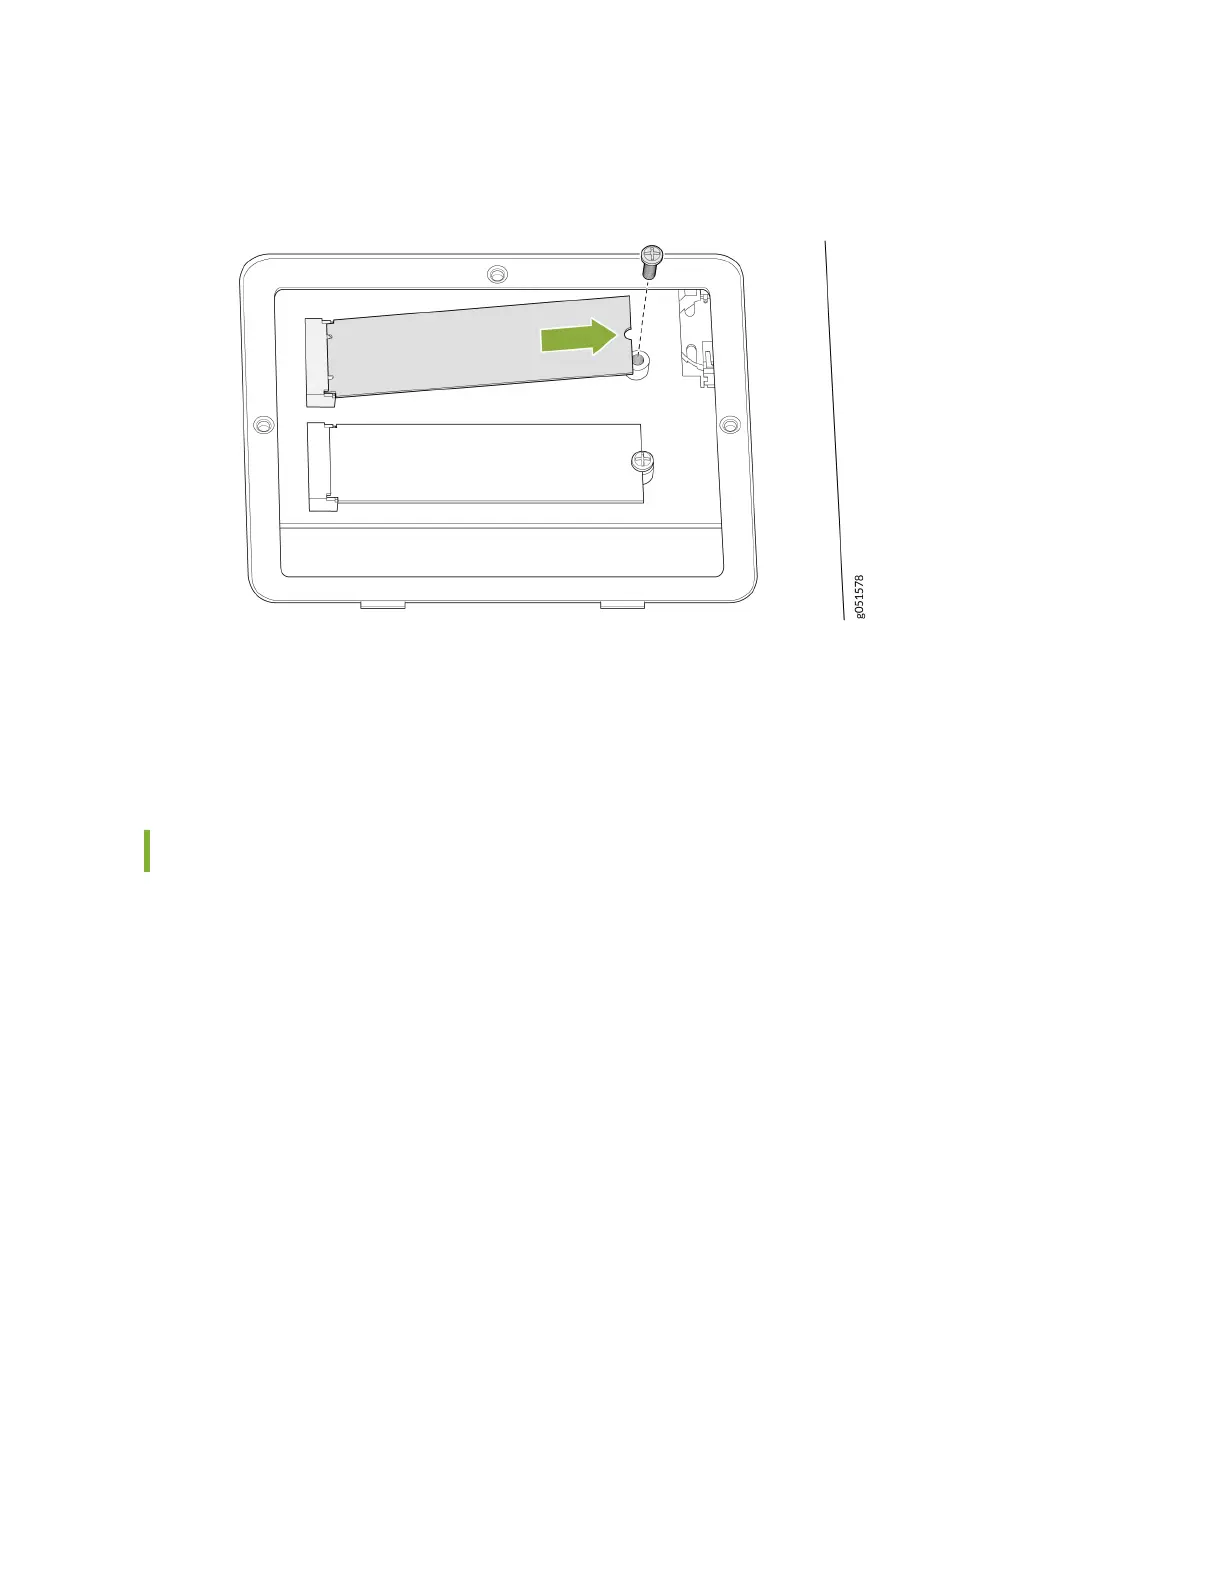
Figure 36: Remove the SSDs
6. Place the SSD in an electrostac bag or on an anstac mat.
7. Place the SSD cover plate back on the chassis and ghten the three screws securing the SSD cover
plate.
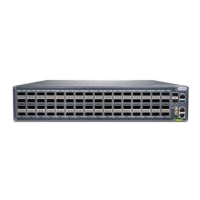
Install a Solid-State Drive in a QFX5240 Switch
Before you install an SSD in the device, ensure that you have taken the necessary precauons to
prevent electrostac discharge (ESD) damage (see ).
Ensure that you have the following parts and tools available to install an SSD in the QFX5240 switch:
• ESD grounding strap
• Anstac bag containing the SSD or an anstac mat
• Phillips (+) screwdriver, number 1
1. Place the anstac bag or the anstac mat on a at, stable surface.
2. Wrap and fasten one end of the ESD grounding strap around your bare wrist, and connect the other
end of the strap to the ESD point on the chassis.
3. Turn the switch upside down and locate the SSD cover plate.
4. If not already removed, remove the three screws securing the SSD cover plate by using the Phillips
(+) screwdriver. See Figure 37 on page 99.
98