Install an AC Power Supply Unit in QFX5240 Switches
• Before you install a power supply in QFX5240 switches, ensure that you have taken the necessary
precauons to prevent electrostac discharge (ESD) damage.
• Ensure that the airow direcon of the power supply is the same as the chassis. Labels on the power
supply handle indicate the direcon of airow. See "QFX5240 Cooling System" on page 32 for more
informaon.
To install a power supply in a QFX5240 Switch:
1. Aach the ESD grounding strap to your bare wrist, and connect the strap to the ESD point on the
chassis.
2. Take care not to touch power supply components, pins, leads, or solder connecons as you remove
the power supply from its bag.
CAUTION: Verify that the direcon of the arrow on the power supply handle matches
the direcon of airow in the chassis. Ensure that each power supply you install in the
chassis has the same airow direcon. If you install power supplies with two dierent
airow direcons, Junos OS raises an alarm, and the status (ALM) LED blinks amber.
3. If the power supply has a protecve plasc wrap, peel and remove the plasc wrap from all four sides
of the power supply.
4. Using both hands, place the power supply in the power supply slot on the FRU panel of the switch
and slide it in unl it is fully seated.
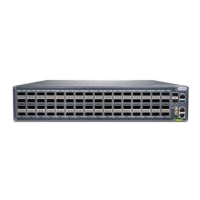
Figure 34: Install an AC PSU in a QFX5240 Switch
95