Mount the QFX5240 in a Four-Post Rack
IN THIS SECTION
Prepare the Slide Rail Assembly to Install in the Rack | 74
Install the Slide Rail Assembly in the Rack | 76
Mount the Switch in the Rack | 77
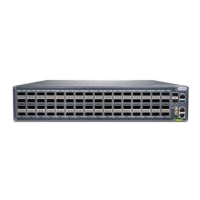
1. Unpack the switch and place it on a at stable surface.
2. Verify the parts received.
3. Ensure that you have the following tools and parts available:
• An ESD grounding strap—not provided
• QFX5240-2U-4PRMK rack mount kit (RMK)—provided
a. Two slide rail assemblies
b. One packet of screws
Prepare the Slide Rail Assembly to Install in the Rack
The slide rail assembly consists of three parts:
1. Outer rail
2. Slider rail
3. Inner rail bracket
Remove the Inner Rail Bracket from the Slide Rail Assembly
1. Wrap and fasten one end of the ESD grounding strap around your bare wrist, and connect the other
end to a site ESD point.
2. Hold the slide rail assembly and pull the inner rail bracket and the slider rail out to their full extended
posion unl you hear a click sound.
3. Push the white tab on the inner rail bracket forward and pull the bracket out of the slide rail assembly
and place it aside.
74