2. Loosen and remove the locking lever 4 .
3.
Loosen the locking lever 5
1-2 turns.
4.
Shake the side part 6
to loosen the serrated joints 7 and 8 .
5.
Check if:
■ The serrated joint 7
has sufficient movement
■
The serrated joint 8
has sufficient movement
6.
Secure the towing eye and withdraw the hex-head bolt 9
from the side part.
7.
Remove the towing eye 1
.
Fitting the ball coupling
Precondition The towing eye has been removed.
The assembly condition as shown in the center graphic in
11 has been achieved.
The complete ball coupling is to hand.
1. Position the ball coupling 11
between the two serrated joints 7 of the side parts 6 .
2.
Pass the hex-head bolt 9
through the side parts 6 .
3.
Screw the locking lever 4
onto the bolt 9 .
4.
Check if:
■ The serrated joints 7
and 8 engage correctly.
■
That the ball coupling 11
is horizontal.
5.
Tighten the locking lever 5
.
6.
Tighten the locking lever 4
.
7.
Check if:
■ Both side parts are correctly seated.
■ The ball coupling is correctly seated.
8. Replace the split pins 3
and 2 .
9.
Check if:
■ The split pin 3
is correctly inserted.
■
The split pin 2
is correctly inserted.
6.3.3.2 Option sb
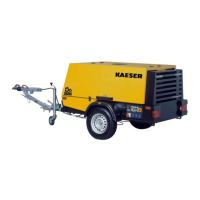
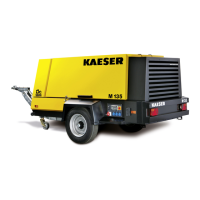
Changing a height adjustable towbar with overrun brake from eye to ball coupling
The eye coupling on the height adjustable towbar is replaced by a ball coupling.
6 Installation
6.3 Adjusting the chassis
44
SERVICE MANUAL Screw Compressor
M26 No.: 9_9446 01 USE