Placing Originals
17
2
Reference
For how to place two-sided originals,
see p.63 “Two-Sided Transmission
(Double-Sided Transmission)”,
Facsimile Reference <Advanced Fea-
tures> .
For acceptable types of originals,
see p.212 “Acceptable Types of
Originals”, Facsimile Reference <Ad-
vanced Features> .
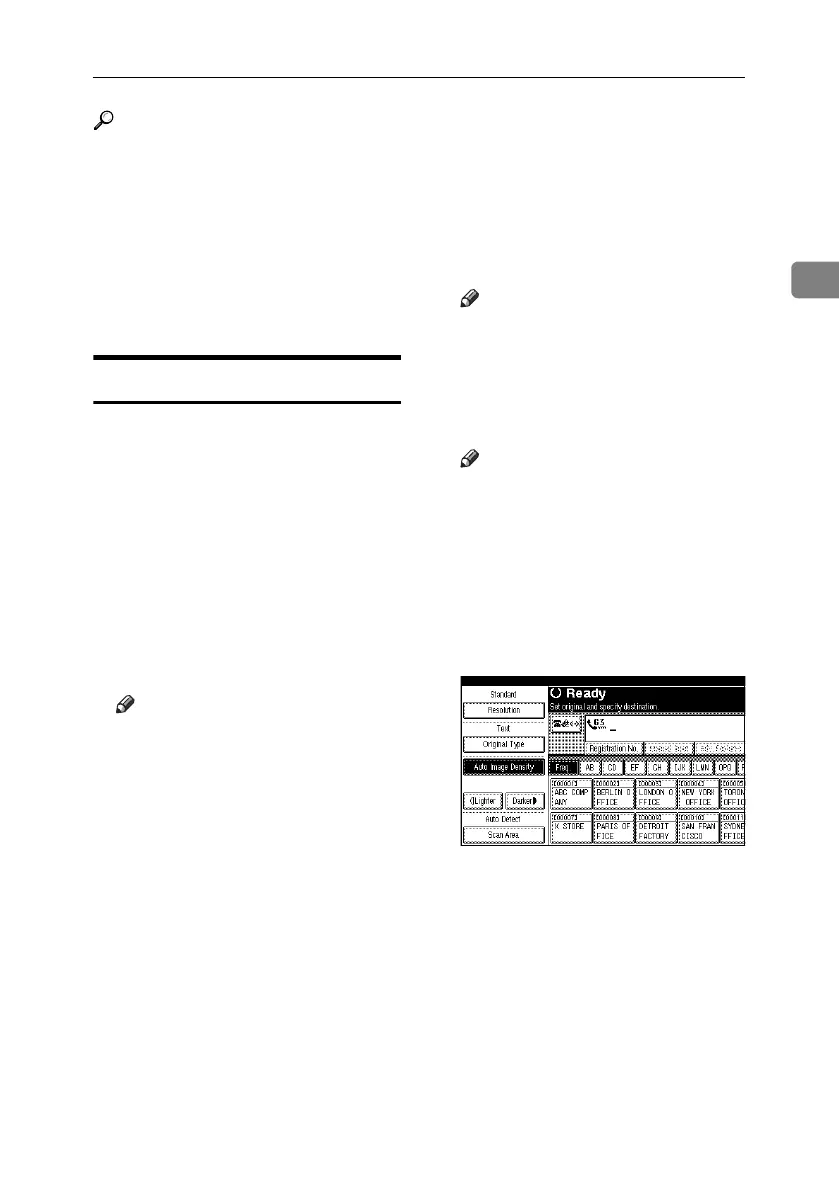
Setting a Scan Area
Normally, a placed original is scanned
according to the automatically detect-
ed size. If a scan area is specified, the
original is scanned accordingly. Thus,
originals can be sent without extra
space or blank margins. See p.215
“Original Sizes Difficult to Detect”,
Facsimile Reference <Advanced Fea-
tures> .
❖ Auto Detect
The area of a placed original is
scanned automatically.
Note
❒ If the machine cannot detect the
original size, a confirmation mes-
sage appears. Place the original
again.
❖ Regular
The placed original is scanned ac-
cording to specified size regardless
of actual size.
The sizes that can be specified are
A4KL, B4 JISL , A3L ,
8
1
/
2
"×11"KL, 8
1
/
2
"×14"L, and
11"×17"L.
❖ Area
Enter the area to be scanned. Only
the area in the specified size is
scanned regardless of the actual
size of a placed original. See p.160
“Programming, Changing and De-
leting a Scan Size”, Facsimile Refer-
ence <Advanced Features> .
Note
❒ To cancel the selected scan area, se-
lect [Auto Detect]. See p.19 “Spec-
ifying Auto Detect”.
A Place the originals, and then select
any scan settings you require.
Note
❒ When placing different size orig-
inals into the ADF, adjust the
document guide to the largest
original.
❒ Small-size originals may be sent
at a slight slant since they do not
match the document guide.
B Press [Scan Area].
RussianC4-EN_Combine-F_FM.book Page 17 Wednesday, April 27, 2005 2:01 PM