4. Switch to the Camera tab. To align the camera crosshairs (vertically
arranged cursors) in the camera view to the levelling staff, turn the
horizontal drive of the instrument.
5. To focus the staff automatically, either press the softkey Focus or
ensure that the function AF+Dist+Rec or AF+Dist is assigned to
the trigger key (for more details refer to 6.1 Work Settings).
6. Press the trigger key to take a measurement.
☞
In case you cannot perform a digital height reading, you can take an
optical height reading and add it to the levelling line. For more
details, refer to 5.4 Manual Input Screen for Optical Height Reading.
☞
It is recommended to perform a compass calibration before taking an
angle measurement. Refer to 14.6 Calibrating the Digital Compass.
1.
To access the digital compass, select Tools from the main
menu, then Compass.
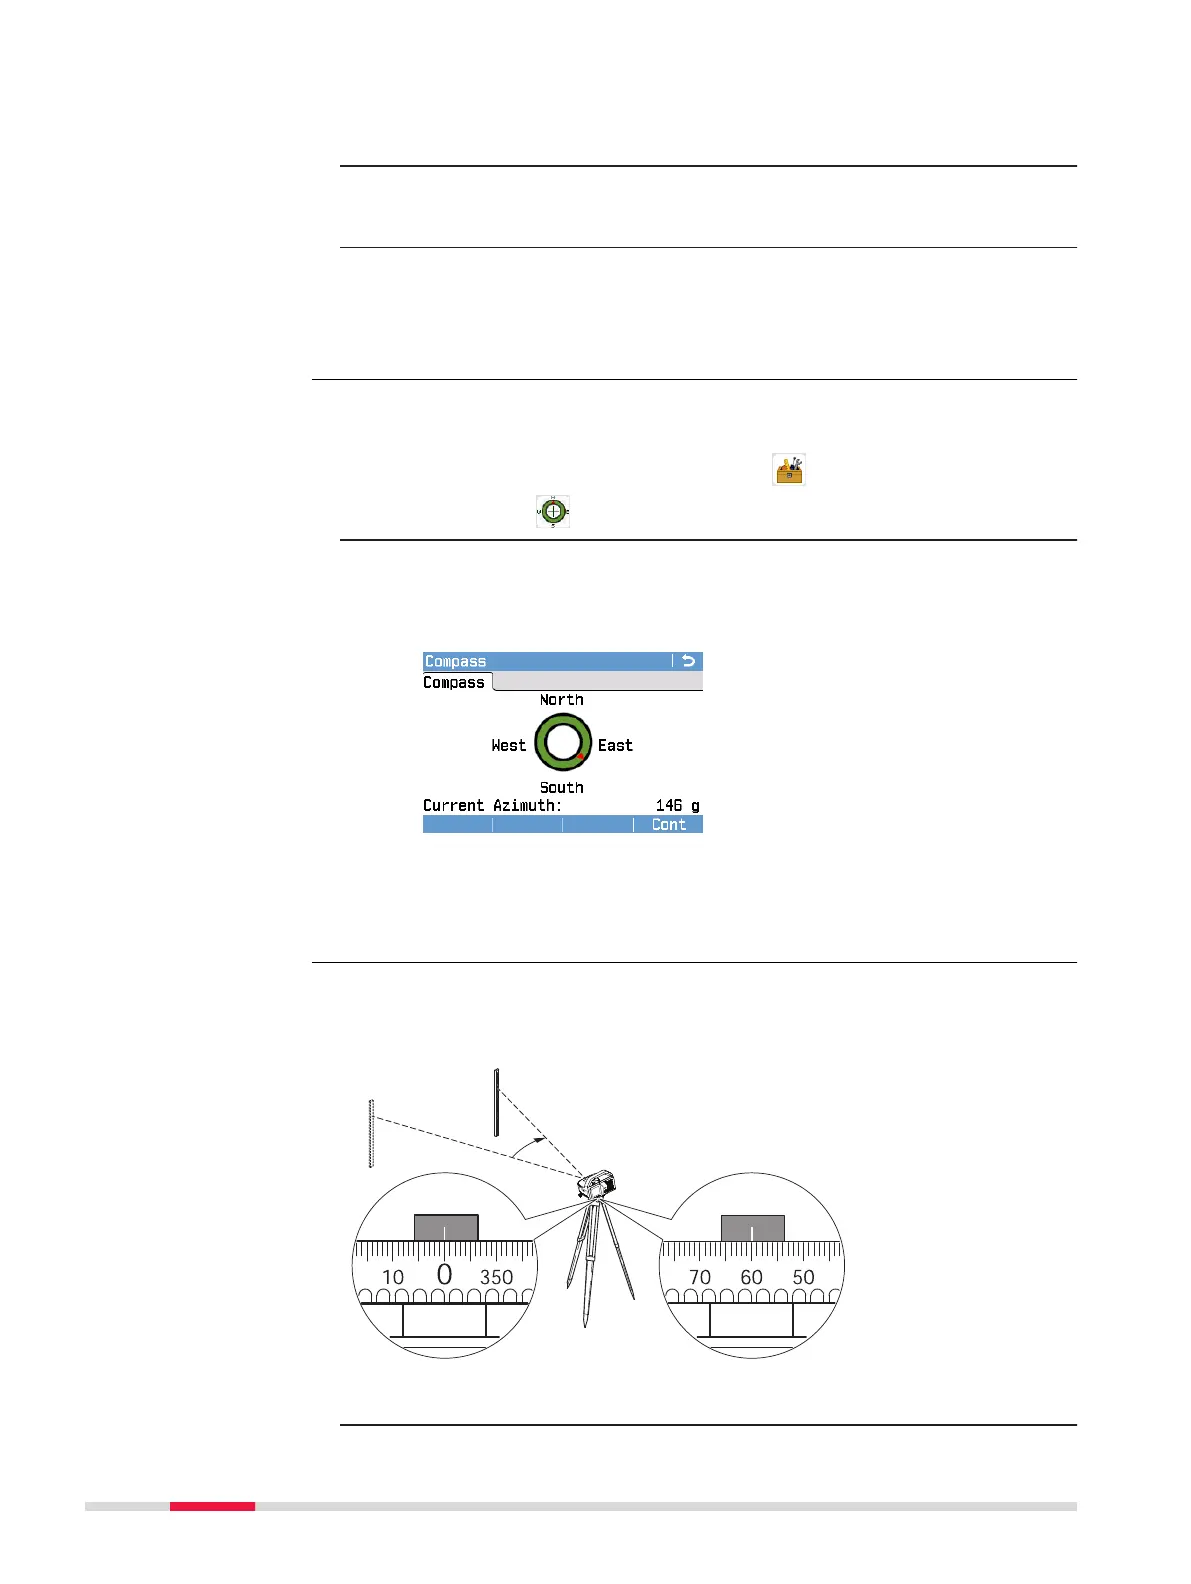
2. Within the Compass screen, the red arrow of the digital compass
shows the current viewing direction of the instrument. In the output
eld Current Azimuth, the exact angle in reference to north is dis-
played.
The LS15 instrument uses the digital compass to calculate the
coordinates of a measured point. Together with the ofce software
Leica Innity, these coordinates can be used to visualise the position
of a levelling line.
Both the LS10 and LS15 are equipped with a rotatable horizontal circle. The
angle unit is 360° subdivided into 1° intervals. The graduation in gon is printed
in steps of 50 gon below the graduation in degrees.
1. Align instrument to point A.
Angle measurement
with digital compass
(only LS15)
Angle measurement
with horizontal circle
36 Measurement Guidelines
 Loading...