44
Synchronize user database
This function synchronizes the domain accounts cached in the NAS user database with the native
domain controller. New domain accounts in the domain controller will be added to the NAS user
database, while the non-existent domain accounts will be removed from the NAS user database. Due
to the limitation of system resource, the user database synchronization will be skipped if there are
more than 10,240 domain accounts in the domain controller. To synchronize with the domain
controller.
Update user database
Changes of user accounts on the domain controller will not affect the NAS server automatically. You
have to do it manually. The 'Update user database' function on the Domain Account tab of the
Security→Account menu helps you find the user accounts which have already been deleted from
the domain controller, yet still remain in the NAS user database.
You can choose to delete them from the database. ACL and share permission will be also updated by
removing the entries related to those users.
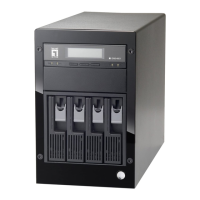
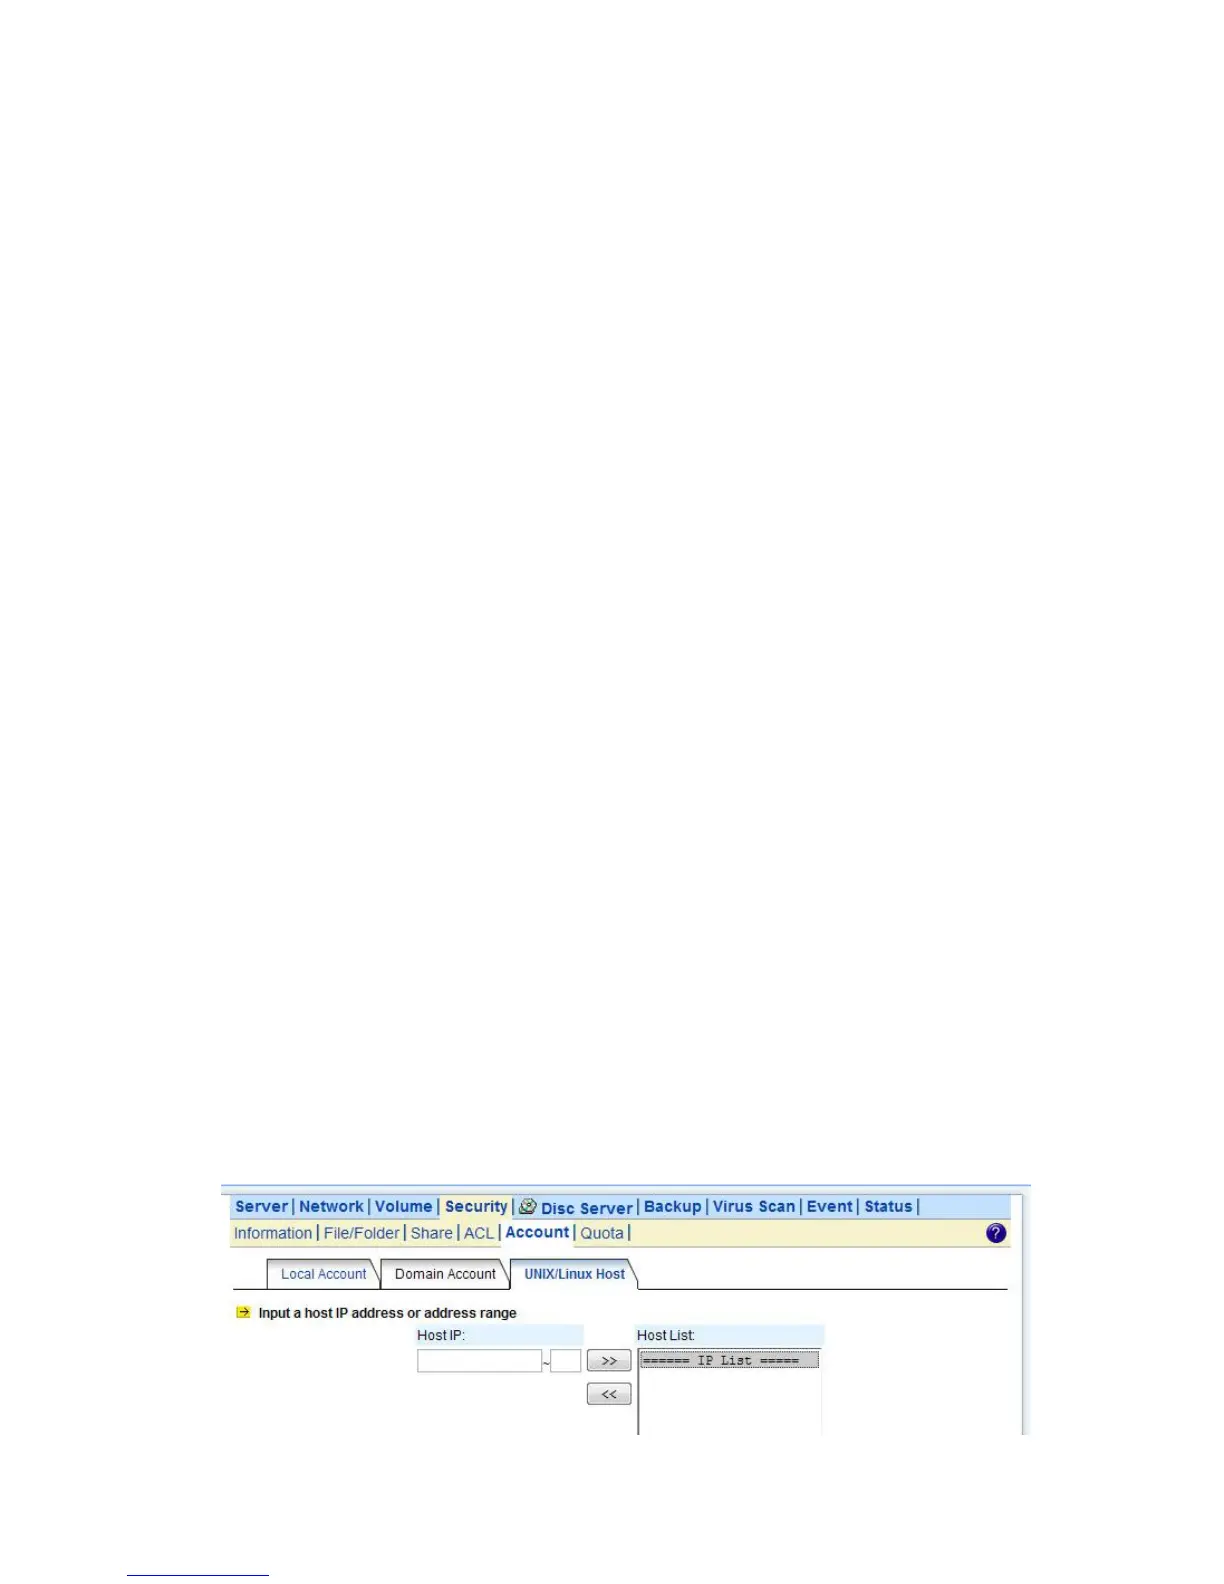
6.4 Creating UNIX/Linux Host
For NAS server, NFS client’s mount privileges are granted specifically to UNIX/Linux host created by
the administrator. If a UNIX/Linux host is granted access right to a share in the NAS server, user of
the UNIX/Linux host can have access to the share. Administrator should create a UNIX/Linux host list
prior to grant access right to them.
To create a list of the UNIX/Linux host:
1. Go to Security→Account menu.
2. Click the UNIX/Linux Host tab.
3. Enters a single host IP address in the first text box.
4. Or, enter the start IP address in the first text box and the last 3 digits of the end IP address in the
second text box to input a range of the host IP addresses of the Host IP field.
5. Click the Add button to add the host IPs to the host list.
6. Click Apply to save the setting.