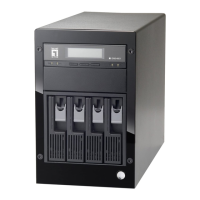
89
2. Click the Manual tab to go to the manual scanning page.
3. Click the Select Folders hyperlink to specify the folders you want to perform the manual scan.
4. Click Apply to save the settings.
Configuring Schedule Scanning
1. Click the Enable Scheduled Scan For Infected Files checkbox to enable scheduled scanning.
2. Click the Select Folders hyperlink to specify the folders you want to perform the scheduled scan.
3. Configure the start time and recurrence pattern for the scheduled scanning.
4. Click Apply to save the settings.
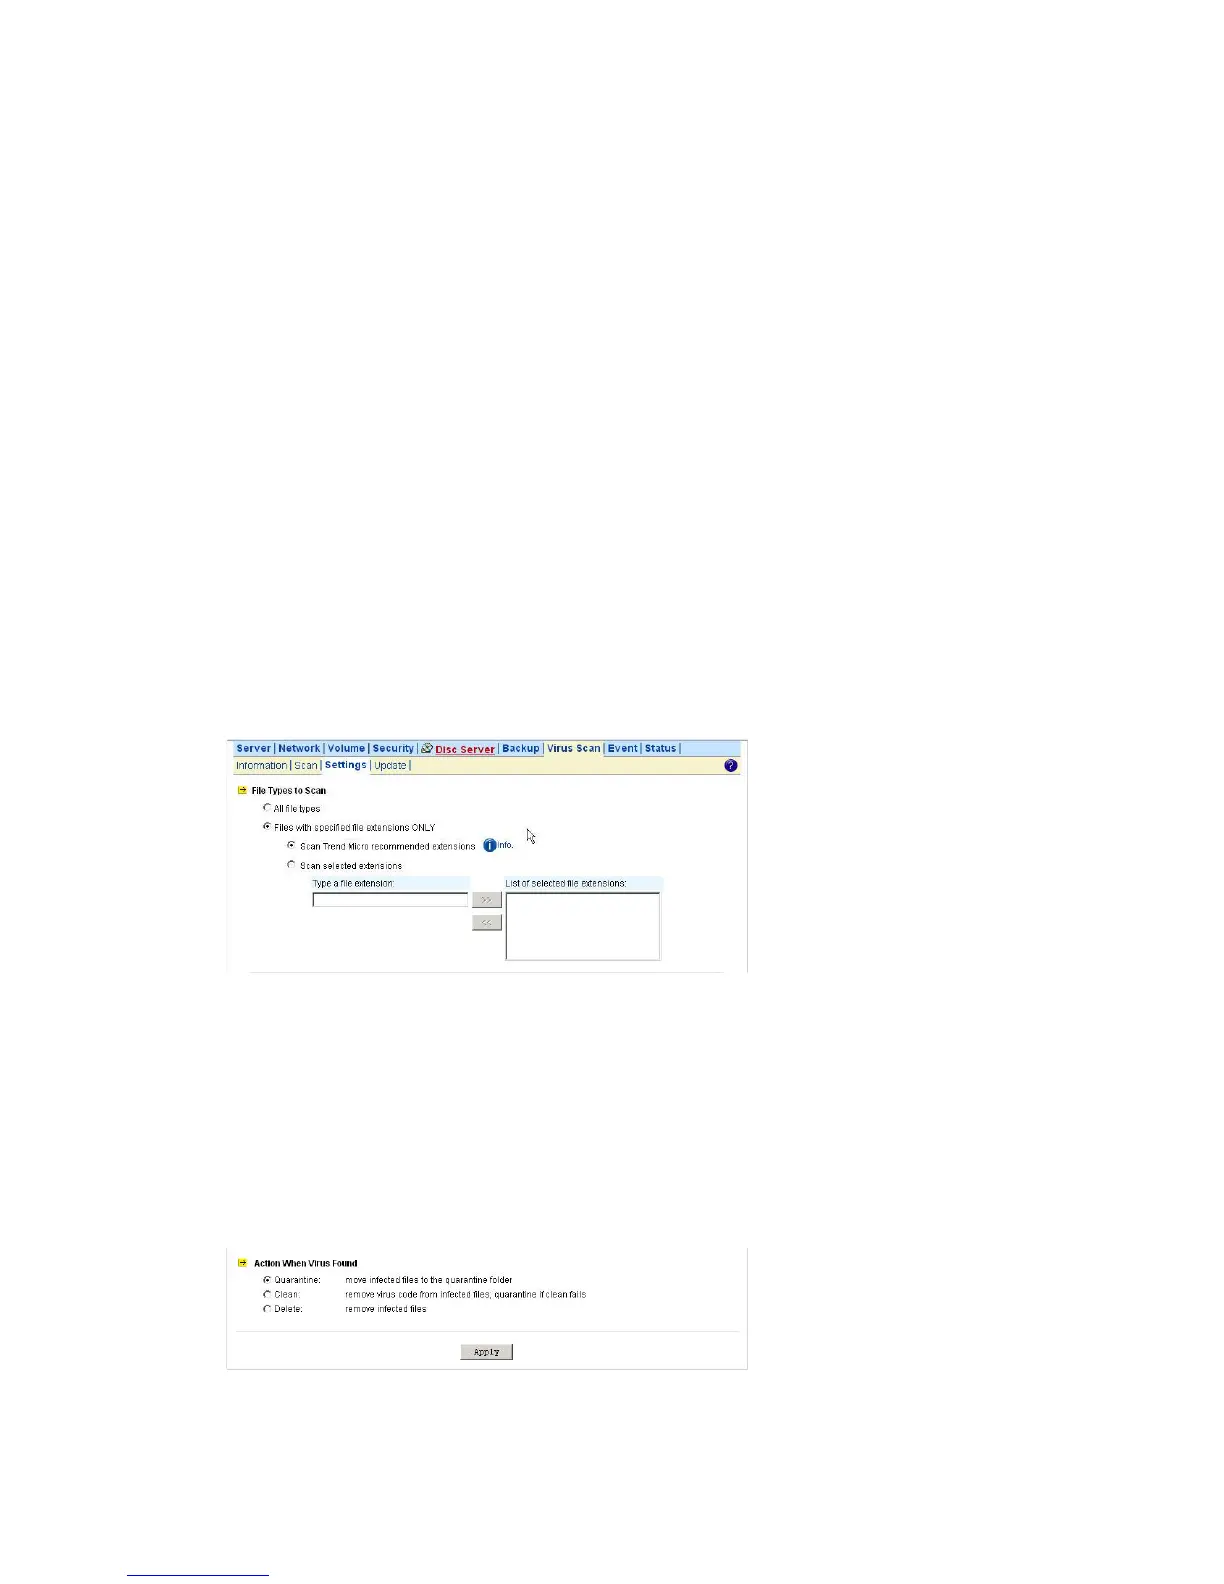
11.3 Configuring Scan Settings
All virus scan has two options that need to be configure.
■ File Type to Scan – you can limit scanning to specific file types.
■ Action When Virus Found – three actions (quarantine, clean, delete) can be chose from when virus
is found.
File Types to Scan
1. Click the desire scan file type.
2. If All file types is selected, all files regardless to its file extension will be scanned.
3. If Files with specified file extensions Only is selected, specify using the recommended
extensions recommended by Trend Micro or specify the file extension manually.
4. Note that the maximum scanning layer of a compressed file is set to 2 layers for all real-time,
manual and scheduled scan.
Actions When Virus Found
1. Click the desire action when virus was found.
2. Click Apply to save the settings.